
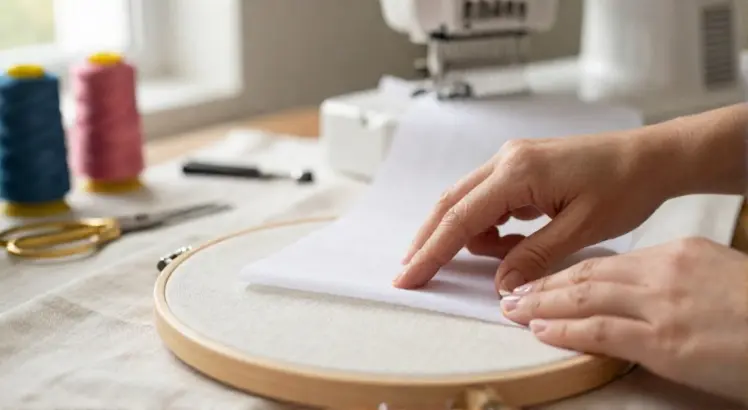
Why Stabilizer is Non Negotiable
Stabilizer is the backbone of any successful machine embroidery project. It supports the fabric during stitching, preventing puckering, stretching, and shifting. Without it, dense designs can distort the material permanently. Choosing to skip this step almost guarantees a poor result.
Think of stabilizer as a temporary foundation for your stitches. It adds the necessary rigidity that fabric alone cannot provide. This is especially true for knits, towels, and loosely woven textiles. The needle penetrates more cleanly because the material stays taut.
Using the correct stabilizer also impacts the longevity of the design. It prevents the embroidery from sagging after repeated washings. A well stabilized design looks professional and crisp. The goal is to mimic the texture of the original garment perfectly.
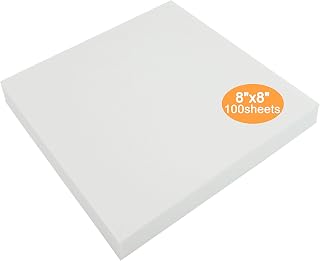
New brothread Tear Away Embroidery Stabilizer 8″x8″
Check PriceUnderstanding the Main Stabilizer Types
There are three primary categories you will encounter: tear away, cut away, and wash away. Tear away is designed to be removed by hand after stitching. It is best for stable woven fabrics like denim or canvas. The removal process is quick and efficient.
Cut away stabilizer remains on the back of the project permanently. You trim away the excess material with scissors. This type is essential for stretchy fabrics like t shirts and knits. It provides continuous support even after washing and wearing.
Wash away stabilizers dissolve completely in water. They are perfect for freestanding lace or sheer fabrics where residue is unacceptable. You can also find heat away options for fabrics that cannot get wet. Matching the type to the fabric is critical.
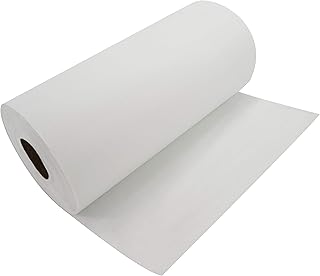
New brothread Tear Away Embroidery Stabilizer 12″ x 50 Yd Roll
Check PriceChoosing the Right Stabilizer Weight
Stabilizer comes in various weights, from light mesh to heavy duty. The stitch density of your design dictates the weight you need. A design with 10,000 stitches requires much more support than one with 2,000. Always check the design specifications before starting.
Using a stabilizer that is too heavy can make the project stiff and uncomfortable. Using one that is too light leads to registration issues and puckering. You can layer two sheets of lighter stabilizer to achieve a custom weight. This is a common trick for tricky fabrics.
Consider the fabric weight as well. Heavyweight fabrics like canvas still need a medium stabilizer to hold the stitches. Lightweight fabrics like silk require a delicate touch. Sewing with silk without the right foundation often leads to tears.
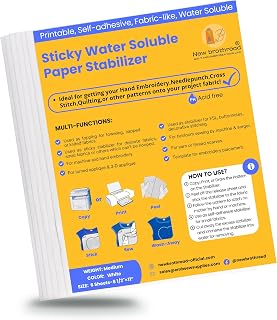
New brothread Sticky Water Soluble Embroidery Stabilizer
Check PricePreparing Your Fabric and Design
Start by pressing your fabric to remove all wrinkles. Wrinkles get trapped under the stitches and become permanent. A clean, flat surface ensures accurate hoop tension. Do not use fabric softener, as it can prevent stabilizer from adhering.
Mark the center of your design on the fabric using a washable pen. This will guide you when floating the stabilizer or hooping the material. Ensure your design file is compatible with your specific machine. Test stitch on a scrap of the same fabric first.
This preparation step saves hours of frustration later. It verifies the thread tension and stabilizer choice. If the test looks bad, you can adjust variables before ruining the final garment. Never skip the test stitch, especially for expensive materials.
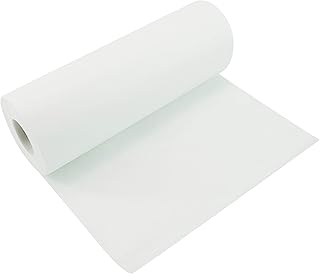
New brothread Tear Away Embroidery Stabilizer 10″ x 25 Yd
Check PriceThe Hooping Process for Perfect Tension
Hooping correctly is just as important as selecting the stabilizer. Place the outer hoop on a flat table. Lay the stabilizer over it, then place the fabric on top. Ensure the grain line of the fabric is straight to avoid distortion.
Press the inner hoop down into the outer hoop simultaneously. Tighten the screw just enough to hold the fabric securely. You should hear a drum like sound when you tap the fabric. If the fabric slips easily, the tension is too loose.
Do not pull the fabric to tighten it after hooping. This stretches the material and causes misalignment. If you need to reposition, loosen the hoop and start again. Proper hooping prevents the design from having gaps or overlaps.
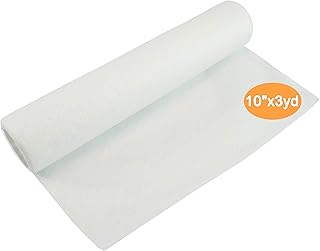
New brothread Wash Away Embroidery Stabilizer
Check PriceFloating Stabilizer Method for Delicates
Some fabrics should not be hooped directly. Items like velvet, thick towels, or delicate silks can be damaged by the hoop marks. For these items, you hoop only the stabilizer. This is known as the floating method.
Hoop a piece of cut away or tear away stabilizer tightly. Then, place the hooped stabilizer on the machine. Spray the stabilizer with temporary adhesive spray. Smooth the fabric onto the sticky surface of the stabilizer.
This technique prevents hoop burn on sensitive materials. It is also useful for embroidering small items that are hard to hoop. You must ensure the fabric is securely stuck to the stabilizer. Any air bubbles will cause the fabric to shift.
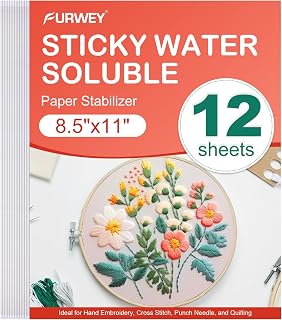
FURWEY Water Soluble Stabilizer for Embroidery
Check PriceUsing Toppings to Flatten Texture
A topping is a stabilizer placed on top of the fabric. It prevents stitches from sinking into plush fabrics like towels or fleece. Toppings are usually made of a thin, film like plastic. They create a smooth canvas for the needle.
Place the topping over the hooped garment before starting the machine. The first stitch will punch through the topping. After the design is complete, you tear the topping away. The remaining stitches sit perfectly on the surface.
Water soluble toppings are the most common choice here. They disappear with a rinse or a damp cloth. This step is crucial for high pile fabrics like Minky fabric. Skipping the topping leaves your design looking buried.
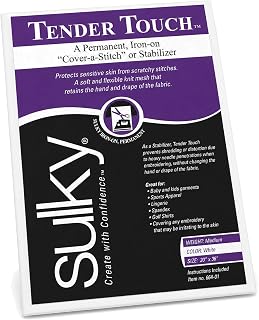
Sulky Cut-Away Embroidery Stabilizer Iron-On
Check PriceSpray Adhesives and Sticky Backs
Temporary spray adhesives are a game changer for multi layer hooping. You spray the stabilizer before placing the fabric. This holds everything in place while you position the hoop. It is a standard practice in professional workshops.
Sticky back stabilizers have a paper backing you peel off. They are perfect for items that cannot be hooped, like socks or cuffs. You stick the fabric directly to the stabilizer sheet. This provides incredible stability without any hoop stress.
Always let the spray adhesive dry slightly before touching it. If it is too wet, it can gum up your needle. Use these products in a well ventilated area. They help maintain perfect alignment for intricate designs.
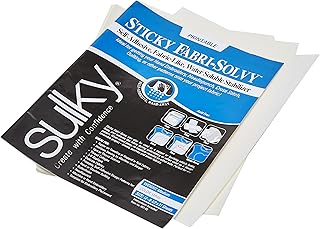
Sulky Sticky Fabri-Solvy Stabilizer
Check PriceRemoving Tear Away Stabilizer Cleanly
Once the machine stops, remove the hoop from the machine. Unhoop the fabric carefully to avoid stretching the stitches. For tear away, start from a corner of the design. Gently pull the stabilizer away from the stitching.
Support the stitches with your fingers as you tear. This prevents you from pulling the stitches out of shape. Work slowly around the perimeter of the design. Small pieces of stabilizer may remain under the stitches.
Do not use excessive force, as this can break threads. If the stabilizer resists, it might be too heavy for the design. You can use a damp cotton swab to soften stubborn pieces. The goal is a clean back with no visible residue.
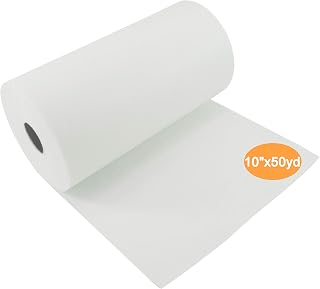
New brothread Cut Away Embroidery Stabilizer 10″ x 50 Yd
Check PriceTrimming Cut Away Stabilizer Properly
Cut away stabilizer stays on the garment to support the stitches. You must trim the excess material from the back. Use a pair of sharp, curved scissors for this task. The curve helps you get close to the stitch edge safely.
Leave about a quarter inch of stabilizer around the design. Do not cut too close to the stitching. The remaining stabilizer prevents the fabric from stretching over time. It should feel soft and flexible once washed.
Work from the back of the fabric to avoid cutting the garment itself. Take your time and make smooth, even cuts. This finishes the project with a professional touch. It prevents the raw edges of the fabric from fraying.
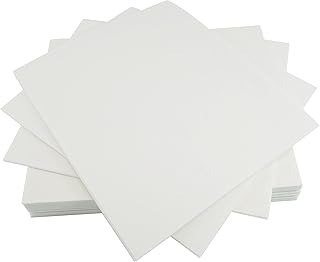
New brothread Cut Away Embroidery Stabilizer 8″x8″
Check PriceDissolving Wash Away Stabilizers
Wash away stabilizer requires water to remove. You can usually dissolve it with lukewarm running water. Place the embroidered item under the faucet and let the water flow through. The stabilizer will melt away like sugar.
For stubborn residue, soak the item in a bowl of water for a few minutes. Gently agitate the fabric to help the dissolution. Do not rub the stitches harshly, as this can cause fuzzing. Ensure all starch is gone before drying.
Check the care instructions on your specific stabilizer brand. Some require cold water, while others work with warm water. If you are working with a delicate fabric, test the water temperature first. Proper removal leaves zero marks behind.
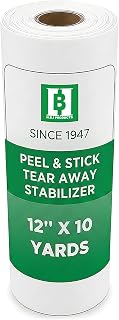
HBI Peel & Stick Tear Away Stabilizer Roll
Check PriceTroubleshooting Common Stabilizer Issues
Puckering usually means you need more stabilizer or a different type. Switch from tear away to cut away for knits. Gapping indicates the fabric moved during stitching. This often happens when the hoop tension is too loose.
Bird nesting, where thread bunches up, can be caused by sticky residue on the needle. If you use spray adhesive, clean your needle frequently. Needle breaks often occur when the stabilizer is too thick for the needle size. Use a larger needle for dense fabrics.
If the fabric is see through and the stabilizer shows through, switch to a wash away option. If the design feels plastic like, you used a topping that did not dissolve. Double check your product specifications to avoid these errors.
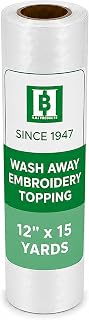
HBI Wash Away Embroidery Topping
Check PriceStabilizer Tips for Specific Fabrics
Denim is a strong fabric, but it still needs support. A medium weight tear away is usually sufficient here. Denim is hard to sew on a regular machine, but embroidery machines handle it well with the right needle.
Leather requires a sticky stabilizer or a temporary adhesive. Never pin the stabilizer to leather, as holes will remain. For canvas, a heavy duty cut away prevents the coarse weave from distorting. Always test a scrap first.
Towels love a mesh cut away on the bottom and a wash away topping on the top. This combination traps the loops and keeps the design crisp. For hats, a firm sticky back stabilizer is essential to hold the curved shape.
New brothread Cut Away Embroidery Stabilizer 15″ x 25 Yd
Check PriceStoring Your Stabilizer Collection
Stabilizers can be sensitive to humidity and light. Store rolls standing upright to prevent flat spots. Keeping them in a clear plastic bin helps you see when you are running low. Label the type and weight clearly on the roll.
Never fold sticky back stabilizers, as the creases will ruin the adhesive. Keep them flat in a drawer or folder. Water soluble stabilizers must be kept dry to prevent them from dissolving prematurely. A dry, dark closet is ideal.
Organizing your supplies saves time when starting a new project. You will know exactly what you have on hand. This prevents last minute trips to the craft store. It also helps you buy in bulk when you find a good deal.
Frequently Asked Questions
Can I use stabilizer for hand embroidery?
Yes, stabilizer is excellent for hand embroidery. It prevents the fabric from puckering when you pull the thread. A lightweight tear away is usually best for hand work. It adds body to the material without making it stiff.
Is stabilizer necessary for embroidery?
Yes, stabilizer is absolutely necessary for machine embroidery. Without it, the fabric will stretch and warp. The stitches will sink into the material or pucker badly. It is the most important supply you will use.
Can I embroider without a hoop?
Technically you can, but it is very difficult. The hoop provides the tension needed for clean stitching. If you skip the hoop, you must use a very heavy adhesive stabilizer. The fabric moves too much without proper tension. Learn more about embroidering without a hoop.
Final Thoughts on Embroidery Stabilizer
Mastering stabilizer usage is the fastest way to improve your embroidery. It transforms projects from homemade to professional. Take the time to match the stabilizer to your fabric type. You will see an immediate difference in quality.
Do not be afraid to experiment with different brands and types. What works for one person might not work for another. Keep a notebook of your test results for future reference. This becomes your personal cheat sheet.
For more detailed guidelines, check out this guide to embroidery stabilizers. It covers various technical aspects of machine embroidery. With practice, you will develop an instinct for the right setup.

Disclosure: As an Amazon Associate, we earn from qualifying purchases at no extra cost to you. Our posts are created with AI tools and human editing.