
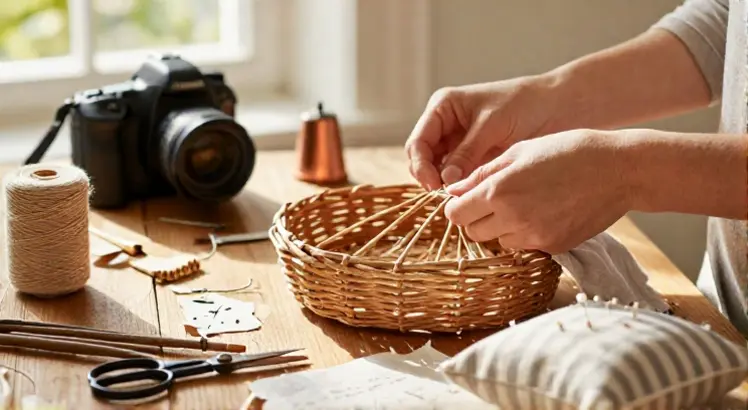
Creating your own sewing basket is one of the most satisfying projects a sewist can tackle. It blends practicality with personality, giving you a custom organizer that holds everything from spools to shears while reflecting your unique style. Whether you are tired of digging through a messy drawer or you just want a charming keepsake, learning how to make a sewing basket puts you in full control of size, shape, and features.
You do not need advanced skills; a few basic materials and a free afternoon are enough to build a storage solution you will love reaching for every time you sit down to stitch. This guide covers fabric selection, cutting, sewing the main body, adding a lining, creating pockets, and finishing with a padded lid and handle. By the end, you will have a beautiful, functional basket and a new appreciation for handmade organization.
Why Make Your Own Sewing Basket?
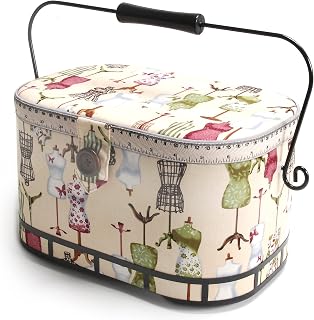
Dritz Large Oval Sewing Basket with Metal Handle, Vintage Dress Form Print
Check PriceStore-bought sewing baskets are handy, but they often lack the exact pocket configuration or fabric print you crave. When you decide how to make a sewing basket yourself, you can tailor every detail. Choose a cotton print that matches your craft room, add a pincushion right into the lid, and build compartments sized for your favorite shears. It is also a budget-friendly alternative to high-end organizers.
Plus, a handmade basket makes a thoughtful gift for a fellow sewist. Once you understand the construction method, you can scale the pattern up for a larger family mending kit or down for a portable travel pouch. The skills involved translate to making storage bins, rope bowls, and other fabric containers, so this project is an investment in your sewing know-how.
Gathering Your Materials and Tools
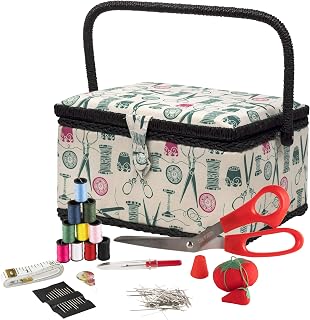
SINGER Large Sewing Basket Kit, Vintage Spools, Notions Pack, 127 Count
Check PriceBefore you make a sewing basket, gather supplies that will guarantee a sturdy, long-lasting result. You will need:
- Outer fabric: medium-weight cotton, canvas, or linen for durability.
- Lining fabric: a smooth cotton or polyester blend that makes sliding spools in and out easy.
- Interfacing: fusible fleece or heavy stabilizer to give the basket structure.
- Fusible web or fabric glue for attaching pockets and embellishments.
- Matching thread, sharp scissors, pins or clips, and a marking tool.
- A sewing machine with a straight stitch and a heavy-duty needle if you are working with canvas.
- Optional: bias tape for finishing edges, a magnetic snap for closure, wooden handles, or a pre-made pincushion to sew into the lid.
Pre-wash all fabrics to prevent shrinkage later. The interfacing is what transforms a soft pouch into a rigid container. For extra crispness, consider using how to cut fabric straight techniques to ensure your pieces align perfectly. If you prefer a no-sew option for some parts, a reliable washable fabric glue can secure trims, but the main structure relies on stitching for longevity. A dedicated best sewing basket review can also inspire you to add features like a removable tray or a handle loop.
Choosing the Right Base Structure
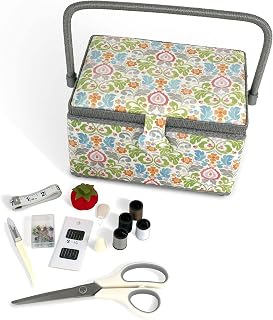
Dritz Medium Sewing Basket Kit Filled with Essential Sewing Supplies
Check PriceYour sewing basket can take many forms: a classic rectangular box with a hinged lid, a round tub with a drawstring cover, or an oval basket with a rigid base. The easiest entry point for a beginner is a simple fabric bucket with a removable plastic canvas insert in the bottom for stiffness. To make a more structured basket, cut a piece of template plastic or cardboard and wrap it in batting before inserting it into a fabric sleeve during assembly.
This method gives you a flat, solid bottom that prevents sagging when the basket is full. If you want a lid, plan for a separate panel that extends beyond the basket opening with a hinge made of fabric or bias tape. Decide on dimensions first: measure a selection of your sewing tools and add at least an inch of ease so things do not get stuck. A typical desktop basket is about 10 inches long, 6 inches wide, and 5 inches deep, but you can customize freely.
Measuring and Cutting Fabric for Your Basket
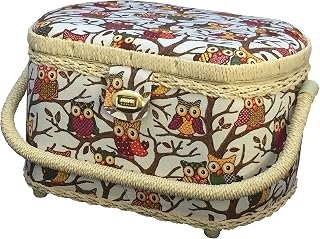
Michley Large Premium Owl-patterned Sewing Basket with 41-PC Sewing Kit, 10.5-inches by 8-inches by 6.7-inches
Check PriceAccuracy at this stage determines whether your basket sits level. For a rectangular basket, you will cut one long piece for the outer wall that wraps all four sides, plus a bottom piece. If your final dimensions are Length x Width x Height, cut the wall piece as (Height + 1.5 inches) by (2*Length + 2*Width + 1 inch for seam allowance). The bottom piece is (Length + 1 inch) by (Width + 1 inch). Cut identical pieces from lining fabric and interfacing.
Use a rotary cutter and a quilting ruler on a self-healing mat for crisp, straight edges. Mark fold lines where the corners will turn. For a round basket, calculate the circumference of the base, then cut a rectangle with height plus seam allowance by circumference plus seam allowance, and a circle for the bottom. Do not forget to add notches or small snips into the seam allowance on curved edges so they lay flat when turned.
Sewing the Main Basket Body
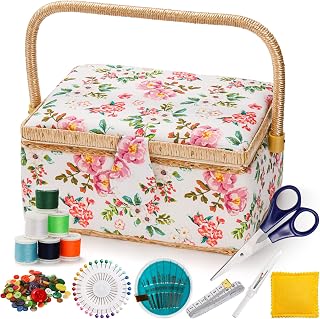
ZOOFOX Sewing Basket with Accessories, Wooden Sewing Kit Storage Box with Removable Tray, Vintage Sewing Kits Carrying Bag for Sewing Mending, Beginner, Professional, Floral Print, Gift for Christmas
Check PriceFuse the interfacing to the wrong side of the outer fabric and the lining according to the manufacturer’s instructions. Start by sewing the short ends of the wall piece right sides together to form a loop, using a half-inch seam allowance. Press the seam open. Next, pin the loop to the base piece, matching right sides and aligning the corners of the base with the side seams and fold markings. Sew slowly around, pivoting at the corners.
To create a crisp box shape, you can box the corners: after sewing the wall to the bottom, pinch each corner so the side seam aligns with the bottom seam, then sew across to create a flat corner. This technique adds volume and stability. Repeat the entire process with the lining fabric. Turn the outer basket right side out, but keep the lining wrong side out. Do not turn the lining yet.
Adding a Sturdy Lining
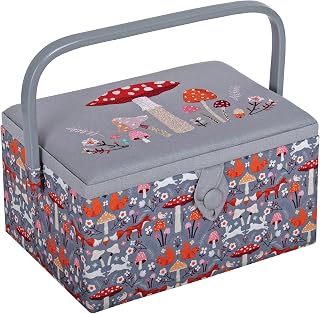
Hobby Gift Medium Sewing Box Organiser | Fabric Covered Storage Box, Handle, Internal Tray, Pin Cushion and Pocket, For Sewing, Quilting and Knitting Supplies
Check PriceSlip the lining inside the outer basket so the wrong sides are together. Align the top raw edges. If you want a removable base stiffener, now is the time to cut a piece of plastic canvas or cardboard slightly smaller than the bottom dimensions, wrap it in a scrap of fabric, and slide it between the outer and lining layers before closing. Pin the top edges together all the way around.
You can either bind the raw edge with bias tape or turn under both raw edges inward and topstitch close to the folded edge. The bias tape method is durable and gives a clean frame-like finish. Sew a wooden handle or fabric tabs onto the exterior sides before closing if your design includes them. If you prefer a zippered closure, you can insert a zipper panel into the lining top, but a simpler magnetic snap or ribbon ties work well for a classic look.
Creating Interior Pockets and Dividers
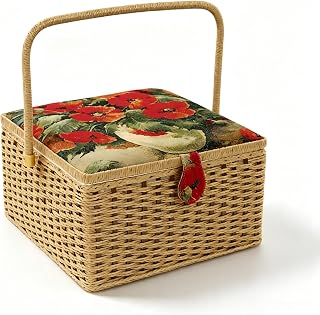
Extra Large Sewing Baskets for Adults Clearance Portable Storage Basket for Sewing Supplies with Tray Needlecraft Storage Basket for Storing Needles, Threads & Scissors, 12.4″X12.4″X7.48″
Check PriceA sewing basket really shines when it keeps tiny notions from getting lost. Before joining the lining to the outer shell, sew pockets onto the lining pieces. Patch pockets sized for thread spools, a zippered vinyl pocket for needles, and elastic loops for scissors are all fantastic additions. To make a simple spool pocket, cut a rectangle slightly wider than a spool and sew vertical lines to divide it into compartments.
Attach a piece of felt or a magnetic sheet inside the basket to hold metal tools. For dividers, you can create fabric-covered cardboard partitions that slide into a sleeve sewn into the base. Alternatively, sew small fabric bins that sit inside the main basket and can be lifted out individually – similar to a removable tray. This modular approach means you can rearrange your layout as your tool collection changes. Just remember to account for the extra bulk when cutting your lining and outer pieces.
Constructing a Padded Lid and Handle
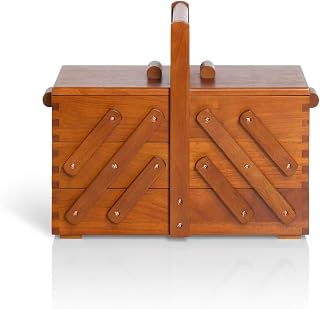
Prym Wooden Sewing Box, White
Check PriceA lid turns a simple bucket into a protective, dust-proof storage container. Measure the top opening and cut two fabric panels (outer and lining) plus interfacing in the same shape, adding a half-inch seam allowance all around. If you want a domed lid, add a slight curve to the edges. Fuse the interfacing, then sew the panels right sides together, leaving a turning gap.
Clip curves, turn, press, and slip-stitch the gap closed. Attach the lid to the back of the basket by sewing a strip of fabric or bias tape as a hinge. Add a small loop to the front lid edge and a button or magnetic snap on the basket front. For the handle, cut two fabric strips, interface them, fold the long edges toward the center, and topstitch. Secure the handle to the basket sides with reinforced stitching or rivets for a professional look. The padded lid can double as a tiny ironing surface or a place to stick pins if you cover it with wool felt.
If you are not ready to sew a full lid, a drawstring cover made from a circle of fabric with a casing and ribbon is a quick and charming alternative. It gives a vintage silhouette and keeps everything hidden.
Embellishments and Personalization
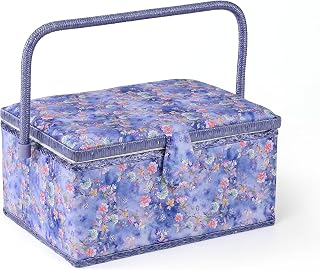
Sewing Basket with Sewing Supplies, Large Sewing Box for Accessories Storage, Purple Flower
Check PriceThis is where you really make the basket your own. Embroider your initials on the lid or use decorative stitches on your machine around the top edge. Add lace trim, ric-rac, or pom-pom fringe to seams. For a vintage vibe, tea-dye your outer fabric before cutting. You can also attach a tiny patchwork pincushion to the lid interior or sew a measuring tape ribbon along the outside for a functional, cute detail.
Fabric-covered buttons, wooden beads on the handle ties, and hand-quilted panels turn a simple utility item into a heirloom piece. If you are making the basket as a gift, tuck in a few coordinating thread spools (The Spruce Crafts suggests including a starter kit) to complete the presentation. Remember that heavy embellishments should not interfere with the closure or make the basket tippy, so place them thoughtfully.
Upcycling a Basket You Already Have
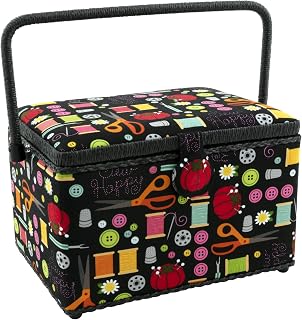
Dritz Large Sewing Basket, Black Sewing Notions
Check PriceIf the idea of constructing a basket from scratch feels daunting, you can still learn how to make a sewing basket by transforming a thrifted wicker basket, a cardboard box, or even a sturdy shoebox. Cover the exterior with quilted fabric, gluing and stitching it in place. Line the interior with a padded fabric panel that includes pockets. Add a fabric-covered lid by attaching a wooden plaque with hinges.
This hybrid approach saves time and reuses materials you already have. The key is to measure carefully and create a tight, smooth fit without bumps. A coat of mod podge under the fabric can help adhere it to a wooden or cardboard surface, but be mindful of drying time. You can still personalize with trim, handles, and a padded pincushion top.
Comparing DIY vs. Store-Bought Sewing Baskets
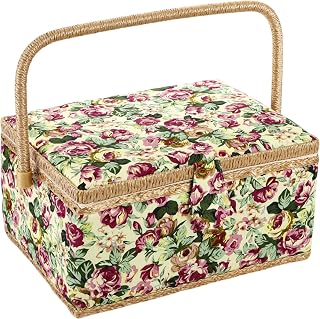
ZOOFOX Large Sewing Basket, Vintage Wooden Sewing Box with Removable Tray, Rose Floral Print Design Sewing Kit Storage Box for Sewing Mending, Beginner, Professional, No Accessories
Check PriceStore-bought baskets like the ones you see above are convenient and often come with pre-filled kits, but they cannot match the customization of a handmade solution. A DIY basket allows you to select exactly the fabric print, pocket layout, and size you need. It can be as large or as petite as your notion collection demands. On the other hand, a well-made purchased basket can save significant time and provide a polished wooden frame that is hard to replicate without woodworking skills.
When comparing cost, a homemade basket using high-quality quilting cotton and heavy interfacing may run $15-$25, while a comparable commercial basket often costs $30-$60. Both have their place. Many sewists find joy in crafting their own, then supplement with a small purchased organizer for travel kits. If you decide to buy, check the product cards spread throughout this guide for some excellent ready-made options that inspired many of the DIY features described here.
Frequently Asked Questions
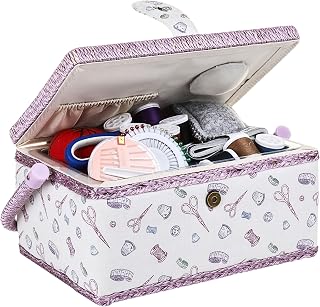
Large Wooden Sewing Basket with Accessories Sew Storage Organizer Box | White Purple Sewing Basket with Complete Kit Tools Removable Tray Tomato Pincushion
Check PriceCan I make a sewing basket without a sewing machine?
Yes, you can hand-sew the entire basket using a backstitch for strength. It will take longer, but the result is equally charming. For no-sew options, use a sturdy pre-made box and cover it with fabric glued in place with permanent fabric glue, though stitching is more durable.
What is the best fabric for a stiff sewing basket?
Heavyweight cotton canvas or duck cloth combined with Peltex or Timtex ultra-firm interfacing gives a remarkably rigid structure. Linen-look blends also work well and provide a crisp finish. Avoid stretchy fabrics; they will not hold the shape.
How do I clean a fabric sewing basket?
Spot clean with a damp cloth and mild soap. Most fabric baskets cannot be machine-washed, especially if they contain cardboard or heavy interfacing. If you anticipate needing frequent cleaning, line the interior with a wipe-clear coated fabric.
Can I add a removable tray to my DIY basket?
Absolutely. Build a slightly smaller fabric box that sits inside the main basket, with heavy interfacing in its base. The tray can have its own dividers. Many store-bought inserts inspire this feature, and you can find a large wooden sewing basket with accessories that demonstrates the concept well.
Conclusion
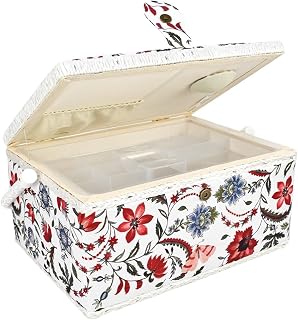
Large Sewing Basket with No Accessories and Removable Tray | Bright White and Red Sewing Box for Sewing Supplies, Ideal for Professional Seamstress
Check PriceLearning how to make a sewing basket is a rewarding project that combines practical storage with creative expression. Once you master the basic fabric bucket construction, you can endlessly adapt the pattern to suit your sewing room aesthetic. The feeling of opening a lid you sewed yourself and seeing all your tools neatly arranged is genuinely motivating. Whether you build a simple drawstring tote or a fully structured box with a padded lid and interior dividers, your handmade basket will become a cherished part of your sewing routine. Gather your supplies, measure twice, and enjoy the process of stitching a home for your favorite notions.

Disclosure: As an Amazon Associate, we earn from qualifying purchases at no extra cost to you. Our posts are created with AI tools and human editing.