
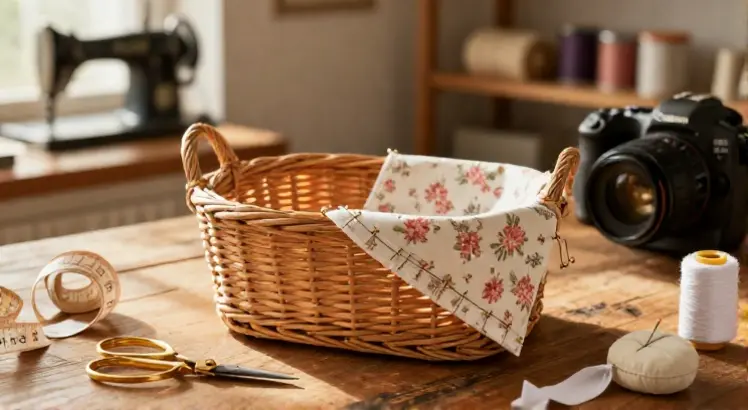
A sewing basket is more than just storage; it is a treasured heirloom passed down through generations. Over time, the fabric lining can become torn, stained, or simply outdated. Learning how to recover a sewing basket is a rewarding project that breathes new life into a cherished item. It combines the creativity of sewing with the satisfaction of restoration.
Many crafters shy away from this project, assuming it requires expert upholstery skills. The truth is, with basic materials like cotton fabric, batting, cardboard, and a hot glue gun, you can completely transform a tired-looking basket. This guide provides actionable steps to achieve a professional-looking finish without dismantling the basket frame.
Before you pick up your scissors, it is crucial to understand the basket’s structure. Most vintage sewing baskets consist of two main parts: the outer shell and the inner lining. The outer part often features a printed fabric that holds the wicker shape, while the interior includes padded walls and a pocketed lid. Whether you are restoring a family antique or refreshing a thrift store find, the process remains similar. For those who love organizing, a well-maintained basket makes accessing your best sewing kits for adults supplies effortless.
Assessing the Basket and Gathering Materials
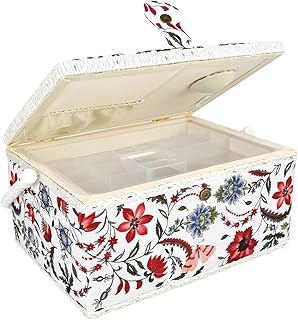
Large Sewing Basket with No Accessories and Removable Tray | Bright White and Red Sewing Box for Sewing Supplies, Ideal for Professional Seamstress
Check PriceBegin by inspecting the damage. Is the fabric merely faded, or has the wicker structure cracked? If the wicker itself is broken, you must repair it first using wood glue and clamps. If only the fabric is compromised, you are ready to proceed. Pay close attention to how the old fabric is attached. Most original linings are glued directly to cardboard inserts that slide into the basket base and lid.
Gathering the right materials beforehand makes the job seamless. You will need a screwdriver to remove hinges if you plan to separate the lid, though covering it intact is often easier. A high-quality sharp pair of fabric scissors prevents fraying when cutting your pattern pieces.
- Approximately 1 yard of mid-weight cotton or linen fabric
- Thin cotton batting or fleece for padding
- Heavy chipboard or thick craft cardboard
- Hot glue gun with high-temperature glue sticks
- Spray adhesive for large flat areas
- A seam ripper to deconstruct the original lining without tearing the wicker
- Bias tape or decorative trim to finish raw edges
When choosing fabric, avoid heavy upholstery weights that add too much bulk. Quilting cotton works perfectly because it stretches slightly to navigate curves. The fabric should reflect your style, but also consider how it hides stray threads. Busy patterns are forgiving and complement the vintage aesthetic of a sewing room.
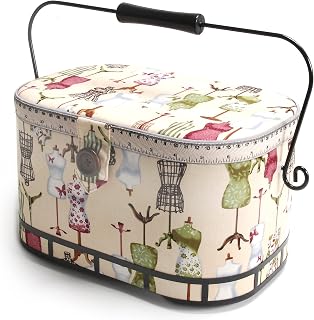
Dritz Large Oval Sewing Basket with Metal Handle, Vintage Dress Form Print
Check PriceCreating the Pattern Pieces and Padding
Pattern creation is the most critical step in learning how to recover a sewing basket accurately. Do not discard the old lining. Carefully remove it using a seam ripper so you can trace the panels onto your new material. If the original liner has disintegrated, use butcher paper to press into the basket cavities and trace the shapes.
The lid interior often features a gathered pocket. To recreate this, measure the diameter of the lid and cut a circle of fabric roughly 1.5 times that diameter. You can run a gathering stitch along the perimeter to pull it tight. The base usually consists of two side walls and a bottom panel. Remember to add a half-inch seam allowance to every fabric piece to wrap around the cardboard inserts securely.
Padding transforms a stiff basket into a luxurious storage space. Cut the cotton batting to match your cardboard inserts exactly. Do not add extra seam allowance to the batting; it should sit flush on the cardboard. Use spray adhesive to bond the batting to the cardboard. A lumpy finish results from uneven batting, so smooth it out completely. When placing the padded inserts back into the wicker, they should fit snugly without buckling.
Consider this the foundational layer of your restoration project. By ensuring the base structure is solid, you guarantee the basket will last for another decade. A properly padded surface also protects delicate notions like needles and bobbins from bouncing against the hard wicker base.
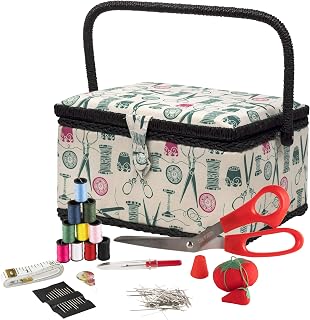
SINGER Large Sewing Basket Kit, Vintage Spools, Notions Pack, 127 Count
Check PriceAttaching Fabric to the Lid and Handles
The lid is the focal point of any sewing basket, so extra care is needed here. Start by removing the lid if it detaches easily. If the hinges are rusted, taping off the wicker allows you to work without dismantling the hardware. Drape your new padded insert with the fabric, pulling it taut and securing it on the backside with hot glue.
For a gathered pocket, mark the center of the fabric circle. Cut a slit and finish it with bias tape to create a clean opening. This pocket traditionally held measuring tape or scissors. Once the pocket is constructed, attach the fabric to the cardboard insert. Pull the gathering threads tightly so the elasticized pocket lies flat. Over-stretching can cause the cardboard to warp, so maintain steady, even tension.
Reattach the covered insert to the wicker lid using generous amounts of hot glue. Press firmly and let it cool completely. The raw edges of the fabric should be concealed. You can use a length of decorative braided trim or a thick satin cord glued along the rim to cover the seam line. This creates a polished look similar to a professional sewing box organizer.
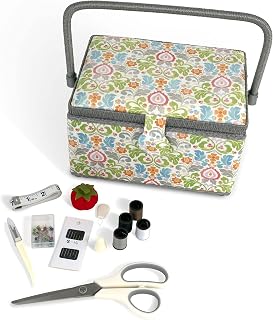
Dritz Medium Sewing Basket Kit Filled with Essential Sewing Supplies
Check PriceLining the Main Body and Bottom Tray
The main body cavity holds the bulk of your supplies, so functionality is key. The lining typically consists of a continuous band of fabric around the inner wall and a separate oval piece for the floor. If the basket tapers outward, the wall piece will need a slight curve. A simple way to achieve this is to use the bottom piece as a guide for the circumference, adding extra width to account for the taper.
Wrap your fabric around the corresponding wall cardboard. Secure it on the back with hot glue, ensuring the front side is perfectly smooth. Inserting the wall liner can be tricky. Roll it slightly to fit it into the basket, then push it firmly against the wicker. If your basket had a removable bottom tray, that requires a fresh cover as well. These trays often sit on wooden support rails and must not be too thick after recovering, or they will get stuck.
For the pin cushion under the lid, often original to vintage baskets, lightly stuff it with polyester fiberfill before sealing the edges. This gives a plush, domed look. If your basket lacks this feature, consider adding one. It serves as a highly functional spot to store needles while keeping them instantly accessible. Navigating the tight curves of a compact basket can be challenging, but a best fabric glue for clothes type formula helps secure tricky edges where a gun won’t fit.
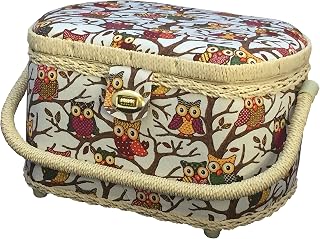
Michley Large Premium Owl-patterned Sewing Basket with 41-PC Sewing Kit, 10.5-inches by 8-inches by 6.7-inches
Check PriceExecuting a No-Sew Recover Method
Not everyone wants to thread a needle for a craft storage project. You can successfully learn how to recover a sewing basket using a no-sew technique. This relies entirely on fabric glue sticks, spray adhesive, and a hot glue gun. The method is fast, durable, and surprisingly neat.
Instead of hemming the edges of your fabric panels, you can utilize fray-stop liquid. Cut the fabric to size, apply the solution to the edges, and allow it to dry before gluing. Alternatively, fold the raw edge back against the cardboard and glue it down. This creates a clean line without a single stitch. The no-sew approach works exceptionally well for rigid materials like chipboard because the glue holds the fabric in a flat, static position unlike fabric that might shift around during sewing.
For the gathered pocket, instead of a thread running stitch, you can use elastic cord. Cut a piece of elastic shorter than the circumference of the raw pocket circle. Stretch the elastic as you hot glue it right on the raw edge of the fabric circle. When the elastic snaps back, it instantly creates the gathered effect. This technique is a clever hack for beginners intimidated by large restoration projects.
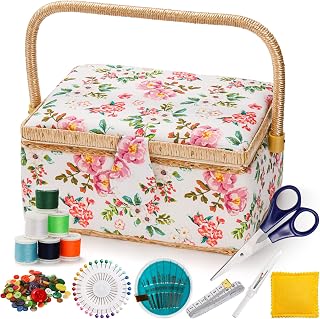
ZOOFOX Sewing Basket with Accessories, Wooden Sewing Kit Storage Box with Removable Tray, Vintage Sewing Kits Carrying Bag for Sewing Mending, Beginner, Professional, Floral Print, Gift for Christmas
Check PriceAdding Final Embellishments and Trim
The difference between a homemade look and a high-end restoration lies in the trim. Gimp braid, twisted cord, and decorative lace mask imperfections. Run a bead of fabric glue along the rim where the liner meets the wicker and press the trim into place. This seals the transition and gives the basket a structured, crisp outline.
You might add a custom label to the inside bottom of the basket. This is a wonderful touch if you are restoring a family heirloom. Print the original owner’s name and the date of restoration on printable fabric sheets. Seal it and glue it down flat. For the exterior, if the wicker looks dull, a light coat of shellac or wicker-safe spray paint can modernize the entire look without changing the fabric.
Consider sewing a matching needle book or a small drawstring bag from the leftover fabric. This creates a beautiful matching set inside your sewing space. A recovered basket also deserves a spot where it is displayed proudly, not hidden in a closet. Placing it on a shelf adds a charming, nostalgic touch to your decor while keeping everything organized.
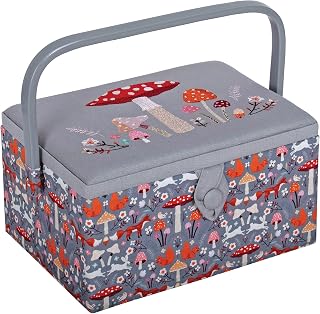
Hobby Gift Medium Sewing Box Organiser | Fabric Covered Storage Box, Handle, Internal Tray, Pin Cushion and Pocket, For Sewing, Quilting and Knitting Supplies
Check PriceFrequently Asked Questions on Restoring Baskets
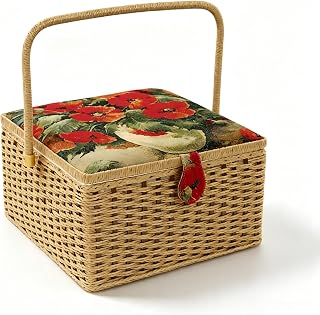
Extra Large Sewing Baskets for Adults Clearance Portable Storage Basket for Sewing Supplies with Tray Needlecraft Storage Basket for Storing Needles, Threads & Scissors, 12.4″X12.4″X7.48″
Check PriceCan I reuse the cardboard inserts from the old basket?
Absolutely, unless they are moldy or warped. Reusing old inserts saves time as they are already perfectly shaped to the basket. If they smell musty, spray them with a mixture of vinegar and water, then dry them in the sun before covering with new fabric.
What is the best material to use for a sewing basket lining?
Mid-weight cotton is the best choice. It is easy to manipulate around curves, withstands glue, and breathes well to prevent moisture buildup. Avoid synthetics that might melt under high-temp hot glue guns.
How do I clean the wicker before recovering?
Use a soft brush and a mild soap solution. Do not soak the wicker. Dry it immediately with a microfiber cloth. Woven natural fibers become brittle and break if they sit wet for too long. A vacuum with a brush attachment also removes dust efficiently.
Is sewing or gluing better for basket recovery?
Gluing is the industry standard for basket recovery because it anchors the fabric perfectly flat against the cardboard inserts. Sewing is useful for creating the pocket, but a combination of both yields the most professional results.
My basket has a plastic tray. Can I cover that too?
Yes. Since you cannot sew through plastic, rely on spray adhesive and fabric. Sand the plastic lightly to create texture so the glue can grip. Wrap the fabric underneath, trimming out notches for hinges to maintain full movement.
Tips for Maintaining Your Recovered Basket
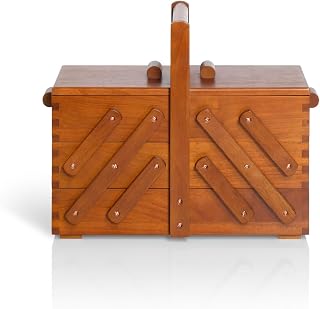
Prym Wooden Sewing Box, White
Check PriceOnce you have perfected how to recover a sewing basket, maintenance is simple. Keep it out of direct sunlight to prevent fading. A fabric protector spray can be applied to the interior to repel lint and dust. If you use your basket daily, treat the hot glue seams gently. While high-temperature glue is strong, excessive flexing of the wicker frame can pop a seam.
Refreshing the basket also inspires a decluttering session. Return your tools with intention, keeping the most used items in the top tray. If you find your toolkit has outgrown the basket, it might be time to explore modern replacements. Restoring a vintage piece offers a tactile connection to sewing history, much like learning how to do embroidery on clothes by hand for beginners, it preserves a timeless skill. Once complete, step back and admire how a simple fabric change can turn a forgotten object into a functional work of art.
Conclusion: Crafting a Legacy with Fabric and Glue
Mastering this restoration technique saves money and continues the story of a cherished possession. The process requires patience, but it does not require advanced sewing knowledge. As you place the final piece of trim, you realize the basket is no longer just a container; it is a piece of personalized decor that reflects your passion for the craft.
Every time you lift the lid, the fresh fabric and tidy interior will spark joy. This DIY journey proves that with a hot glue gun and a yard of beautiful fabric, even the most distressed sewing basket can find a second life. Now fill it up with your favorite threads, pour a cup of tea, and enjoy the beautiful order you have created.

Disclosure: As an Amazon Associate, we earn from qualifying purchases at no extra cost to you. Our posts are created with AI tools and human editing.