
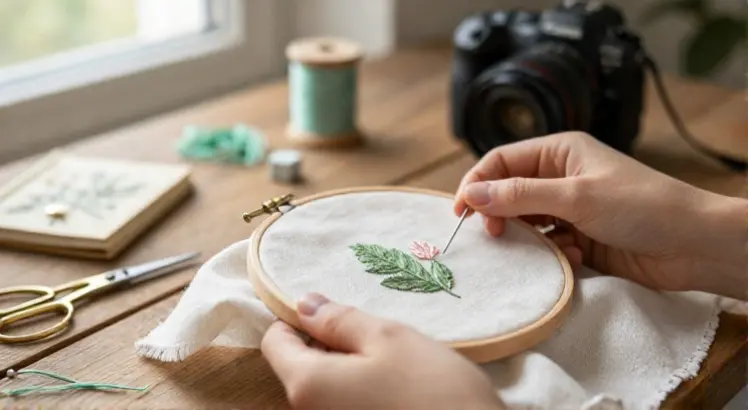
Learning how to start embroidery can feel like standing at the edge of a vast, colorful world. Threads, needles, hoops, and dozens of stitch names swirl around in online tutorials, and it is easy to feel overwhelmed before you even make your first stitch. But here is the truth: embroidery is one of the most accessible and forgiving creative hobbies you can pick up.
You do not need a sewing machine, a dedicated craft room, or years of experience. All you really need is a needle, some thread, a piece of fabric, and a willingness to learn. This guide on how to start embroidery walks you through every essential step, from gathering your first supplies to completing a simple project you can feel proud of. Whether you dream of stitching floral designs onto tote bags, personalizing gifts, or simply finding a relaxing evening ritual, you are in the right place.
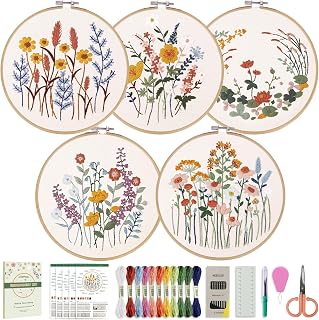
CYANFOUR 5 Pack Beginner Embroidery Kit for Adults with Video
Check PriceWhat Is Embroidery and Why Is It So Popular Right Now
At its core, embroidery is the art of decorating fabric using a needle and thread. It has been practiced for thousands of years across cultures worldwide, from Chinese silk embroidery to intricate European crewelwork. Today, hand embroidery has experienced a massive resurgence.
Social media platforms are filled with modern hoop art, whimsical floral designs, and stitched quotes that blend traditional techniques with contemporary aesthetics. People are drawn to embroidery because it is portable, affordable, and deeply meditative. Unlike fast-paced digital activities, stitching forces you to slow down, focus on one motion at a time, and engage your hands in a way that feels grounding. Plus, the low barrier to entry means anyone can learn how to start embroidery without a major investment.
Essential Tools You Need to Start Embroidery
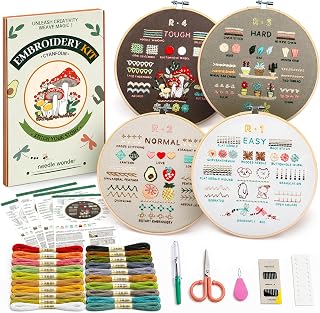
CYANFOUR Embroidery Kit for Beginners with Step-By-Step Guidance & Videos
Check PriceBefore you dive into your first project, you need a handful of basic supplies. The good news is that the startup cost is minimal compared to many other hobbies. Here is a breakdown of what you actually need and what you can skip for now.
Embroidery Hoops
An embroidery hoop holds your fabric taut while you stitch, which helps maintain even tension and prevents puckering. For beginners, a wooden or bamboo hoop measuring 6 to 7 inches in diameter is ideal. It fits comfortably in your hand and gives you enough working space without being unwieldy. Look for hoops with a brass screw closure rather than plastic ones, as they grip the fabric more securely. You can start with one hoop, but having two or three in different sizes gives you flexibility as you grow.
Needles
Embroidery needles have larger eyes than standard sewing needles, which makes threading embroidery floss much easier. Sizes range from 1 to 12, with higher numbers indicating thinner needles. A pack of assorted sizes, such as 3, 5, and 7, covers most beginner needs. Crewel needles with sharp points work well on woven fabrics, while tapestry needles with blunt tips are better for evenweave or counted-thread work. Start with crewel needles for your first projects.
Thread and Floss
Stranded cotton embroidery floss is the most common thread for beginners. Brands like DMC and Anchor produce high-quality six-strand floss in hundreds of colors. You can separate the strands to adjust thickness, typically using two or three strands for most stitches. Cotton floss is affordable, widely available, and easy to work with. Avoid cheap unbranded threads at first because they tend to tangle, fray, and bleed color when washed. A small palette of 10 to 15 colors is plenty to start.
Fabric
For your first attempts, choose a medium-weight woven fabric with a tight weave. Cotton muslin, quilting cotton, and linen blends are excellent options. These fabrics hold stitches well and do not stretch out of shape easily. Avoid stretchy knits, loosely woven burlap, or slippery silks until you have more experience. If you want detailed guidance on fabric selection, take a look at this article on the best fabrics for beginner embroidery projects.
Other Handy Tools
- Small sharp scissors or embroidery snips for cutting thread cleanly
- A water-soluble fabric marker or pencil for transferring designs
- A needle threader if you struggle with threading
- A thimble to protect your fingertip during dense stitching
- A small magnet board or needle minder to keep track of your needle
Many of these items come bundled in embroidery starter kits designed for absolute beginners, which can save you time and ensure compatibility between tools.
Understanding Embroidery Floss and Color Selection
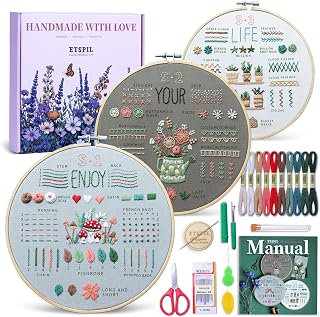
ETSPIL Embroidery Kit for Beginners, 4K Step-by-Step Video
Check PriceSix-strand embroidery floss is versatile because you can peel off individual strands to control stitch thickness. For fine details, use one strand. For standard line work and filling, two or three strands work beautifully. Using all six strands creates a chunky, textured look but can be harder to pull through fabric smoothly. When choosing colors, start with a limited palette of complementary shades. Monochromatic designs in blues, greens, or warm earthy tones look sophisticated and are forgiving for beginners. As you gain confidence, you can explore variegated threads that shift colors along the strand, adding visual interest without extra effort.
Basic Embroidery Stitches Every Beginner Should Learn
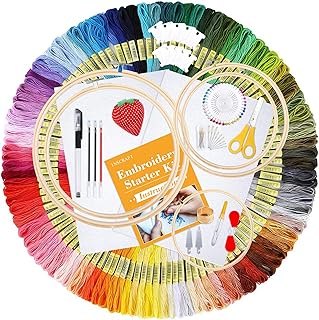
INSCRAFT 304 Pack Embroidery Kit, 200 Colors Threads
Check PriceYou do not need to memorize dozens of stitches to create beautiful pieces. Mastering just a handful of fundamental stitches opens up endless design possibilities. Here are the five stitches that form the backbone of most beginner projects.
Running Stitch
The running stitch is the simplest of all. You push the needle up through the fabric at one point and down at another, creating a dashed line. It works well for outlining shapes, adding texture, and creating borders. Keep your stitch lengths consistent for a neat appearance.
Backstitch
The backstitch creates a solid, unbroken line and is perfect for outlines and lettering. To execute it, bring the needle up a stitch length ahead of your previous stitch, then insert it back down at the end of the last stitch. This backward motion fills the gap, resulting in a clean continuous line.
Satin Stitch
The satin stitch fills shapes with smooth, dense rows of thread. You lay parallel stitches close together across the shape, covering the fabric completely. This stitch is excellent for flower petals, leaves, and geometric designs. Tight hoop tension is essential for a polished satin stitch finish.
French Knot
French knots add tiny raised dots that work wonderfully for flower centers, eyes, and textured details. Wrap the thread around the needle once or twice, then insert the needle back near the entry point while holding the wraps taut. With practice, these little knots become second nature.
Chain Stitch
The chain stitch creates a looped line that resembles small chain links. It is slightly more advanced but adds a beautiful dimension to outlines and decorative bands. Each stitch loops through the previous one, forming a textured raised line that stands out from the fabric.
How to Set Up Your First Embroidery Project
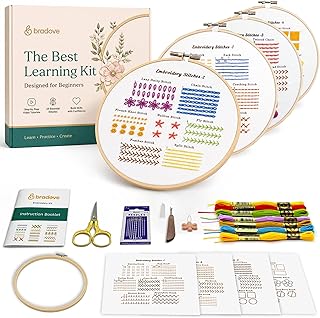
Bradove Classic Embroidery Learning Kit for Adults and Kids
Check PriceNow that you have your tools and know a few stitches, it is time to start your first project. Follow these steps for a frustration-free beginning.
Step 1: Choose a Simple Pattern
Pick a design with clear outlines and minimal intricate details. Botanical motifs, simple geometric shapes, and small lettering designs are excellent choices. Many free patterns are available online, or you can trace a simple shape from a coloring book. Avoid complex shading or multi-layered designs until you feel comfortable with basic stitches.
Step 2: Transfer the Design
Place your fabric over the printed pattern and trace it using a water-soluble fabric marker or a heat-erasable pen. You can also use carbon transfer paper made specifically for fabric. Hold the fabric up to a window or use a lightbox if you have trouble seeing through it. Make sure your lines are clear but not overly thick, as heavy marks can be hard to cover with stitches.
Step 3: Secure the Fabric in the Hoop
Loosen the screw on your hoop, separate the inner and outer rings, and place the fabric over the inner ring. Press the outer ring down over the fabric and inner ring, then gently tighten the screw. Pull the edges of the fabric to create a drum-tight surface. The fabric should not sag or ripple. Re-tighten as needed while you work, since fabric can loosen over time.
Step 4: Thread the Needle and Knot the End
Cut a length of floss about 18 inches long. Longer pieces tangle more easily. Separate two or three strands from the six, hold them together, and thread them through the needle eye. Tie a small knot at one end, leaving a short tail. Alternatively, use the waste knot method where you place the knot on the top of the fabric a few inches from your starting point and trim it away later.
Step 5: Start Stitching
Begin with the outlines using backstitch, then fill larger areas with satin stitch. Add French knots or chain stitch details as accent elements. Work slowly and focus on consistent stitch lengths rather than speed. Your first piece will not be perfect, and that is completely fine. Every stitch teaches you something new.
Common Mistakes Beginners Make and How to Avoid Them
Embroidery Machine Starter Kit – Everything Needed to Do Machine Embroidery
Check Price- Using fabric that is too loose in the hoop. If the fabric sags, your stitches will pucker and look uneven. Tighten the hoop frequently as you work.
- Cutting thread too long. Long threads twist and knot more often. Stick to arm-length pieces for smoother stitching.
- Skipping the pattern transfer step. Freehand drawing directly onto fabric without a guide often leads to disproportionate designs. Always use a transfer method for consistent results.
- Pulling stitches too tight. Overly tight stitches distort the fabric and create puckers. Aim for gentle, even tension.
- Neglecting to separate floss strands. Using all six strands straight from the skein makes stitches bulky and harder to control. Always separate strands for finer, more professional results.
Hand Embroidery vs Machine Embroidery for Beginners
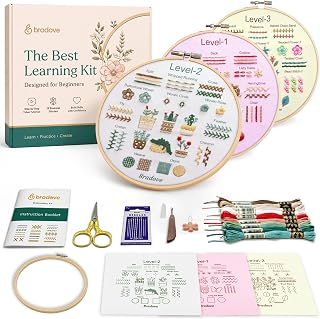
Bradove Beginner Embroidery Kit for Adults and Kids
Check PriceOne question many newcomers ask is whether they should learn hand embroidery or invest in an embroidery machine. Both have their merits, but the answer depends on your goals.
Hand embroidery is inexpensive to start, portable, and deeply creative. You control every stitch, which means every piece has a unique, handmade character. It is ideal for relaxation, personal gifts, and artistic expression. The learning curve is gentle, and you can achieve impressive results within your first week.
Machine embroidery uses a computerized sewing machine to stitch designs automatically. It is faster for producing multiples, such as monogrammed items or small business products. However, the upfront cost is significant, with beginner machines starting at several hundred dollars. There is also a technical learning curve involving software, hooping techniques, and thread tension adjustments.
For most hobbyists, starting with hand embroidery is the smarter path. It builds foundational skills, costs very little, and helps you discover whether you enjoy the craft enough to invest in a machine later. Many embroiderers happily stick with hand stitching for years without ever feeling the need to switch. Resources from established textile arts organizations, such as the Royal School of Needlework, offer extensive stitch libraries and technique guides that validate just how respected and versatile hand embroidery remains in the modern craft world.
How to Care for Your Finished Embroidery
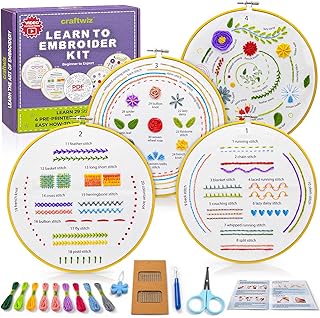
Craftwiz 4-Piece Starter Embroidery Kit for Beginners and Expert
Check PriceOnce you complete a piece, you will want to preserve it. Remove any visible pattern markings by gently rinsing the fabric in cool water if you used water-soluble pens. Avoid scrubbing the stitched areas. Press the embroidery face down on a clean towel with a warm iron to smooth out hoop creases, being careful not to flatten raised stitches like French knots.
If framing in the hoop, trim the excess fabric to about an inch beyond the hoop edge and gather it with a running stitch on the back for a neat finish. For pieces destined for clothing, use a stabilizer on the back to protect stitches during washing.
Frequently Asked Questions About Starting Embroidery
CYANFOUR 5 Pack Beginner Embroidery Kit for Adults with Video
Check PriceHow long does it take to learn embroidery
Most beginners complete a small, satisfying project within a few days of starting. The basic stitches are quick to learn, though mastering tension and consistency takes a few weeks of regular practice. You can create something you are proud of on your very first attempt if you choose a simple pattern and work patiently.
Do I need to know how to sew to start embroidery
Not at all. Embroidery uses different techniques than garment sewing. Many excellent embroiderers have never threaded a sewing machine. The skills are entirely separate, so you can dive into embroidery with zero sewing experience.
What is the easiest stitch for a complete beginner
The running stitch is the easiest and most intuitive. It is simply an up-and-down motion that creates a dashed line. The backstitch is a close second and produces a cleaner, more solid line for outlines.
Can I embroider on any fabric
While you can technically embroider on almost any fabric, tightly woven medium-weight fabrics like cotton, linen, and muslin are the most beginner-friendly. Stretchy, sheer, or very loosely woven fabrics pose challenges that are best tackled after you build foundational skills.
How much does it cost to start embroidery
A complete beginner setup, including a hoop, needles, a few skeins of floss, fabric, and small scissors, can cost as little as $15 to $25. Kits that bundle everything together often provide the best value and eliminate guesswork.
Take the First Stitch Today
Craftwiz 4-Piece Starter Embroidery Kit for Beginners and Expert
Check PriceLearning how to start embroidery is less about having the perfect supplies or natural talent and more about simply beginning. Pick up a hoop, choose a color that makes you happy, and make that first stitch. Your early pieces might have wobbly lines and uneven tension, and that is exactly how it should be. Each project builds muscle memory and confidence.
Before you know it, you will be designing your own patterns, experimenting with textures, and wondering why you did not start sooner. The embroidery community is welcoming, the resources are abundant, and the only real mistake is waiting for the perfect moment. That moment is now. Grab your needle and thread, and let the stitching begin.
