
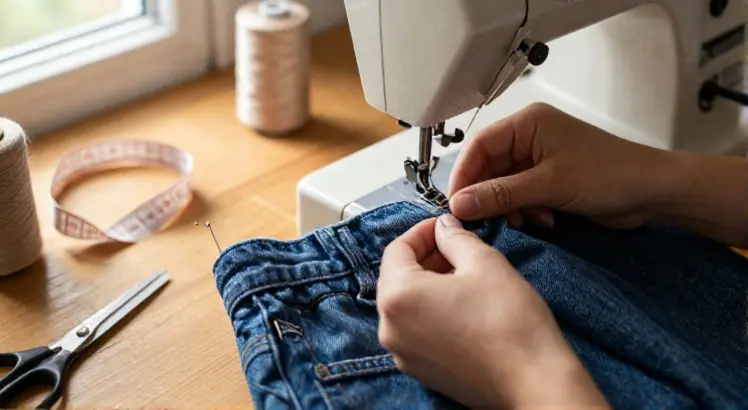
Sewing an elastic waistband can completely transform the fit and comfort of your pants. Whether you are making garments from scratch or repairing a favorite pair, the process is simpler than you think. This guide walks you through every stage, from choosing the right elastic to finishing the final stitch. We will cover professional methods and beginner friendly shortcuts that make the job easy.
Before you start, gather your tools and a bit of patience. With the right technique, your elastic will lie flat, stay put, and stretch smoothly for years. You will also learn how to avoid twisted bands and uneven gathers. Let’s dive into the essential steps for a flawless, comfortable waistband.
Tools and Materials You Will Need
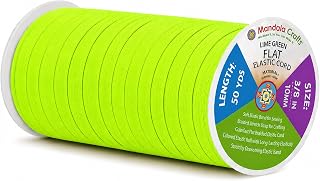
Mandala Crafts 50 Yards 3/8 Inch 10mm Lime Green Elastic Bands for Sewing
Check PriceStart by collecting the right supplies before you sit down at your machine. You will need a length of elastic appropriate for your waistband, sharp fabric scissors, a measuring tape, and a sewing machine with a ballpoint or universal needle. Also keep a large safety pin or a bodkin nearby, plus straight pins or sewing clips to hold layers together. Having the correct elastic for your fabric makes sewing much easier.
Ironing your fabric first eliminates wrinkles that can distort the casing. If you are working with thicker materials like denim, switch to a heavier needle. A small ruler or seam gauge helps you mark precise measurements. These simple tools set the stage for a professional finish every time.
Understanding Elastic Types for Waistbands
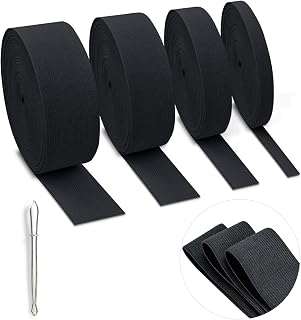
4 Rolls Elastic for Sewing, Black Elastic Band Knit Elastic Spool High Elasticity 0.4/0.6/1/1.5 Inch in Width, 5.5 Yards/Roll for Wigs Waistband Pants Dress Swimwear Belt (Black-4 Rolls)
Check PriceElastic comes in three main forms, and picking the wrong one can ruin your waistband. Knit elastic is soft and plush, making it ideal for lightweight fabrics like cotton or linen because it does not narrow when stretched. Braided elastic is firmer, narrows quite a bit under tension, and suits casings where it won’t be stitched through directly. Woven elastic, often called no roll elastic, stays flat and holds its width beautifully even with heavy wear.
For most casual pants and pajamas, knit elastic provides gentle hold without digging in. Braided elastic works for drawstring casings or projects where you need a thinner profile. If you plan to stitch directly through the band, always choose woven or knit styles. For a deeper dive, check Threads Magazine’s expert resources on elastic properties.
Measuring Your Waist Accurately for Elastic
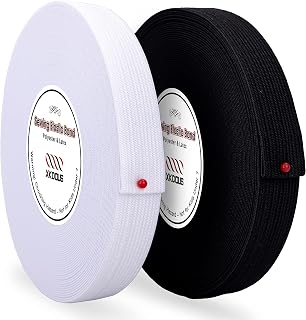
XKDOUS Elastic Band for Sewing, 0.75 Inch 16 Yards,2 Roll,Black and White
Check PriceProper measurement ensures your pants stay up comfortably without sagging. Use a flexible measuring tape and wrap it around the natural waist where the waistband will sit, keeping it snug but not tight. For a casing method, the elastic length should be roughly one to two inches shorter than your waist measurement, adjusting for the stretchiness of the band. Always test the stretch on your body before cutting.
If you prefer a wider elastic band, subtract a little more from the waist circumference because the increased surface area grips better. Write down your measurement and double check it against a pair of well fitting pants for reference. This small preparation step prevents the frustration of elastic that is either too loose or painfully binding.
Cutting the Elastic to the Right Length
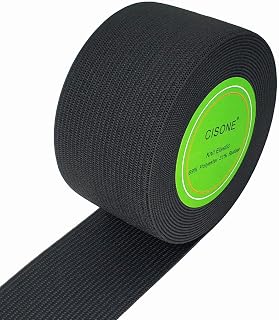
Knit Elastic 1.5 Inch Wide Black Heavy Stretch High Elasticity Knit Elastic Band 5 Yards
Check PriceOnce you have your desired length, cut the elastic with sharp scissors for a clean edge. Add an extra half inch to one inch as a seam allowance for overlapping the ends during joining. Mark the midpoint of the elastic with a chalk pencil or a pin, and then mark the quarter points as well. These reference points will help you distribute gathers evenly later.
Avoid stretching the elastic as you measure and cut because it will spring back and end up too short. Lay it flat on your cutting mat and use a ruler for accuracy. If you are sewing a wide band for a yoga pant waistband, you might need to punch a few tiny air holes with a leather punch to prevent twisting. Treat every cut as the foundation for a flat, comfortable finish.
Creating a Waistband Casing for Your Elastic
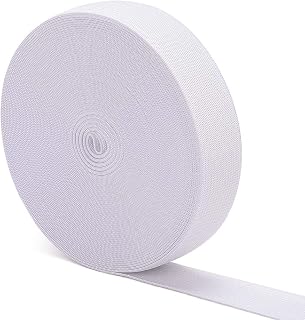
Airisoer Elastic Bands for Sewing 1 Inch x 12 Yards, White
Check PriceThe casing method is the easiest way to achieve a clean, interior elastic waistband. Fold down the top raw edge of the pants by half an inch and press, then fold again by the width of your elastic plus a quarter inch for ease. The channel must be slightly wider than the elastic to allow it to lie flat without twisting. Pin the folded hem in place all the way around, leaving a two inch opening at the back seam or side seam for inserting the elastic.
Sew close to the inner folded edge using a straight stitch, removing pins as you go. Backstitch at the beginning and end to secure the seams. If your fabric ravels, finish the raw edge with a zigzag stitch or serger before folding. This neat tunnel gives the waistband a clean, ready to wear look without any stitching showing on the elastic itself.
Threading Elastic Through the Casing
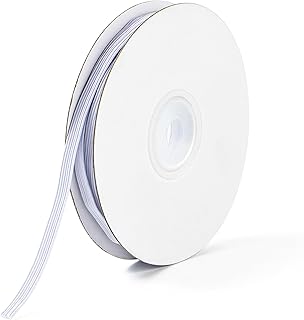
XKDOUS Elastic Band for Sewing, 1/4 Inch 11 Yards,White
Check PriceAttach a large safety pin or a bodkin to one end of the elastic and feed it into the opening of the casing. Gently scrunch the fabric along the pin and push it forward inch by inch, working your way around the entire waistband. Be careful not to twist the elastic inside the channel, keep it flat and oriented correctly. Pull the other end out through the same opening once you complete the circle.
Overlap the two ends by about one inch, making sure the elastic lies smoothly without tension. Check the fit by trying on the pants or laying them flat and comparing to your measurement. Avoid pulling the elastic too tight at this stage, a slight snugness is perfect. Secure the overlap temporarily with a pin so you can adjust before the final stitching.
Sewing Elastic Ends Together Securely
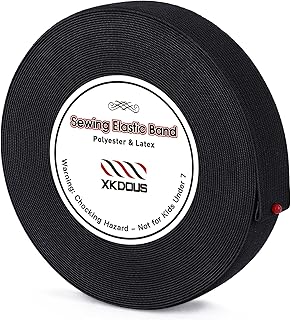
XKDOUS Elastic Band for Sewing, 1 Inch 14 Yards, Black
Check PriceStitch the overlapped elastic ends using a wide zigzag stitch or a triple straight stitch for durability. A zigzag set to medium width and short length allows the seam to stretch with the band without popping. Sew forward and backward a couple of times across the overlap, then stitch a box shape for extra security. Trim the excess elastic close to the stitching to reduce bulk inside the casing.
Tug the elastic gently to test the join before tucking it inside the waistband. Stretch the waistband around to evenly distribute any gathers. Once you are satisfied, sew the opening of the casing closed by topstitching along the existing seam line. This final closure should be nearly invisible and feels smooth against your skin.
How to Attach Exposed Elastic Directly to Fabric
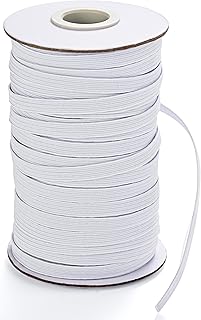
XKDOUS Elastic Band for Sewing, 1/4 Inch 40 Yards, White
Check PriceFor sporty pants or scrubs, sewing the elastic directly onto the wrong side of the fabric creates an exposed, quick finish. Cut the elastic to your exact waist measurement, then divide the elastic and the waistband opening into quarters and mark them. Pin the elastic to the fabric at these quarter points with right sides together if the elastic will be folded under, or wrong side facing if you prefer a decorative outside band. This technique works best with woven or knit elastics that do not narrow when stretched.
Stitch the elastic to the fabric using a wide zigzag or a stretch stitch, stretching the elastic to match the fabric between each pin. Sew all the way around, overlapping the ends, and then fold the elastic to the inside and topstitch again for a clean edge. The resulting waistband hugs the body smoothly and can withstand frequent washing. For a secure hem underneath, you can also learn how to hem pants with a sewing machine.
Sewing Elastic on Stretchy Fabrics for Activewear Pants
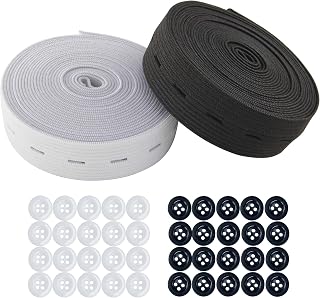
3/4 Inch Width Black & White Sewing Elastic Band With Buttonholes,Flat Waistband Tightener Band Spool for Pants,Kids Adjustable Waist,DIY Crafts (Total 10 Yards,5 yards per color)
Check PriceStretchy knits like spandex or jersey require a different approach because both the fabric and the elastic stretch. Use a high quality knit elastic that mimics the recovery of your material. Cut the elastic slightly shorter than the waist measurement because the fabric itself contributes stretch. Pinning can be tricky on slippery knits, so sewing clips or basting stitches are often more reliable.
Set your machine to a lightning bolt stretch stitch or a narrow zigzag for maximum flexibility. Sew the elastic to the wrong side while gently stretching it, letting the feed dogs move the fabric naturally. After stitching, fold the elastic inward and topstitch with a twin needle for a professional coverstitch look. This method prevents wavy seams and ensures your yoga pants retain their shape through every workout.
Replacing Old Elastic in Existing Pants
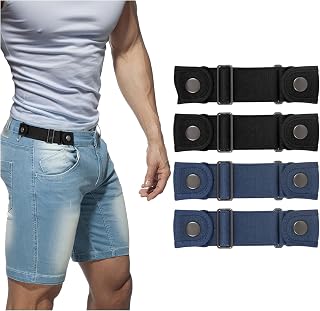
BELTROAD No Buckle Belts for Men Women Side Belt without Buckle Elastic Stretch Adjustable Belt Invisible No Buckle Belt
Check PriceWhen the elastic in your favorite pants loses its snap, you can easily replace it without taking apart the whole garment. First, turn the pants inside out and locate the small opening usually left inside the waistband. Use a seam ripper to gently open a couple of inches of stitching if no opening exists. Fish out the old elastic with tweezers, then cut it and pull it free.
Measure the new elastic against the old piece, but consider shortening it if the original had stretched out significantly. Attach a safety pin and thread the new band through the same casing. Overlap the ends, sew securely, and stitch the casing closed. Your pants will feel brand new again with just a few minutes of effort.
Hand Sewing Elastic for Delicate Fabrics
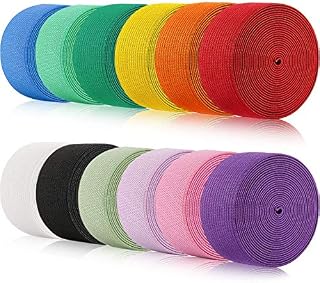
WILLBOND 12 Rolls Elastic Band Stretch,1 Inch X 2.2 Yard,Bright Color
Check PriceIf you are working with very lightweight silk or chiffon, hand sewing gives you maximum control and prevents damage. Choose a soft knit elastic and cut it to the correct length. Use a backstitch or a catch stitch to sew the elastic to the fabric’s edge, stretching the elastic evenly with your free hand. This slow method guarantees that gathers are spaced exactly how you want them.
After attaching, fold the elastic to the inside and slipstitch it down for a nearly invisible finish. Hand sewn elastic waistbands are prized in high end lingerie and couture. Although it takes more time, the result is a delicate, luxurious garment that moves beautifully with your body. Keep your stitches small and consistent for the best appearance.
Common Questions About Sewing Elastic on Pants
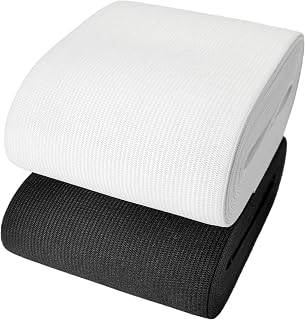
Wide Elastic Band for Sewing, 3″ x 6yds, Black & White Stretch Knit Fabric
Check PriceHow do I keep the elastic from twisting inside the casing? Use an elastic that closely matches the casing width and avoid twisting the band as you feed it. Iron the elastic flat before inserting, and baste one end in place near the opening. After threading, straighten the waistband by hand and shake the pants to let the elastic settle.
Can I sew elastic with a regular straight stitch? A straight stitch will pop when the elastic is stretched, so it’s not recommended for joining elastic ends. Always use a zigzag stitch, triple straight stitch, or stretch stitch for any seam that requires elasticity. However, you can use a straight stitch to close the casing opening where no stretch is needed.
Which width of elastic works best for pants? For children’s pants or lightweight pajamas, three quarter inch or one inch elastic is ideal. Adult trousers often require one inch to one and a half inch bands for sturdy support. Choose a width that fits comfortably against your skin and matches the casing allowance you planned.
How do I fix an unevenly gathered waistband? Go back to your quarter marks and adjust the elastic manually by pulling tiny sections through the casing until the gathers are uniformly spaced. If the casing was sewn unevenly, you may need to rip out part of the seam and realign the fabric. Patience at the pinning stage prevents most of these issues.
Mastering elastic application opens up a world of comfortable, custom fit clothing. Each method you practice builds confidence for future projects, from simple shorts to elegant trousers. With the techniques covered here, you can fix a saggy waistband in minutes or design a whole new wardrobe. Keep your tools sharp and your elastic flat, and you’ll achieve beautiful results every time.

Disclosure: As an Amazon Associate, we earn from qualifying purchases at no extra cost to you. Our posts are created with AI tools and human editing.