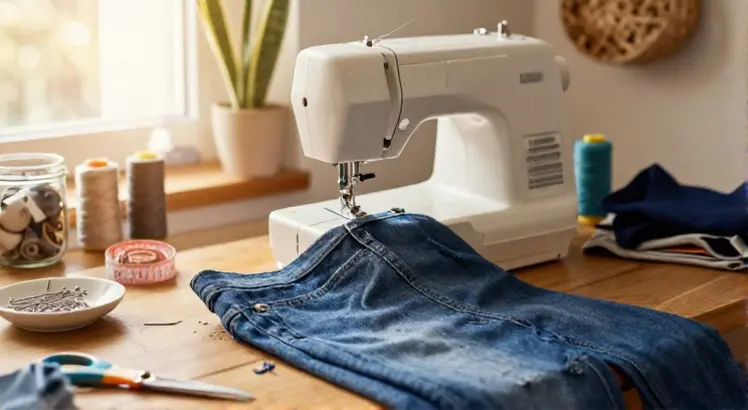
If you’ve ever struggled to get a clean, durable hem on pants without the bulky look of a traditional sewing machine stitch, learning how to hem pants with a serger is a game-changer. Sergers, also called overlockers, cut, sew, and finish edges in one pass, making them ideal for hemming everything from lightweight chiffon trousers to heavy-duty denim jeans. Whether you’re a beginner who just bought your first serger or an intermediate sewist looking to upgrade your hemming workflow, this guide walks you through every step, plus pro tips to avoid common mistakes.
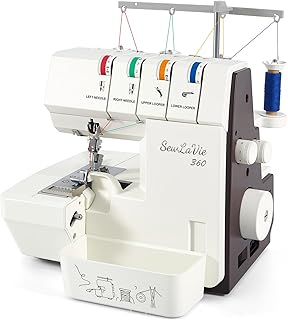
SewLaVie 360 Upgraded Serger Overlock Sewing Machine with Wide-Open Threading
Check PriceWhat You Need to Hem Pants With a Serger
Essential Serger Supplies
Before you start, gather these serger-specific tools to ensure a smooth hemming process. You’ll need a serger threaded with high-quality polyester thread (match the color to your pants for invisible hems, or use contrasting thread for a decorative look). Use serger needles sized for your fabric: size 70/10 for lightweight fabrics, 80/12 for medium weights, and 100/16 for heavy denim or canvas. If you’re unsure whether a serger is the right tool for your project, you can compare key differences between sergers and standard sewing machines to confirm it fits your needs.
Also have extra serger cones on hand in case you run out mid-project, and keep a small screwdriver and tweezers nearby to clear lint or rethread the machine if needed. Most modern sergers have a built-in blade that trims excess fabric as you sew, so you won’t need separate fabric scissors for the hem edge unless you’re trimming a large amount of excess fabric first.
Pants Prep Tools
You’ll also need basic prep tools to measure and mark your pants correctly. A flexible measuring tape is essential for getting accurate inseam and hem length measurements. Use a fabric marker or tailor’s chalk to mark your desired hem line, and have a ruler or seam gauge to ensure even markings around the entire pant leg. Fabric clips work better than pins for holding hems in place, as they won’t leave holes in delicate fabrics. Finally, keep a steam iron and pressing cloth nearby to press the hem before and after sewing.
Step-by-Step Guide: How to Hem Pants With a Serger

Brother Serger, 1034D, Heavy-Duty Metal Frame Overlock Machine
Check PriceStep 1: Measure and Mark Your Desired Hem Length
Have the person who will wear the pants put them on with the shoes they plan to pair with the trousers. Measure from the floor to the desired hem line, then add 1-2 inches of extra fabric for the hem allowance (add more for thicker fabrics like denim, less for lightweight chiffon). Mark this line all the way around the pant leg with tailor’s chalk, using a ruler to keep the line even. Take the pants off and double-check the markings while they’re lying flat to ensure they’re symmetrical on both legs.
Step 2: Prep the Pant Leg Edge
Trim any excess fabric below your marked hem line, leaving exactly the hem allowance you measured. Press the hem allowance up toward the wrong side of the pants using a steam iron, creating a crisp folded edge. For stretchy pants like joggers, use a fabric clip every 2-3 inches to hold the folded hem in place. For slippery fabrics like silk, use a temporary fabric glue stick to hold the hem down instead of clips to avoid slipping.
Step 3: Set Up Your Serger Correctly
Set your serger to a 4-thread overlock stitch for most pant hems (use a 3-thread stitch for very lightweight fabrics). Adjust the stitch length to 2.5-3mm for medium-weight fabrics, and 3-4mm for heavy denim. Thread the serger with your chosen thread, and if you’re hemming heavyweight denim jeans, follow our guide on how to sew durable denim trousers at home for additional needle and thread recommendations. For model-specific setup help, official serger operation guidelines from Singer offer step-by-step threading and tension adjustment instructions.
Step 4: Test Your Serger Stitch on Scrap Fabric
Always test your serger settings on a scrap piece of fabric identical to your pants before sewing the actual hem. Sew a 6-inch test strip, then check the stitch quality: the loops should be even, and the stitch should lie flat without puckering. Adjust the tension dials if needed: lower the needle tension if the fabric puckers, or raise it if the loops are too loose. Once you’re happy with the test stitch, you’re ready to sew the actual hem.
Step 5: Sew the Hem
Turn on your serger and guide the pant leg under the presser foot, aligning the folded hem edge with the serger’s cutting blade. Sew slowly, keeping the fabric fed evenly without pulling or pushing it (the serger’s feed dogs will move the fabric for you). Sew all the way around the pant leg, overlapping the starting stitch by 1 inch to secure the hem. Backstitch isn’t necessary with sergers, as the overlock stitch is self-securing.
Step 6: Finish and Press the Hem
Trim any loose thread tails with small embroidery scissors. Press the finished hem with a steam iron on the wrong side of the pants, using a pressing cloth for delicate fabrics like silk or satin to avoid scorching. For denim or canvas, use a wool pressing mat to apply extra heat and pressure for a crisp finish. Try the pants on one last time to confirm the hem length is correct before wearing.
Serger Hemming Tips for Different Pant Fabrics
Lightweight Fabrics (Chiffon, Silk, Satin)
Use a 3-thread overlock stitch with fine nylon thread for these delicate fabrics to avoid adding bulk. Lower the serger tension slightly to prevent puckering, and use a size 70/10 needle to avoid leaving holes. For slippery satin, use a walking foot attachment on your serger if available to keep the fabric from shifting as you sew.
Medium-Weight Fabrics (Linen, Cotton Twill)
A standard 4-thread overlock stitch with 80/12 needles works perfectly for these everyday fabrics. Press the hem with a steam iron before sewing to remove any wrinkles, and use polyester thread for maximum durability. Linen tends to fray more than cotton, so make sure the serger blade trims at least 1/8 inch of the raw edge to seal the frayed fibers.
Heavyweight Fabrics (Denim, Canvas)
Use a 4-thread overlock stitch with heavy-duty polyester thread and 100/16 denim needles for these thick fabrics. Sew slowly to avoid breaking needles, and increase the stitch length to 3-4mm to accommodate the thick fabric layers. For raw denim, prewash the pants twice before hemming to account for maximum shrinkage.
Common Mistakes to Avoid When Hemming Pants With a Serger
- Pulling the fabric as you sew, which causes puckered hems
- Skipping the scrap fabric test, leading to uneven tension on the final hem
- Using the wrong needle type for your pant fabric, resulting in skipped stitches or broken needles
- Forgetting to prewash pants before hemming, which causes hems to pucker after the first wash
- Cutting off too much fabric with the serger blade, leaving no room to adjust the hem later
FAQ: Hemming Pants With a Serger
Can I hem pants with a serger if I don’t have a coverstitch?
Yes, a standard 4-thread overlock stitch works perfectly for most pant hems. Coverstitch machines create a more traditional-looking hem on the right side of the fabric, but a serger’s overlock stitch is durable, flexible, and lies flat, making it ideal for casual and work pants. You can always add a topstitch with a regular sewing machine after serging if you want a more traditional hem look.
Do I need to prewash pants before hemming with a serger?
Yes, always prewash and dry pants the same way you plan to care for them long-term. Most fabrics shrink slightly after washing, and prewashing prevents your newly hemmed pants from becoming too short after the first laundry cycle. For dry-clean-only pants, steam press them lightly before hemming to remove any factory finishes that might affect the serger stitch.
Can I use a serger to hem elastic waist pants?
Absolutely. Sergers handle stretchy fabrics well, thanks to their looped stitch that stretches with the fabric. Use a 3-thread overlock stitch for lightweight elastic waist pants, and a 4-thread stitch for heavier styles to ensure the hem doesn’t pop when you pull the pants on. Lower the serger tension slightly for very stretchy knit fabrics to avoid puckering.
How do I fix a puckered serger hem on pants?
First, check your serger tension: lower the needle tension slightly if the fabric is puckered on the right side. If the hem is already sewn, press it with a steam iron and a pressing cloth, or use a wool pressing mat to gently stretch the fabric back into shape. For severe puckering, you may need to rip out the serger stitch with a seam ripper and re-sew with adjusted tension settings.
Conclusion
Hemming pants with a serger is faster, more durable, and more professional-looking than using a standard sewing machine for most projects. By following the step-by-step guide above, using the right supplies for your fabric type, and avoiding common mistakes, you’ll get perfect pant hems in half the time of traditional methods. Whether you’re hemming dress pants, jeans, or loungewear, your serger will quickly become your go-to tool for all hemming tasks. Practice on scrap fabric first, and don’t be afraid to adjust your serger settings to match your specific pants fabric.