
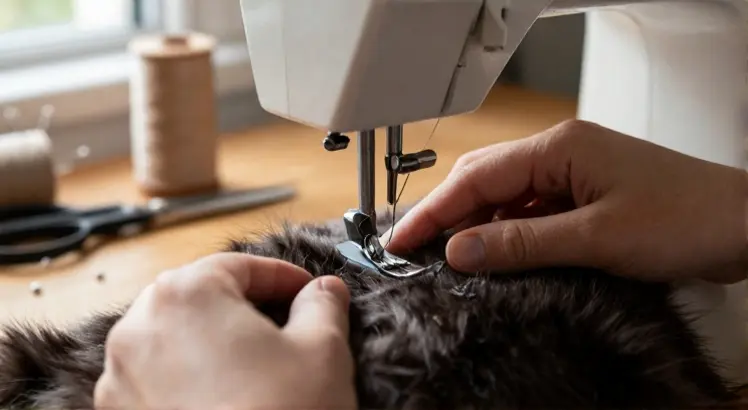
Yes, a regular sewing machine can sew fur, but only if you use the right needle, thread, presser foot, and settings. Many home sewists assume fur requires an industrial or specialty machine. A standard home sewing machine can handle most faux fur and lighter real fur projects when you prepare the material correctly and adjust your technique. This guide explains exactly how to sew fur on a regular machine, what to avoid, and which tools make the process safer.
Can a Regular Sewing Machine Sew Fur? The Short Answer
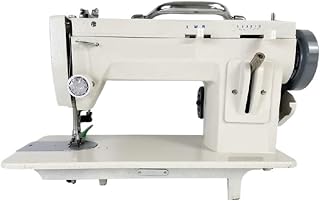
Heavy-Duty Sewing Machine For Fur
Check PriceThe short answer is yes. A regular home sewing machine can sew fur, but success depends on fur type, pile length, and preparation. Faux fur is easier than real fur because it has a fabric or knit backing. Lightweight real fur can also be sewn at home with a sharp needle and slow speed. Thick pelts, dense fur, or multiple layers may challenge a standard machine, but you can still manage them with patience and the right accessories.
Before you start, it helps to know how challenging fur can be, especially with long pile fabrics.
What Types of Fur Can a Regular Sewing Machine Sew?
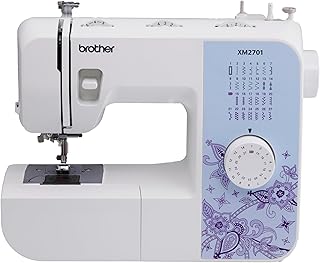
Brother XM2701 Portable Sewing Machine
Check PriceYou can sew several types of fur on a regular sewing machine, but the difficulty depends on the pile length, backing material, and whether the fur is real or synthetic.
- Faux fur: The most common choice for home sewists. A regular machine handles faux fur well with the right needle and slow stitching.
- Real fur: Lightweight real fur such as rabbit or shearling can be sewn on a regular machine. Thick, dense pelts may require a walking foot or specialty machine.
- Fur fabric with knit backing: Stretch fur fabric sews more easily with a ballpoint or stretch needle to avoid skipped stitches.
- Long pile fur fabric: Long pile faux fur is possible, but you must shave the seam allowance to reduce bulk.
Challenges of Sewing Fur on a Regular Machine
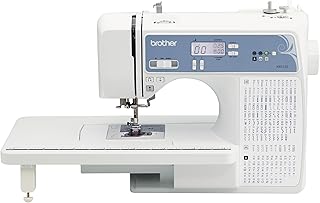
Brother XR9550 Computerized Sewing and Quilting Machine
Check PriceFur presents a few unique problems for a standard machine. Long pile can get pushed into the needle hole or caught under the presser foot. The backing can shift because the pile prevents pins from holding layers. Thick seam allowances create bulk that is hard to topstitch. A regular machine may also skip stitches if the needle is too dull or the wrong type.
- Long pile caught in feed dogs or presser foot
- Hidden seam lines under the pile
- Bulky seams that resist pressing
- Needle drag and skipped stitches
- Backing stretch on knit faux fur
If you plan to sew fur often, consider machines built specifically for fur sewing. For occasional projects, a regular model is usually enough.
Best Needles, Thread, and Settings for Fur
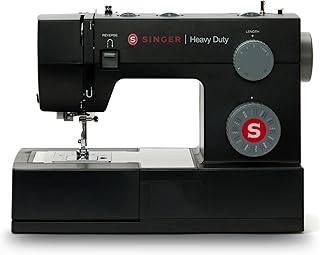
SINGER 4432 Heavy Duty Sewing Machine
Check PriceNeedle Choice
Use a fresh needle. A universal needle works for most faux fur, but a microtex or sharp needle gives better penetration through dense backing. For real fur with leather skin, use a leather needle in size 90/14 or 100/16. If the faux fur has a stretch knit backing, switch to a stretch needle to prevent skipped stitches.
- Faux fur with woven backing: 90/14 or 100/16 universal or microtex
- Faux fur with knit backing: 80/12 or 90/14 stretch needle
- Real fur: 90/14 or 100/16 leather needle
- Dense or layered fur: 100/16 or 110/18 heavy duty needle
Thread Choice
All-purpose polyester thread is strong and slightly stretchy. Nylon thread can work for faux fur, but polyester is easier to find. Avoid cotton thread because it can snap under the strain of thick fur seams. Use the same thread in the bobbin if possible.
Stitch Length and Tension
Set stitch length to 3.0 to 4.0 mm. Short stitches perforate the backing and weaken the seam. Lower the presser foot pressure if your machine allows it. Test on a scrap with two layers of fur and adjust tension until the stitches lay flat without puckering.
- Stitch length: 3.0 to 4.0 mm
- Tension: normal to slightly reduced
- Presser foot pressure: light to medium
- Speed: slow to medium
Presser Feet and Accessories That Help
Heavy-Duty Sewing Machine For Fur
Check PriceA walking foot is the most useful accessory for fur. It feeds the top and bottom layers evenly and keeps the pile from shifting. A Teflon foot or roller foot reduces drag on faux fur. If you do not have a walking foot, use sewing clips instead of pins and gently guide the fabric.
- Walking foot for even feeding
- Teflon or roller foot to reduce drag
- Sewing clips instead of pins
- Seam ripper or needle to pull out trapped pile
- Small scissors or clippers to shave seam allowance
How to Prepare Fur Before Sewing
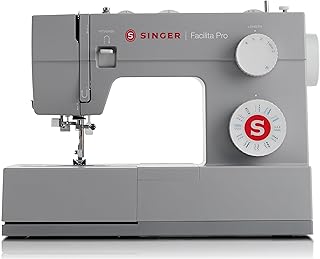
SINGER 4423 Heavy Duty Sewing Machine
Check PricePreparation makes the difference between a clean seam and a messy one. Start by marking the seam line on the backing with chalk or a washable marker. Then shave or trim the pile from the seam allowance only. This reduces bulk and keeps long hairs from getting caught in the stitches. Clip the layers together with sewing clips because pins can disappear in the pile.
- Mark seam lines on the backing
- Shave or trim pile away from the seam allowance
- Keep pile direction in mind and align both layers
- Use sewing clips to hold edges
- Baste by hand or with a long machine stitch if layers shift
Step by Step: Sewing Fur on a Regular Sewing Machine
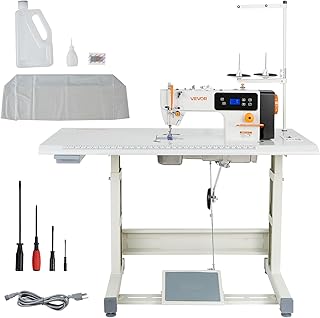
VEVOR Industrial Lockstitch Sewing Machine
Check PriceTest on a Scrap
Always sew a test seam on two layers of your fur. Check needle type, stitch length, and tension. Make adjustments before sewing the actual project.
Position the Fur Correctly
Place the fur pieces with right sides together. Tuck the pile away from the seam allowance before pinning or clipping. If the pile is long, brush it inward so it does not get caught in the seam.
Sew Slowly and Steadily
Start sewing at a slow to medium speed. Keep the edge aligned and let the feed dogs move the fabric. Do not pull the fur through the machine. If the layers slip, stop with the needle down, lift the foot, and realign.
Finish the Seam
After sewing, trim the seam allowance to reduce bulk. On curved seams, clip notches. Use a needle or seam ripper to gently pull any trapped fur out of the stitches. If needed, shave the seam allowance further. Avoid ironing directly on the fur because heat can melt faux fur or damage real fur.
Real Fur vs Faux Fur: Key Differences
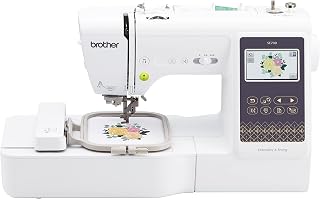
Brother SE700 Sewing and Embroidery Machine
Check PriceReal fur has a leather skin whereas faux fur is attached to a woven or knit fabric backing. This changes the sewing approach. Real fur requires a leather needle and cannot be pressed with a hot iron. Faux fur melts under high heat and may need a low temperature or no iron at all. Faux fur is also more forgiving because the fabric backing holds stitches well.
For a broader background on real fur garment construction, see this fur clothing overview.
Common Mistakes to Avoid
- Using a short stitch length that weakens the backing
- Pulling the fur through the machine
- Skipping the test seam
- Not shaving seam allowances
- Ironing directly on fur
- Using dull or incorrect needles
- Forgetting to check pile direction
- Sewing too fast over thick seams
Frequently Asked Questions
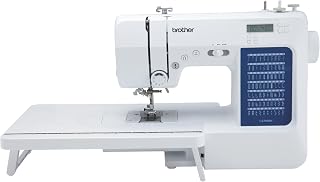
Brother CS7000X Sewing and Quilting Machine
Check PriceCan I sew fake fur with a regular sewing machine?
Yes. Faux fur is one of the easier pile fabrics to sew on a regular machine if you use a fresh needle, long stitch, and a walking foot if possible.
What tension should I use for fur?
Start with your machine normal tension. If the seam puckers or loops appear, lower the tension slightly. Always test on a scrap with the same layers you plan to sew.
Do I need a walking foot for fur?
It is not always required, but it helps a lot. A walking foot feeds both layers evenly and prevents shifting. If you do not have one, use sewing clips and sew slowly.
Can I sew real fur at home?
Lightweight real fur such as rabbit or shearling can be sewn at home. Use a leather needle and avoid ironing the skin. Thicker pelts may require a heavier machine or hand sewing.
What stitch is best for fur?
A straight stitch with a length of 3.0 to 4.0 mm works well. For knit-backed faux fur, a narrow zigzag can provide a little stretch without breaking the pile.
Conclusion
A regular sewing machine can sew fur successfully when you treat the material with care. Use the right needle, a longer stitch, and a walking foot if you have one. Prepare the seam allowance by trimming the pile and test every setting on scrap fur. With these steps, you can sew faux fur coats, fur trimmed accessories, and even light real fur projects at home. Start small, sew slowly, and let the machine do the work.
