
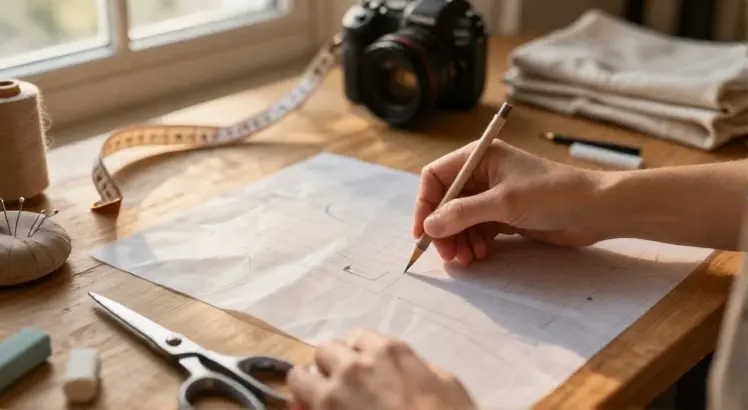
Tracing paper might look simple, but it is one of the most valuable tools in a sewist’s kit. When you want to transfer pattern markings without cutting into the original tissue or damaging delicate fabric, tracing paper saves the day. This guide covers everything you need to know about how to use tracing paper for sewing, from choosing the right type to transferring clean, crisp lines onto any cloth. Whether you are preserving vintage patterns, custom fitting a garment, or simply keeping your originals intact, you will soon trace with confidence.
Why Tracing Paper Is a Sewing Essential
Tracing Paper Roll 18 in x 30 yd Pattern Paper for Sewing Drawing Sketching
Check PriceEvery sewer faces the same dilemma: a beautiful multilayered pattern sheet where sizes overlap like a tangled web. Cutting directly into that original can ruin other sizes forever. Tracing paper lets you copy the exact lines you need while preserving the master. You can also adjust fit, raise a neckline, or add length without permanent marks on the source. Plus, the translucent nature of quality tracing paper means you see grainlines, notches, and seam allowances with zero guesswork. This method transforms your sewing room into a pattern drafting studio, giving you full control over every garment you make.
Types of Tracing Paper for Sewing
Tracing Paper Roll 17 in × 25 yd, White Translucent for Sewing, Drawing
Check PriceNot all tracing materials work the same way. Understanding the differences helps you pick the right one for each project. Broadly, sewists use three categories: transparent tracing paper, dressmaker’s carbon paper, and wax free transfer sheets. Transparent rolls like the ones featured in many online stores are ideal for copying entire pattern pieces because you can see every line underneath.
Dressmaker’s carbon paper, often sold in small packs with a tracing wheel, uses a colored coating that transfers markings to fabric when pressure is applied. Wax free transfer sheets work like carbon but without the oily residue, making them a favorite for delicate silks and linens. For a deep dive into which supplies work best, see our best tracing paper for sewing roundup.
Tools You Need to Use Tracing Paper
Tracing Paper Roll 24 in x 30 yd, Translucent for Sewing Patterns Drawing
Check PriceA successful tracing session depends on a small collection of reliable helpers. Gather these basics before you start:
- A smooth, hard surface like a cutting mat, a clean table, or a piece of cardboard
- Pattern weights or soup cans to keep your original pattern from shifting
- Removable tape or low tack painter’s tape (never use standard sticky tape on fabric)
- A fine point pencil, a tracing stylus, or a ballpoint pen with no ink flow issues
- A tracing wheel if you are using carbon or wax free transfer paper
- The right tracing paper roll or dressmaker’s carbon sheet for your fabric type
If you are new to moving designs from sheet to cloth, our article on how to transfer pattern from paper to fabric walks you through the fundamentals.
Step 1: Prepare Your Fabric and Pattern
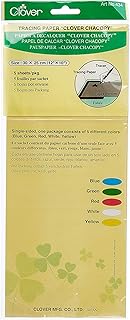
Clover Chacopy Tracing Paper,12.88 x 5.13 x 0.13
Check PriceBegin by pressing your fabric to remove every wrinkle. A crumpled surface distorts traced lines and leads to ill fitting garments. Lay the fabric flat on your worktop, right side up if you will transfer marks to the wrong side later. Place the original pattern tissue on top, aligning the grainline arrow with the fabric’s straight grain. Anchor everything with pattern weights.
Avoid using pins that can shift layers or tear delicate paper. If your fabric is loosely woven or stretchy, a layer of tissue paper underneath prevents snagging and helps the tracing tool glide. Keep the room well lit so you can see faint pencil strokes and printed notches clearly.
Step 2: Place the Tracing Paper Correctly
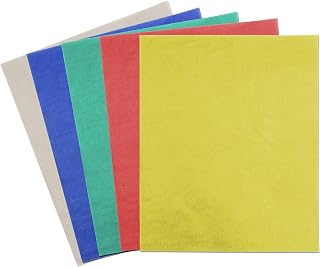
Juvale Tracing Paper for Sewing – 5 Colors, 9 x 11 in, 50 Sheets
Check PriceThe orientation of your tracing sheet makes all the difference. For transparent tracing paper, slide the sheet between the pattern and the fabric, matt side up if you plan to draw directly on it. Many sewists prefer to place the tracing paper on top of the pattern, trace the cutting line, and then flip the traced piece to transfer seam allowances onto the fabric later.
With dressmaker’s carbon paper, the waxy colored side must face the fabric, positioned between the pattern and the cloth. Double check that the carbon sheet sits smoothly, without folds or bubbles. A wrinkled carbon sheet leaves smudged, double lined ghosts that confuse your stitching line. Smooth it gently with your palm and tape only the very edges of the paper, never the fabric itself.
Step 3: Trace the Pattern Lines
Tracing Paper Roll 36 Inches x 30 Yards, Large Trace Paper White Pattern Paper TracingPaper for Drawing, Sewing, Sketch
Check PriceNow the exciting part begins. Using your pencil or stylus, trace directly over the printed pattern lines. Work methodically, moving from the large outer cutting line to inner elements like darts, buttonholes, and pocket placements. Apply steady but gentle pressure; you want a clean mark without tearing the paper. For transparent tracing paper, draw the outlines and then go back with a different colored pencil to add grainlines, fold lines, and notches.
If using a tracing wheel with carbon paper, roll the wheel along each line once with medium pressure. Too hard and you might cut the paper; too soft and the marks won’t transfer. Listen for a smooth rolling sound, not a scratch. Rotate the fabric and pattern together if the wheel tends to drag. Pro tip: trace all horizontal lines first, then vertical ones, to avoid shifting the paper layers.
Step 4: Check Your Transferred Marks
Tracing Paper Roll 12 in × 25 yd, White Translucent for Sewing, Drawing
Check PriceBefore moving the paper, lift a corner of the pattern tissue and peek at your tracing. The lines should appear clear and continuous. If you spot faint, broken sections, carefully reposition the paper and retrace. For carbon transfers, look for even coloring without heavy deposits. Remove the tracing paper by peeling it away slowly, keeping your other hand on the fabric to prevent lifting the fibers.
Immediately label your transferred piece if you are creating a custom pattern block. Write the pattern name, size, date, and any adjustments you made directly on the tracing paper with a permanent marker. This small habit saves hours of confusion later, especially when you revisit a project weeks down the road.
Tracing Paper for Delicate Fabrics
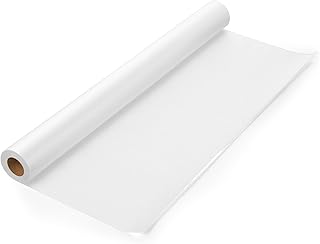
Tracing Paper Roll 36 in x 35 yd, Translucent for Sewing Patterns Drawing
Check PriceSheer chiffon, slippery silk, and lofty velvet call for extra care. Standard carbon paper can leave permanent stains or crush the pile. Instead, reach for wax free transfer sheets or a lightweight transparent tracing paper roll that you can use to first draft a copy, then pin that copy onto the fabric and cut around it. With delicate fabrics, avoid tracing wheels altogether and use a soft pencil with the transparent method.
Another option is thread tracing: after copying the pattern to tracing paper, hand baste along the lines through the paper and fabric, then tear away the paper gently. This technique, often used in couture work, leaves only thread marks that are easy to remove. If your fabric shifts easily, place a layer of plain newsprint underneath for stability.
Using Dressmaker’s Carbon Paper vs. Standard Tracing Paper
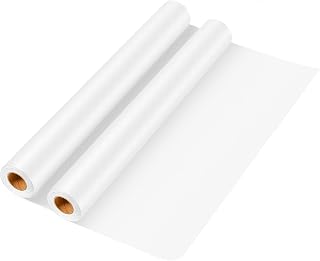
2 Rolls Tracing Paper Roll 8 Inches x 30 Yards, Large Trace Paper White Pattern Paper Tracing Paper for Drawing, Sewing, Sketch
Check PriceBoth tools have their place. Dressmaker’s carbon paper works directly on fabric with a tracing wheel and is excellent for marking darts, pleats, and pocket placements quickly. It comes in multiple colors so you can match the marking to your fabric tone and avoid visible lines.
However, the marks can be tricky to remove from some synthetics. Standard transparent tracing paper acts as an intermediary: you create a durable pattern piece that you can reuse, adjust, and store. It never touches your fabric with ink or wax, so zero risk of staining. Many experienced sewists keep both on hand. If you are working with cotton broadcloth or linen, carbon paper speeds things up.
For heirloom sewing or expensive wool crepe, trust transparent paper. For a closer look at the carbon method, visit how to use dressmaker’s carbon paper. You can also check an external guide from The Spruce Crafts for additional tips.
How to Mark Darts and Pleats with Tracing Paper
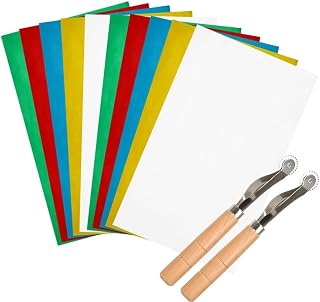
WOWOSS 10 Pieces Transfer Paper with Embossing Stylus, Needle Point Tracing Wheel, 9″ x 5.5″ Carbon Tracing Paper
Check PriceDarts are small but mighty, and a misaligned dart ruins silhouette. To transfer dart legs accurately, fold your tracing paper copy along the dart fold line and use a tracing wheel to pierce marks at the points. With carbon paper, slide the colored sheet under the fabric, position the pattern on top, and roll the wheel along the dart stitching line.
Lift the pattern, and you will see two crisp dots connected by a faint line. Use a ruler and tailor’s chalk to connect the dots before removing the carbon. For box pleats, mark both fold lines and placement lines using different colors if you have a multicolor carbon set. Always transfer these details to the wrong side of the fabric so they remain hidden. After marking, thread trace the lines if you need them visible on the right side for precise folding during pressing.
Common Mistakes When Using Tracing Paper
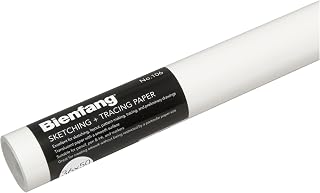
Bienfang Sketching & Tracing Paer Roll, White, 36 Inces x 50 Yards – for Drawing, Trace, Sketch, Sewing Pattern
Check Price- Using too much pressure: Heavy hands tear paper and leave indents on your table and your fabric. Practice on a scrap to find the right feel.
- Forgetting the fabric grain: Tracing without aligning the grainline results in twisted fit. Always pin or weight grainline marks first.
- Leaving carbon marks on the right side: Always place the carbon coated side down. Once a dark mark lands on the public side of a pale fabric, it is nearly impossible to erase.
- Reusing worn tracing sheets: Old rolls with creases or faded carbon coating give spotty transfers. Discard sheets that no longer lie flat or have lost their color.
- Skipping a test swatch: Carbon and wax free papers behave differently on velvet, coated fabrics, and waterproof materials. Test on a hidden seam allowance first.
Frequently Asked Questions
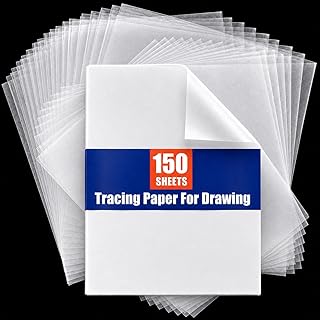
PSLER 150PCS Transfer Tacing Paper – Translucent Trace Paper for Drawng
Check PriceCan I use regular office tracing paper for sewing?
Regular office tracing paper is often too thin and crinkly for repeated use. It tears easily when pinned and does not hold up to a tracing wheel. Sewing specific rolls and sheets offer the durability and translucency needed for copying multi size patterns. For everyday sewing, invest in a roll designed for pattern work. They come in widths from 12 to 36 inches and last through many projects.
How do I remove carbon tracing marks from fabric?
Most dressmaker’s carbon marks brush off or vanish with a gentle wash. Use a soft brush or a clean eraser designed for fabric. If the marks linger after washing, dab lightly with rubbing alcohol on a cotton swab, but test on a scrap first. Wax free transfer sheets generally rinse out completely with no residue. Always read the manufacturer’s instructions, as some coatings are heat erasable and disappear under an iron.
Can I use tracing paper on dark fabrics?
Yes. Choose dressmaker’s carbon paper in white, yellow, or light blue, which show up on dark backgrounds. With transparent tracing paper, you can create a pattern piece, then use chalk or a wax based marker along the cut edges to transfer outlines onto dark cloth. Some sewists pin the transparent pattern to the fabric and cut directly, skipping the marking step entirely.
Do I really need pattern weights to trace?
Pattern weights make the process faster and eliminate the pin holes that can distort paper and fabric. Any small heavy object works: large metal washers, bottles filled with sand, or even your phone if you are desperate. Weights allow you to lift and adjust layers without snagging, especially helpful when working with large rolls of tracing paper.
Learning how to use tracing paper for sewing opens up a world of customization and care. With the right tools and a calm, methodical approach, you will preserve expensive patterns, achieve accurate fit, and enjoy a cleaner sewing process. Start with a simple project, like tracing a basic bodice, and soon you will wonder how you ever sewed without it. Keep your favorite roll nearby, and your future self will thank you every time you pull out a perfectly preserved pattern.
