
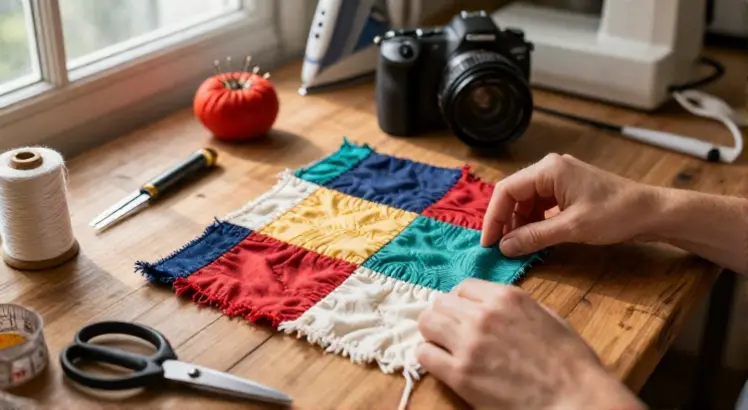
Turning a stack of well loved tees into a soft memory quilt is one of the most rewarding sewing projects you can undertake. Not only does it preserve sentimental fabrics, but it also creates a functional heirloom that tells your unique story. Whether you are a beginner or an experienced sewist, learning how to make a t shirt quilt is easier than you might think when you break it down into manageable steps.
The key lies in stabilizing stretchy knit fabric, planing a layout that makes your designs pop, and using simple quilting techniques. This guide will walk you through the entire proces from sorting your shirts to binding the finished quilt, with lots of pro tips along the way.
Gathering Your Essential Tools and Fabrics
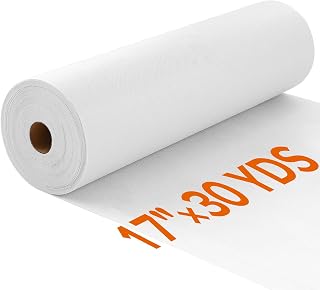
ZOMONETI Light Weight 17in x 30yd White Iron On Non-Woven Fusible Interfacing
Check PriceBefore you cut into your favorite shirts, take stock of what you will need. At the heart of any t shirt quilt is a reliable fusible interfacing that tames stretchy knit without adding bulk. A lightweight non woven option like the ZOMONETI interfacing shown above is fantastic because it fuses easily and keeps blocks crisp. You will also want a self healing cutting mat, a rotary cutter, a clear acrylic ruler, and a hot iron with no steam.
For the quilt sandwich you will need backing fabric (cotton or fleece work well), cotton batting, and coordinating thread. Straight pins or sewing clips, a walking foot for your machine, and fabric scissors round out the toolkit. Finally, set aside enough of your chosen interfacing to stabilize every shirt panel you cut. This is the foundation step that makes the whole project sew smoothly.
If you are wondering about the best stabilizer for t shirt quilts, check out our dedicated guide on best fusible interfacing for t shirt quilts. It compares top brands and weights to help you choose perfectly.
Selecting the Perfect Interfacing
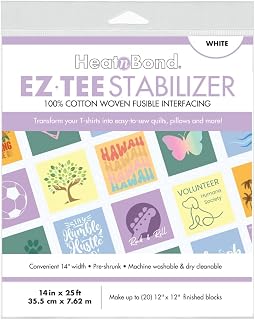
Heatnbond EZ TEE Cotton Woven Iron-on Fusible T-Shirt Quilt Interfacing Stabilizer
Check PriceChoosing the right interfacing transforms slinky t shirt cotton into quittable fabric. While non woven options are very popular, a cotton woven fusible like the Heatnbond EZ TEE offers a softer hand and a beautifully natural drape. This stabilizer is specifically designed for knit fabric and irons on in seconds. The woven fibers move with your quilt rather than making it stiff, which many quilters prefer for a snugger finish. When selecting interfacing, consider the weight of your tees.
For thin or well worn shirts, a medium weight woven or a lightweight non woven works best. If your collection includes thicker hoodies or crewnecks, you might want a slightly heavier stabilizer. Pay attention to the width of the interfacing product, too. Wider rolls let you back larger graphics without piecing, which saves time and reduces bulk in seams. Whatever you choose, always test on a scrap before committing.
Another common question we hear is, do t shirt quilts need fusible interfacing? Absolutely. Without it, the knit fabric stretches out of shape during sewing and quilting, and you end up with a wavy, uneven top. Stabilizing is the single most important step in how to make a t shirt quilt that looks polished and lasts for years.
Preparing Your Shirts for Cutting
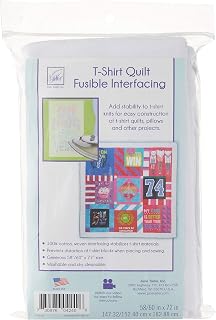
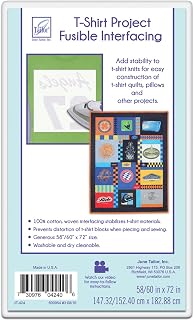
June Tailor T-Shirt Project Fusible Interfacing
Check PriceStart by washing and drying all shirts without fabric softener. This removes any sizing and preshrinks the fabric. Once clean, press each tee flat to eliminate wrinkles. Now play curator: lay out your shirts and decide which designs you want to feature. You will be cutting around the motifs, so generous seam allowances are key. Roughly cut out each logo or image, leaving at least 2 inches of raw fabric all around. This extra margin gives you room to square up later.
A simple rotary cutter and a quilters ruler make this part quick. If you are working with shirts that have delicate screen prints or metallic details, use a June Tailor T Shirt Project Fusible Interfacing like the one here. It is engineered to bond well with typical t shirt jersey and supports delicate prints without lifting. Apply the interfacing to the wrong side of each roughly trimmed panel according to the package directions. You now have stable pieces ready for precise block cutting.
Fusing Interfacing to Stabilize Knit
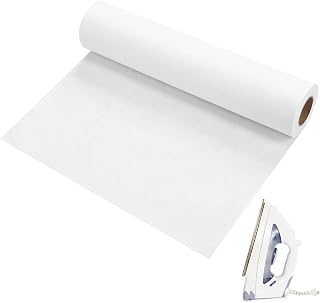
Moukeren 14″ X 50 ft T-Shirt Quilt Fusible Interfacing Stabilizer
Check PriceApplying the fusible interfacing is a crucial make or break step. Set your iron to the cotton setting without steam. Place a pressing cloth (a clean cotton tea towel works) on your ironing board to protect it from adhesive. Lay the shirt piece right side down. Position the fusible side of the interfacing against the wrong side of the jersey. Cover with the pressing cloth and press firmly in sections for about 10 to 15 seconds per area. Do not slide the iron; lift and press. Let the piece cool completely before moving it.
This ensures the bond sets fully. A product like Moukeren14 inch wide interfacing is perfect for smaller blocks because it minimizes waste and fits most standard panels. If you are working with extra large graphics, overlap strips of interfacing slightly without creating thick ridges. After all the pieces are cooled, you will notice the fabric feels like a stable cotton sheet. Now it is ready for final trimming.
Trimming Your Blocks to a Uniform Size
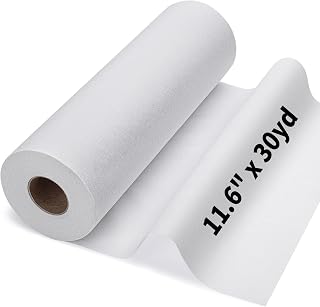
11.6″x30yd Medium Weight Fusible Interfacing for Sewing Iron on Interfacing
Check PriceConsistency is what makes a t shirt quilt look professional, not crafty. Decide on a block size, typically12.5 or14.5 inches square (to finish at12 or14 inches). Use a long acrylic ruler and a rotary cutter to trim each stabilized panel. Center the motif as much as possible, but prioritize keeping the design intact over a strict center. If a design is small for the block, you can add simple cotton sashing or a solid border around it later.
A medium weight fusible interfacing works beautifully for thicker tees or when you want a bit more body in your blocks, and the11.6 inch wide roll gives you plenty of yardage. Stack all trimmed blocks and check for size uniformity. If one is a little smaller, you can add a fabric strip as a frame to bring it to the right dimensions. Number the blocks on a sticky note as you audition layouts, and take a photo before sewing. This visual reference is invaluable once you move to the machine.
Designing a Layout That Tells a Story
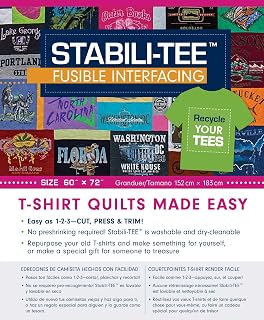
Stabili-TEE Fusible Interfacing Pack, 60″ x 72″: T-Shirt Quilts Made Easy
Check PriceBefore you sew a single seam, spend time playing with arrangement. Lay out all trimmed blocks on a large floor or design wall. Spread colors, busy prints, and large graphics evenly so no area feels too heavy. You can stick to a simple grid for a clean modern look, or stagger columns if you have blocks of varying heights. Think about adding sashing strips (strips of solid fabric between blocks) to give the eye a place to rest.
A Stabili TEE interfacing pack covers up to60 by72 inches in one piece, which is fantastic if you want to prep a whole batch of blocks in a single pressing session. If your quilt will be a gift, consider the recipients favorite colors for sashing and border fabrics. Sketch your layout or snap a photo. Remember, the quilt top you see now is exactly how the finished piece will look once pieced together, so make adjustments until you love it.
Sewing the Quilt Top Together
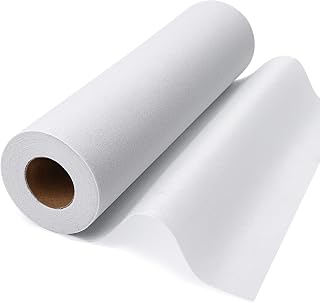
11.6″x30yd Lightweight Fusible Interfacing Fabric for Sewing Interfacing
Check PriceNow it is time to piece. Thread your sewing machine with a quality all purpose cotton or cotton poly blend thread. Install a standard or walking foot. Set the stitch length to2.5 to3 mm for a strong seam. Start by sewing blocks into rows. Use a consistent quarter inch seam allowance. Press seams open or to one side, but choose one method and stick with it throughout the project.
The interfacing you applied earlier ensures the knit fabric does not stretch as you sew, and a lightweight fusible like this11.6 inch roll provides ample stabilisation without adding stiffness. Once all rows are complete, pin the rows together at every seam intersection, matching points precisely. A helpful trick is to nest the pressed seams against each other so they lock together. Sew the long row seams, then press the whole top flat. Take your time here because this step determines how neat your finished quilt top looks.
Adding Batting and Backing
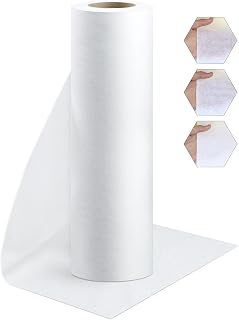
PLANTIONAL 11.6″x30yd Medium Weight Iron on Non-Woven Fusible Interfacing
Check PriceOnce the top is complete, create the quilt sandwich. Cut your backing fabric at least4 inches larger than the quilt top on all sides. Lay the backing right side down on a clean floor or table. Smooth it gently and secure with masking tape. Spread the cotton batting on top, smoothing from the center outward. Finally, place your pieced top right side up. The three layers should be perfectly flat with no wrinkles.
You can use curved safety pins spaced every4 to6 inches to baste the sandwich together, or try spray basting if you prefer. A medium weight non woven interfacing like this PLANTIONAL option is a great companion supply to keep on hand for reinforcing any shirt areas that feel thinner after basting. At this stage, the quilt is ready for the quilting process that joins all three layers permanently.
Quilting Methods for a Soft Finish
Quilting can be as simple or ornate as you like. For beginners, straight line quilting along seam lines (often called stitch in the ditch) is the easiest and yields a clean look. Use your walking foot to feed all layers evenly. Another simple choice is to sew a diagonal grid or gentle wavy lines across the quilt. Keep your quilting stitches spaced comfortably, about2 to3 inches apart, to maintain a soft drape.
If you used a large roll of June Tailor interfacing like the60 inch wide version above, you have the advantage of seamless stabilisation under big panels, which prevents bunching during quilting. Avoid dense quilting over thick screen prints to protect your needle. Once you finish, trim the excess batting and backing even with the quilt top edges. Give the whole piece a final press from the back to set the stitches.
Binding Your Quilt for a Clean Edge
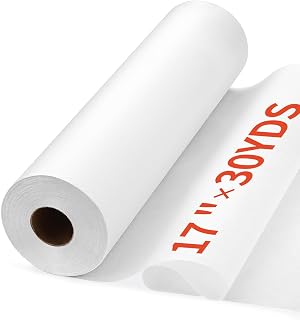
White Light Weight Fusible Interfacing for Sewing 17″ X 30yd
Check PriceBinding frames your quilt and protects the raw edges. Cut 2.5 inch wide strips of fabric across the width of the yardage, enough to go around the entire perimeter plus about12 inches for corners and joining. Sew the strips together at a45 degree angle to create one long continuous binding strip. Press in half lengthwise, wrong sides together. Using a walking foot, align the raw edges of the binding with the quilt top edge and stitch with a 1/4 inch seam allowance.
Miter the corners by folding the binding at a45 degree angle as you turn. Once the binding is sewn to the front, fold it over to the back and hand stitch it down using a blind stitch or tiny ladder stitch. A lightweight fusible interfacing like this 17 inch wide white roll comes in handy if you decide to add a hanging sleeve or a label; just fuse a small piece to the fabric before attaching. Your quilt now has a professional, durable finish.
Labeling and Embellishing Your Memory Quilt
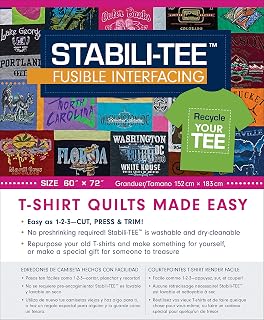
STABILI-TEE Fusible Interfacing Pack 60″X72″ 100% Polyester
Check PriceA quilt with a personal label becomes an heirloom. Create a small fabric label using a fabric marker or embroidery and stitch it to the bottom back corner. Include the recipients name, the date, and a short message. If you have extra stabilized shirt fabric, use it as a label panel. A STABILI TEE polyester pack provides a soft, pliable backing for these extra details and makes it easy to embroider on knit without puckering. You can also add simple appliqué shapes, embroidered names, or decorative buttons (sewn securely, away from edges for safety). Let your creativity shine. The label transforms a lovely quilt into a meaningful record of a special time or event in the persons life.
How to Wash and Care for Your Quilt
Moukeren 43″ x 16ft T-Shirt Quilt Fusible Interfacing Stabilizer
Check PriceTo keep your t shirt quilt looking its best, wash it gently. Machine wash in cold water on a delicate cycle using a mild detergent. Avoid bleach and fabric softeners, which can break down the interfacing bond over time. Tumble dry on low heat or, better yet, air dry flat. If you used Moukeren43 inch wide interfacing, the wide roll meant fewer seams in the stabilisation layer, which translates to less opportunity for wear and tear at seam lines during washing.
For quilts with metallic or puffy screen prints, turn the quilt inside out before washing to protect the designs. Should any loose threads appear, mend them immediately. With proper care, your memory quilt will stay soft, vibrant, and intact for decades.
Creative Variations and Gift Ideas
PLANTIONAL Light Weight Woven Cotton Fusible Interfacing, 16.1″ X10 Yd
Check PriceOnce you master how to make a t shirt quilt, the possibilities are endless. Try a rag quilt style with exposed seam allowances for a cozy, textured look. Create a lap sized throw from your favourite race shirts or band tees. a baby quilt made from outgrown onesies is an unforgettable shower gift. Using a light weight woven cotton fusible interfacing like this PLANTIONAL option gives a beautiful drape that mimics a vintage quilt feel.
You can also combine t shirt panels with squares of denim or flannel for a mixed fabric story. If you are short on time, a tied quilt using yarn or embroidery floss instead of machine quilting is a charming, quick finnish. Whatever style you choose, the heart of the projec stays the same: preseving memories stitch by stitch.
Frequently Asked Questions About T Shirt Quilts
Can I make a t shirt quilt without a sewing machine? Yes, you can hand sew the entire quilt. It will take longer, but the result is just as lovely. Use small running stitches and a sturdy needle. Just be sure to stabilize the knit with fusible interfacing so hand stitching does not distort the fabric.
How many t shirts do I need for a quilt? It depends on the desired size and block size. For a lap quilt of about50 by60 inches using12.5 inch blocks, you will need around20 blocks, which translates to20 shirt designs or fewer if you add borders and sashing. You can always fill gaps with coordinating solid fabric.
Do I have to use coordinating fabric for the sashing? No, but sashing helps unify the quilt and gives busy designs breathing room. Wide sashing in a neutral tone like cream, gray, or chambray blue works well. You can also skip sashing entirely and sew blocks directly together for a busier look.
Can I mix hoodies and sweatshirts in my t shirt quilt? Yes, but use a heavier weight fusible interfacing or even a double layer of lightweight interfacing on very thick fleece. Trim seam allowances down and press seams open to reduce bulk.
My interfacing is bubbling after washing. What went wrong? Bubbling usually means the interfacing did not fuse completely or was exposed to steam during pressing. When applying, use firm pressure without steam, and let the piece cool completely. If bubbles appear later, you can try repressing the area with a dry iron and a pressing cloth.
For more in depth interfacing help, explore our full roundup of the best fusible interfacing for t shirt quilts.
Still have questions? Learn more about the basics from the experts at The Spruce Crafts: How to Make a T-Shirt Quilt.
Conclusion: Your Memory Quilt Awaits
Learning how to make a t shirt quilt is a gradual journey from sorting sentimental tees to wrapping up in a finished blanket. By focusing on the right interfacing, careful cutting, a well thought out layout, and simple quilting, you can create a keepsake that is both beautiful and durable. Every time you snuggle under it, you will be surrounded by the stories and milestones you chose to preserve. Trust the proces, enjoy each step, and remember that the little imperfections make it uniquely yours. Now gather those shirts and start stitching your memories together.
