
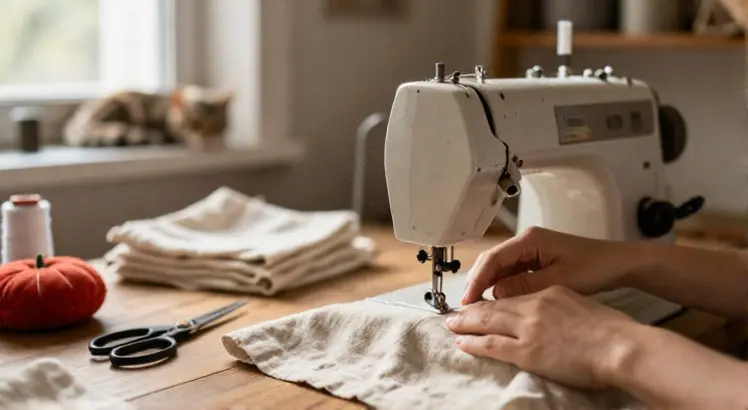
A simple tote bag is one of the most rewarding and practical projects for a beginner sewist. It teaches you foundational skills like cutting, straight stitching, pressing, and creating boxed corners while giving you a sturdy, reusable bag you will actually use. Whether you want a market bag, a book tote, or a personalized gift, this guide walks you through every step from choosing materials to adding final details. If you prefer a visual reference alongside these instructions, you can also explore this comprehensive tote bag sewing guide from The Spruce Crafts.
Gathering Your Essential Tools and Materials
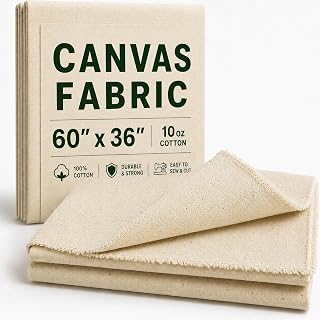
Canvas Fabric, Premium 10oz 100% Cotton Duck Canvas Fabric by The Yard, Canvas Material for Sewing, Upholstery, Tote Bags, Arts & Crafts & DIY Projects, 1 Yard (60 x 36 Inch)
Check PriceBefore you cut your first piece of fabric, make sure you have everything on hand. Having the right tools speeds up the process and improves accuracy. Here is what you need to sew a simple tote bag:
- Sewing machine with straight stitch capability
- Universal needle size 90/14 or a denim needle for thick fabrics
- Coordinating polyester all-purpose thread
- Fabric scissors or rotary cutter and cutting mat
- Ruler or measuring tape
- Pins or sewing clips
- Iron and ironing board
- Fabric marker or chalk
- Point turner or blunt tool
If you are new to sewing, take a moment to practice sewing straight lines on a scrap of your chosen fabric. Adjusting the stitch length to 2.5 mm or 3 mm will give you a strong seam that is still easy to remove if needed.
Choosing the Right Fabric for Your Tote Bag
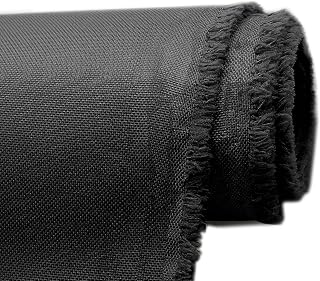
K-Musculo 600D Oxford Fabric by The Yard, 58” Wide Heavy Duty Waterproof Polyester Fabric, Outdoor Fabric for Bags, Covers, Furniture, Sewing DIY Projects, 1 Yard Black
Check PriceFabric choice determines how your tote looks, feels, and holds up over time. The best options are medium to heavyweight woven cottons that do not stretch. Here are some excellent picks, along with why they work:
- Cotton canvas: Durable, widely available in many colors and prints, and holds its shape well. A 7 oz to 10 oz weight is ideal.
- Duck cloth: Slightly smoother than canvas, very sturdy, and great for bags that will carry heavier items.
- Denim: Upcycled jeans make wonderful tote bags and offer a unique lived-in look.
- Home decor fabric: Often thicker with a soft backing, these create a structured tote without extra interfacing.
- Quilting cotton: Works for lightweight totes but benefits from fusible interfacing to add body.
For a deeper dive into selecting materials, check out this guide on the best fabric for bags. Avoid slippery or stretchy fabrics like satin or jersey for your first tote, as they make cutting and sewing more challenging.
Preparing and Cutting the Fabric Pieces
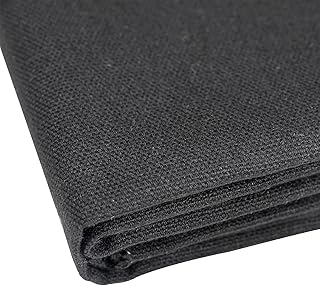
10oz Heavy Duty Cotton Canvas Fabric 60″ x 40″, Thick Cotton Duck Cloth for Painting, Sewing, Crafts, Tote Bags, Embroidery, Home Decor, Drop Cloth (Black)
Check PriceAccurate cutting sets the foundation for a neat finished bag. Pre-wash and press your fabric to preshrink it and remove wrinkles. For a finished tote measuring roughly 14 inches wide by 13 inches tall with a 4-inch boxed bottom, cut the following pieces:
- Main body: two rectangles 15 inches wide x 16 inches tall
- Lining (optional): two rectangles 15 inches wide x 16 inches tall, same fabric or a lighter cotton
- Straps: two pieces 4 inches wide x 22 inches long (finished strap length about 20 inches)
Tips for Straight Cuts
If using a rotary cutter and mat, align the ruler with the grainline and apply firm pressure. When using scissors, draw precise lines with your fabric marker. For detailed guidance, read how to cut fabric with scissors to improve your technique. Always double-check your measurements before cutting; the adage measure twice, cut once applies here perfectly.
Sewing the Main Body Panels
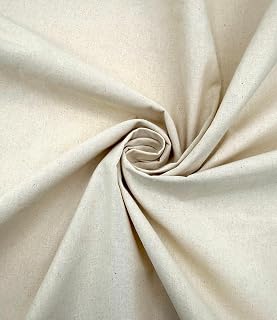
Eovea | Canvas Fabric | Cotton Duck | 100% Cotton | 4oz Lightweight | 60″ Wide | Arts & Crafts, Tote Bags, Painting, Embroidery, Lining(4oz,1 Yard)
Check PricePlace the two main body pieces right sides together, aligning all edges. Pin along the sides and the bottom edge, leaving the top completely open. Using a ½ inch seam allowance, sew down one side, pivot at the corner, sew across the bottom, pivot again, and sew up the other side. Backstitch at the beginning and end to secure. Trim the threads.
To prevent fraying and add a professional touch, finish the raw edges with a zigzag stitch or use pinking shears. If you want an even cleaner interior, consider French seams: first sew with a ¼ inch seam allowance with wrong sides together, press, then turn the bag inside out and sew again with a ⅜ inch allowance to enclose the raw edges. This method works beautifully with canvas.
Assembling the Bag with a Boxed Bottom
Limko Cotton Bags Muslin Bags Sachet Bag for Home Supplies (3×4 Inch 10 Pack)
Check PriceA flat-bottomed tote stands up better and holds more. To box the corners, keep the bag inside out (or right side out if you did French seams). At one bottom corner, pinch the side seam and bottom seam together so they align perfectly, creating a triangle. Measure from the tip of the corner down toward the seam line; mark a line perpendicular to the seam where the triangle is 4 inches across. Sew along this line, backstitching well. Trim the excess fabric to about ¼ inch from the stitching and finish the edge with a zigzag. Repeat on the other corner. Turn the bag right side out and gently push out the corners with a point turner.
What If I Skip the Boxed Bottom?
You can leave the bag completely flat. It will still function but will not stand on its own. Many simple market totes are made this way. The choice depends on your intended use. If you plan to carry books or groceries, the boxed corner adds valuable volume.
Making and Attaching the Handles
FSWCCK Mesh Fabric, Soft Mesh Netting Slightly Stretchy for Shopping Bag, Backpack Pocket and Netting Clothes
Check PriceTake one strap piece and fold it in half lengthwise with right sides together. Press. Sew along the long raw edge with a ¼ inch seam allowance. Turn the tube right side out, using a safety pin or loop turner. Press flat so the seam runs down the center of one side. Topstitch along both long edges, about ⅛ inch from the edge, for a tailored look and extra strength. Repeat for the second strap.
Position the straps on the exterior of the bag. Measure 4 inches in from each side seam along the top edge. Pin one end of a strap at that spot, ensuring the strap is not twisted. The raw strap ends should align with the top raw edge of the bag. Baste each strap end in place with a ¼ inch seam allowance.
Adding a Lining for a Professional Finish
Barcelonetta | Poly Cotton Fabric for Sewing | Broadcloth Fabric | by the Yard | 60″ Wide Roll | Lightweight, Breathable | Lining, Home Textile, Skirts, Tote Bags (Khaki, 2 Yard)
Check PriceA lining hides raw seams and gives the bag a crisp, store-bought look. Sew the lining pieces exactly as you did the main body: right sides together, seams down the sides and bottom, and box the corners. However, leave a 5-inch opening along the bottom seam of the lining unsewn for turning later.
With the main bag right side out and the lining wrong side out (so the right sides are facing each other), slide the main bag inside the lining. The straps should be sandwiched between the layers, hanging down inside. Align the side seams and top raw edges. Pin all around the top perimeter. Sew all the way around with a ½ inch seam allowance.
Reach through the opening in the lining and pull the entire bag right side out. Gently push the lining down into the main bag. Press the top edge thoroughly. Close the opening in the lining by either machine stitching close to the fold or hand sewing with a ladder stitch.
Topstitching and Pressing for Crisp Edges
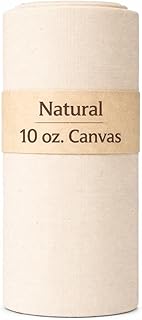
Sedona Designz 60″ Wide Cotton Duck Canvas Fabric – Heavy Weight 10oz Durable 100% Cotton (Natural, 1 Yard)
Check PriceTopstitching around the upper edge of the bag serves two purposes: it keeps the lining from rolling out and adds a professional finish. With the bag fully turned and pressed, sew a line about ¼ inch from the top edge, all the way around. For extra polish, use a slightly longer stitch length like 3.5 mm. If your machine allows, switch to a topstitching needle for thicker assemblies.
Pressing is the secret to a crisp tote. After topstitching, press the entire bag again, paying special attention to the top edge and the straps. Use a press cloth if your fabric has a nap or sheen. A blast of steam and a wooden clapper can set seams beautifully on heavy cotton.
Personalizing Your Tote with Pockets or Embroidery
Simple additions turn a basic tote into something truly special. Consider these ideas before assembly:
- Front pocket: Cut a 10-inch by 10-inch piece, hem the top edge, and sew it to the right side of one main panel before assembling the bag.
- Inner slip pocket: Add one or two divided pockets to the lining for a phone or keys.
- Embroidery or applique: Stitch a monogram or a fun design on the front panel. Muslin-backed designs prevent stretching.
- Fabric combinations: Use a bold print for the exterior and a solid lining for an eye-catching contrast.
If you enjoy adding hand-stitched details, our tutorial on how to do embroidery on clothes by hand for beginners will walk you through the basics. Embroidered initials or small florals elevate the tote instantly.
Understanding Sewing Machine Tension for Thick Fabrics
When sewing through multiple layers of canvas or duck cloth, you may encounter skipped stitches or puckering. This often points to tension issues or a dull needle. Start by installing a fresh denim or heavy-duty needle. Test on a folded scrap that replicates the thickness of your bag seams. If the stitches look loopy on the bottom, tighten the upper tension slightly. If the thread breaks or the fabric puckers, loosen it.
Another common fix is to adjust the presser foot pressure if your machine allows. Reducing the pressure slightly helps the foot glide over thick intersections. If you hear the motor straining, turn the handwheel manually for a few stitches. Never force the fabric; let the feed dogs do the work. For an in-depth look at dial settings, read about what sewing machine tension is and how it works.
Frequently Asked Questions
What is the best stitch length for a tote bag?
A straight stitch set between 2.5 mm and 3.0 mm works well for construction seams. Topstitching looks best with a slightly longer stitch, around 3.5 mm. Shorter stitches can weaken heavy fabric by perforating it too many times.
Can I sew a tote bag without a lining?
Absolutely. Skip the lining steps and simply fold the top raw edge down twice, press, and stitch a hem. A French-seamed unlined tote also looks clean and is very strong.
How do I prevent my straps from ripping?
Reinforce the strap attachment with a square or an X-box stitch. After basting the straps to the bag, sew a small rectangle where the strap overlaps the body, then sew an X inside that rectangle. This distributes stress and prevents tearing.
What size should I make my tote bag?
The dimensions in this guide yield a medium tote. You can scale it up or down by adding or subtracting inches to the width and height. Keep the aspect ratio similar so the bag looks balanced. Always add seam allowance to your desired finished measurements.
Conclusion and Inspiration for Future Projects
You now have a completed tote bag and a solid set of skills you can build on. The same techniques carry over to zipper pouches, drawstring bags, and even simple garments. If you enjoyed this project, try experimenting with different fabrics, adding interior dividers, or sewing a set of matching pouches. The more you sew, the more confident you become. Congratulations on making something with your own hands.
Caring for Your Homemade Tote Bag
To keep your tote looking fresh, machine wash it in cold water on a gentle cycle and line dry or tumble dry on low. Canvas and duck cloth soften with each wash but remain strong. If you used interfacing, check the manufacturer guidelines. Spot clean small stains to extend time between full washes. With proper care, your handmade tote will last for years.
