
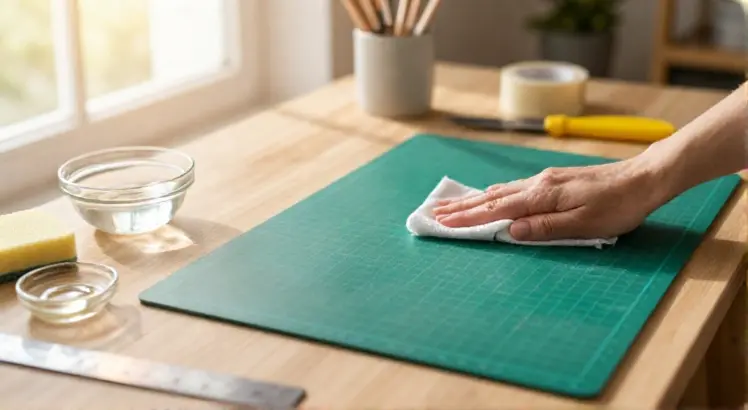
You reach for your rotary cutter, line up the ruler, and notice the deep grooves staring back at you. Your self-healing cutting mat, the silent workhorse of the sewing room, is looking rough. It is stained, warped, and refuses to lie flat. Immediately, you might think it is time to toss it in the trash and spend fifty dollars or more on a brand-new one.
But stop right there. Before you click buy now, you should know that learning how to repair a self healing cutting mat is not only possible but actually quite simple. With a few household items and some patience, you can revive that worn-out surface and extend its lifespan by years. This guide will walk you through every proven method to bring your mat back from the brink, saving you money and a trip to the craft store.
Understanding the Self-Healing Magic
Calibre Art Self Healing Rotary Cutting Mat 24×36
Check PriceBefore we dive into repairs, we need to understand the technology. Many crafters believe self-healing means the mat is indestructible. That is a myth. A self-healing cutting mat is made of multiple layers of a PVC-based plastic. When a sharp rotary blade presses down, it slices between these tiny particles rather than severing them entirely. The material’s memory allows the mat to close back up, minimizing the visible cut.
However, this only works with fine, sharp blades. Using a dull blade forces the material apart, creating permanent gouges. Likewise, heat and moisture alter the plastic’s chemistry, leading to warping. Knowing this helps you treat the root cause, not just the symptom.
How to Repair a Self Healing Cutting Mat: Step-by-Step Methods
Fiskars 24″ x 36″ Self Healing Cutting Mat
Check PriceRepairing a mat is not about a single magic trick. It is a series of targeted treatments. You might need to fix a bend, erase a deep cut, or tackle ugly discoloration. Let’s break down the specific remedies for each common ailment.
1. Flattening a Warped or Buckled Mat
Warping is the most common issue, usually caused by improper storage. If you have stored your mat vertically or left it leaning against a wall in a hot room, gravity and heat will bend it. A warped mat is dangerous because fabric can slip as the rotary cutter jumps over the hump. Here is how to flatten it safely.
The Warm Water Soak Method:
- Fill a bathtub or a large, flat utility sink with about an inch of lukewarm water. Never use boiling water, as it can melt the PVC surface.
- Lay the cutting mat flat in the water. Let it soak for 15 to 20 minutes. This relaxes the plastic polymers.
- Drain the water and carefully lift the mat. It will be pliable.
- Place the mat on a completely flat, hard surface, like a tile floor or a granite countertop. Cover it with a heavy board or a stack of heavy books evenly distributed across the entire surface.
- Leave it for 24 hours. Do not rush this. As it dries, it will set into its new, flat shape.
The Low-Heat Sun Method (For Mild Waves):
If the warp is minor, a gentle sunbath works wonders. Place the mat on a flat driveway or patio in direct morning sun. The gentle warmth softens the mat just enough. After 10 minutes, bring it inside to a cool, flat surface and weight it down. Avoid high-noon sun, which can overheat the core.
2. Filling Deep Gouges and Scratches
Self-healing works for micro-cuts, but dragging a dull rotary blade leaves a canyon. These grooves catch your blade tip and ruin precision. You cannot make the plastic magically grow back, but you can fill the void.
Technique A: The Acrylic Caulk Method
Look for clear, water-cleanup acrylic latex caulk (not silicone). Silicone will harden too much and reject the rotary blade. Acrylic caulk has a slightly waxy, plastic feel once cured.
- Clean the gash with rubbing alcohol to remove dust.
- Squeeze a minimal amount of caulk directly into the gouge.
- Use an old credit card or a plastic putty knife to scrape the surface perfectly flush, pushing the caulk solely into the groove.
- Allow to cure for 12 hours. The clear caulk dries with a matte finish that is slightly self-healing in its own right.
Technique B: The Skin Patchin
If available, use a Mat Magic repair stick or a similar PVC solvent weld product designed for vinyl repair. These actually melt the surface slightly, merging the plastic back together. Apply it carefully with a toothpick to avoid smearing the printed grid lines.
3. Erasing Stubborn Stains and Residue
Fabric dyes, spray starch, and fusible adhesives leave behind dark residues that obscure the measurement lines. Scrubbing with harsh chemicals like acetone will cloud the mat and ruin the surface. Instead, try this gentle approach.
- The Magic Eraser Rub: Dampen a melamine foam sponge (Magic Eraser) with cool water. Rub the stain very gently in a circular motion. This micro-sands the topmost layer without leaving deep scratches.
- Lint Roller Lift: For sticky fusible web residue, use a fresh lint roller aggressively. The tacky paper pulls the glue crystals off the mat better than scraping can.
- Oil and Baking Soda Paste: Mix a tablespoon of baby oil with baking soda to form a paste. Rub it on stubborn dye stains. The oil lifts the dye, and the soda provides mild, non-scratching agitation. Wash immediately with mild soap and water afterward.
4. Restoring Grid Clarity
Sometimes the mat is physically okay, but you cannot see the yellow or white lines. If the numbers are fading, repainting them requires a steady hand.
Use a fine-tip, oil-based paint marker in the original color (usually white). Do not use acrylic paint pens; they will flake off into your fabric. Gently trace the faded lines. If you are nervous about freehanding, lay down low-tack painter’s tape precisely along the line edge to act as a stencil. Let the paint cure for a full 48 hours before cutting over it to prevent peeling.
Preventative Care: The Best Repair is Avoiding Damage
Idemeet Density-upgraded 24″ x 36″ Large Self Healing Sewing Mat
Check PriceOnce you have put in the work of repairing your mat, you will want to keep it pristine. Proper storage and maintenance are non-negotiable. Here is how to prevent future damage.
- Store it flat. These mats must never be stored vertically for long periods. Slide them under a bed or the sofa. If you must hang one, use the heavy-duty clamp hangers designed for them, attaching along the entire width.
- Rotate your mat. You likely cut in the same 6-inch strip in the center every time. Flip the mat 180 degrees and rotate the sides every month to distribute wear evenly.
- Change your blades. A dull rotary cutter is the number one enemy of a self-healing mat. If you hear a crunching or dragging sound, stop immediately. A sharp blade should slide like butter. Replace your blade after every large project.
- Clean regularly. Wipe the mat down with a damp cloth and a single drop of mild dish soap once a week to prevent starch and lint buildup, which can mask the grid.
When to Give Up and Replace
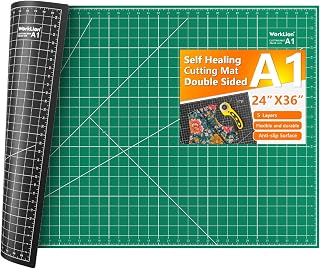
WORKLION Self Healing Cutting Mat: 24 x 36 inch
Check PriceWhile we love saving money, safety must come first. If your mat has a deep, hard ridge in the middle that refuses to flatten despite soaking, it is a lost cause. This ridge acts as a ramp, causing the rotary cutter to glide over the fabric or veer into your hand. Furthermore, if the core is exposed and crumbling, the off-gassing of the plastic core can smell terrible and stain light-colored fabrics permanently. At this stage, the mat has served you well, and you deserve a new one. Check out our guide on the best self-healing cutting mats for quilting if you decide it is time to upgrade.
Frequently Asked Questions
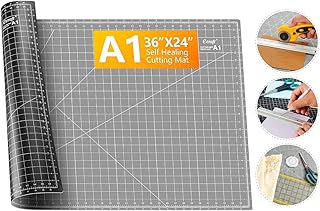
Ecraft Large Self Healing Cutting Mat: 24″ x 36″
Check PriceCan I use an iron to flatten my cutting mat?
Absolutely not. Applying direct heat from an iron will melt the surface layer instantly, leaving a shiny, hard crust that a rotary blade cannot pierce. The mat warps due to uneven molecular stress; an iron introduces catastrophic heat damage. Stick to warm water, which evenly distributes the temperature without exceeding the melting point.
Why does my self-healing mat smell like chemicals?
That smell is off-gassing, and it is normal for new PVC products. However, if a years-old mat suddenly starts smelling strong, it indicates the plastic is breaking down. Sunlight and heat accelerate this. Air the mat out in a shaded outdoor area for a few hours. If the smell persists and accompanies a sticky surface, the plasticizer is leaching out, meaning the mat is chemically dead.
Does WD-40 fix a scratched cutting mat?
No. While WD-40 is a great lubricant, it is a petroleum product. It can react with the PVC, causing it to swell or become discolored. It will leave an oily residue that transfers to your fabric. Stick to water-based cleaning solutions for a safe restoration.
How do I get adhesive residue off my mat without damage?
Use a clear, unscented alcohol-based hand sanitizer. The alcohol breaks down the adhesive, and the gel suspension gives it dwell time without immediately evaporating. Rub it in, let it sit for 30 seconds, and wipe away. It is less aggressive than pure rubbing alcohol but effective for sticker gunk and tape residue.
Conclusion
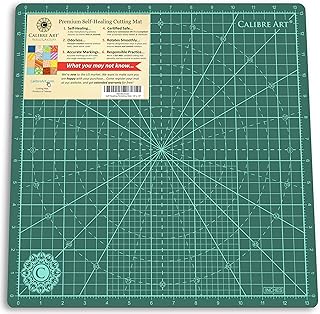
Calibre Art Rotating Self Healing Cutting Mat 14×14
Check PriceLearning how to repair a self healing cutting mat is a skill that pays for itself instantly. These mats are not disposable; they are durable tools designed for a long life. By using warm water baths to flatten bumps, acrylic caulk to seal gouges, and gentle abrasives to lift stains, you can keep your cutting surface pristine and safe. Remember to treat the cause, not just the symptoms. As soon as your rotary blade starts skipping threads or dragging, swap it out. If you want to explore more ways to optimize your cutting setup, take a look at our advice on how to use a cutting mat effectively. You can also learn more about the material science behind these tools from this guide on self-healing polymers. Give your mat the care it deserves, and it will keep your fabric pieces accurate for thousands of cuts to come.
