
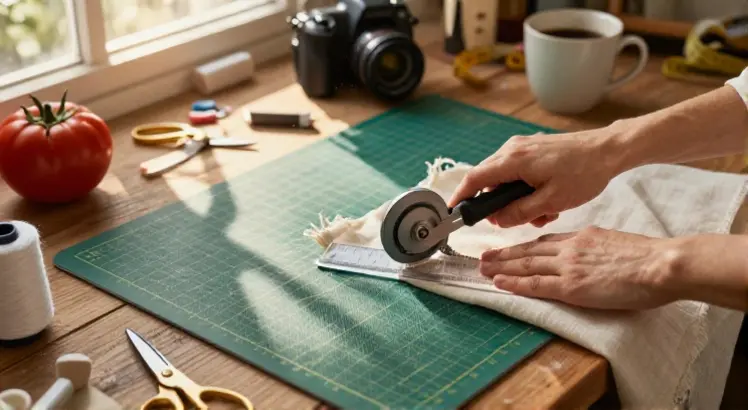
Nothing derails a sewing or quilting project faster than a wonky cut. If you have ever struggled with scissors that wander or fabric that slips, it is time to learn how to use a cutting mat the right way. A cutting mat is not just a protective surface; it is your command center for precision, speed, and safety. Whether you are a complete beginner starting your first patchwork quilt or an intermediate crafter wanting cleaner lines, mastering your mat will instantly upgrade your workflow. In this guide, you will learn everything from choosing the right mat, aligning fabric with the grid, pairing it with a rotary cutter, and caring for it so it lasts for years.
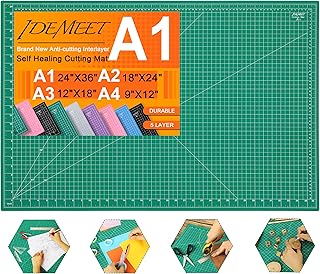
Density-upgraded 24″ x 36″ Large Self Healing Sewing Mat, Idemeet Rotary Cutting Mat 5-Ply Cut Board for Crafts Hobby Project, Scale Size 24″ x 36″, A1, Green
Check PriceWhy a Cutting Mat Matters (More Than You Think)
Many newcomers wonder if a dedicated cutting surface is necessary. After all, a kitchen table and a pair of scissors seem sufficient. However, a cutting mat solves three immediate problems: safety, accuracy, and protecting your furniture. The mat’s self-healing surface absorbs blade strikes, keeping your rotary cutter sharp and preventing gouges on your dining table. More importantly, the printed grid lines and angle markings turn guesswork into exact measurements. If you are still on the fence, you can read our detailed breakdown of whether a cutting mat is worth the investment. Once you understand the why, the how becomes even more valuable.
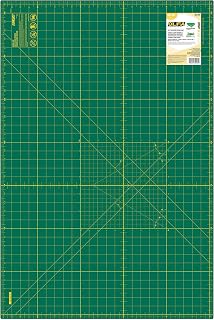
OLFA 24×36″ Self-Healing Rotary Cutting Mat (RM-MG) – Double-Sided, Green | Self-healing, triple-layer, double-sided grid, rotary cutter safe – Large quilting projects – Quilters and Crafters
Check PriceStep 1: Choosing the Right Cutting Mat for Your Craft
Before you dive into learning how to use a cutting mat, you need the right tool for the job. Cutting mats come in various sizes, materials, and thicknesses, and the wrong choice can make cutting frustrating.
Size and Thickness
For most sewing and quilting projects, a mat that is at least 18 x 24 inches gives you enough room to cut full width-of-fabric strips without repositioning constantly. If space is tight, a 12 x 18-inch mat is a good starter, but you will outgrow it fast. Thickness matters, too. Mats that are 1.5 mm thick work for light crafting, but 3 mm (often labeled double-thick) offers better self-healing for heavy rotary cutter use and lasts much longer.
Self-Healing vs. Hard Surface
A self-healing mat is made of multiple layers of PVC that close up after a blade passes through, reducing visible cut lines and extending the life of your blades. Hard-surface mats are not truly self-healing; they score easily and dull rotary blades quickly. Always opt for a mat marketed as self-healing for rotary cutting. If you want to compare specific models, take a look at our roundup of the best quilting cutting mats to find one that matches your budget and project scale.
Step 2: Setting Up Your Cutting Mat for Success
Proper setup is half the battle. Place your mat on a flat, sturdy surface at a comfortable height. A table that is too low causes back strain; a surface that wobbles makes straight cuts impossible. If your mat has a slight curl from being rolled, lay it flat in a warm room for a day or place heavy books on the corners. Never iron on your cutting mat, heat warps it permanently.
Understanding the Grid and Markings
Every quality cutting mat features a grid of lines. The bold lines usually represent whole inches, while the finer lines indicate half, quarter, or eighth-inch increments. Many mats also have diagonal angle lines (30°, 45°, and 60°) for cutting triangles and bias strips. Take a moment to study the markings:
- Horizontal and vertical solid bold lines – 1-inch increments
- Dashed or dotted lines – half-inch guides
- Diagonal lines – common quilting angles, incredibly useful for squaring up blocks
When you start a project, align the folded edge of your fabric with a horizontal grid line. This makes it easy to square up the raw edge and ensures every subsequent cut stays true.
Step 3: Tools You’ll Use with a Cutting Mat
anezus Self Healing Sewing Mat, 12inch x 18inch Rotary Cutting Mat Double Sided 5-Ply Craft Cutting Board for Sewing Crafts Hobby Fabric Precision Scrapbooking Project
Check PriceLearning how to use a cutting mat goes hand in hand with the right companions; namely a rotary cutter and an acrylic ruler. These three tools work as a team. The ruler provides the firm straightedge; the rotary cutter glides along it; the mat protects everything while giving you a measuring surface.
Rotary Cutter Basics
A rotary cutter looks like a pizza cutter and comes in blade sizes from 18 mm to 60 mm. For beginners, a 45 mm blade is the sweet spot, sharp enough for multiple fabric layers yet maneuverable around curves. Always close the safety guard after every cut, and replace the blade as soon as it starts skipping threads. A dull blade makes you press harder, which can cause the cutter to jump off the ruler and damage your mat, or your fingers. For comprehensive safety advice, review these rotary cutting safety guidelines from a trusted craft resource.
Acrylic Rulers and Grips
An acrylic ruler has see-through markings that align with the mat’s grid. Choose a ruler with non-slip grips on the back or add transparent grip tape. To cut safely, place your non-dominant hand flat on the ruler with fingers spread, keeping fingertips away from the edge. This prevents the ruler from shifting and keeps your hand clear of the blade path.
How to Cut Fabric Like a Pro on a Mat
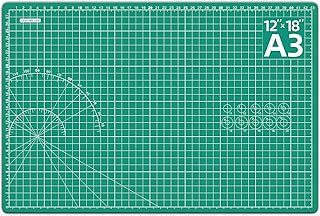
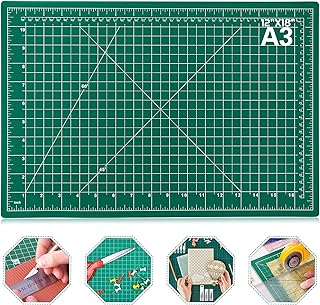
DIYSELF 12in×18in Cutting Mat for Sewing, A3 Self Healing Cutting Craft Mat | A3 Green Cutting Mat for Rotary Cutter, Sewing, Fabric, Quilting, 5-Ply Hobby Craft Mat Double Side for Home, Studio and DIY
Check PriceNow that your setup is dialed in, let’s walk through the actual process of using a cutting mat to get flawless strips, squares, and shapes.
Squaring Up Fabric
Fabric off the bolt rarely has perfectly straight cut edges. Start by folding your fabric in half, selvedges together. Place the fold on a horizontal grid line near the bottom of the mat. Place your ruler near the raw edge, using a vertical line on the ruler to make sure it is perpendicular to the fold. Roll the rotary cutter away from your body along the ruler’s edge, trimming a narrow strip. You now have a clean, straight edge.
Cutting Strips and Squares
With the straightened edge, turn the mat or the fabric so the fresh edge is on the left if you are right-handed (or right if left-handed). Align the cleaned edge with a vertical grid line. Now, to cut a 2.5-inch strip, place your ruler’s 2.5-inch mark exactly on the fabric edge. Check that the ruler’s bottom horizontal line matches a mat grid line, this double-check prevents crooked strips. Hold the ruler firmly, and cut with one smooth, continuous motion from bottom to top. For squares, simply take the long strip, rotate it 90 degrees, and repeat the measuring and cutting process.
Using Angle Lines for Bias and Triangles
Your cutting mat’s diagonal lines shine when you need bias binding or half-square triangles. Place the fabric so the straight grain aligns with a vertical line, then position your ruler along the mat’s 45-degree line. The combination of mat grid and ruler markings makes it nearly impossible to miscut the angle. Pro tip: If you cut a lot of bias strips, mark common cutting angles on a small sticky note attached to the mat for quick reference.
Cutting Multiple Layers
You can cut up to four layers of quilting cotton at once if your rotary cutter is sharp and you maintain even pressure. Any more than that risks shifted layers and inaccurate cuts. When cutting multiple layers, pin the stack together within the seam allowance or use quilt clips to hold the sides. Keep your hand weight evenly distributed on the ruler to compress all layers.
Caring for Your Cutting Mat to Extend Its Life
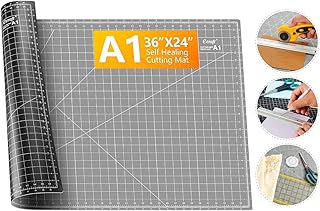
Large Self Healing Cutting Mat: 24″ x 36″ Double Sided 5-Ply Hobby Mat, A1 Rotary Cutting Sewing Mat for Crafts, Fabric,Sewing,Quilting,Scrapbooking,Projects,Grey/Black
Check PriceA quality cutting mat can last a decade if you treat it right. Neglecting simple upkeep leads to warping, embedded fuzz, and a gummy surface that drags on your fabric.
Cleaning the Mat
Tiny fabric fibers and lint work their way into the mat’s cut lines over time. Once a month, fill a sink or bathtub with lukewarm water and a drop of mild dish soap. Submerge the mat, gently scrub with a soft brush or sponge, then rinse thoroughly. Never use hot water, it can warp the mat. Dry it flat away from direct sunlight. For a quick clean between projects, a lint roller or a swipe with a microfiber cloth removes surface debris.
Restoring a Dull Mat Surface
If your mat starts feeling rough or shows visible divots, it may need reconditioning. Some sewists use a mat rejuvenator spray, but a simple home method is to soak the mat in a bathtub with a cup of white vinegar added to cool water for 30 minutes. The vinegar helps relax the PVC and smooth out minor cuts. After soaking, lay it flat and let it air-dry completely. This process can significantly reduce that sticky cutting feel.
Proper Storage
Always store your cutting mat flat. Leaning it against a wall or rolling it for long periods introduces a permanent curl. If you lack flat storage space, slide it under a bed or couch. Some mats come with hanging holes, but hanging by a hook concentrates stress and can distort the top edge. If you must hang it, use two hooks spaced wide apart to support the entire width.
Common Mistakes to Avoid When Using a Cutting Mat
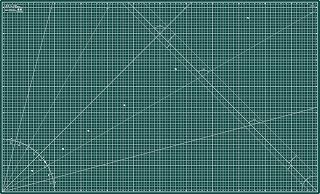
Elan Cutting Mat 36×60 Green, Extra Large Self Healing Cutting Mat 36 x 60 Inch, 5-Ply Craft Board Green, Hobby Board for Sewing and Quilting
Check PriceEven experienced crafters slip into habits that shorten the life of their mat or compromise accuracy. Watch out for these pitfalls:
- Cutting off the mat’s edge. Running your rotary cutter past the ruler and off the mat’s surface into the table dulls the blade instantly and nicks your furniture.
- Using dull blades. Pressing harder because a blade is dull increases the risk of slipping and puts deep grooves in the mat that won’t heal.
- Ignoring the underside. Flip your mat every few months. Both sides are usable, and alternating distributes wear evenly, doubling its lifespan.
- Leaving the mat in direct sun. UV rays degrade the PVC, turning it brittle and yellow. Always store in a cool, shaded spot.
- Using the wrong ruler. A metal ruler can cause the blade to skate, and it lacks the non-slip surface that keeps fingers safe. Stick with thick acrylic rulers designed for rotary cutting.
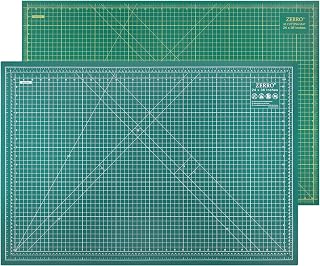
ZERRO Self Healing Cutting Mat 24″ x 36″, Double Sided & Non-Slip | Professional 5-Ply Rotary Mat for Scrapbooking, Fabric, Quilting, Sewing, Crafts (A1)
Check PriceFrequently Asked Questions
Can you use scissors on a cutting mat?
Yes, you can. However, a cutting mat is optimized for rotary cutters. Scissors don’t damage the surface, but they also won’t give you the same straight-line accuracy unless you pair them with a pencil line and the mat’s grid for reference. If you do use scissors, avoid stabbing the mat with the tips, which can leave permanent holes.
What side of a cutting mat should I use?
Most mats are double-sided with identical grids, often in two different color schemesone side may be light green with black lines, the other dark green with yellow lines. Choose the side that offers the best contrast against your fabric. Swap sides periodically to maximize the mat’s usable life.
How do I get rid of the chemical smell from a new cutting mat?
That off-gassing odor comes from the PVC manufacturing process. To speed up removal, wash the mat with mild soapy water and let it air out in a well-ventilated area (not outdoors in direct sun) for 24–48 hours. The smell will fade entirely with use and time.
Can I iron on a cutting mat?
Never. Even low heat can warp or melt the PVC, ruining the flat surface and grid lines. Always use a dedicated ironing board or wool pressing mat for pressing tasks.
When should I replace my cutting mat?
Replace your mat when deep cuts no longer self-heal and start snagging fabric, when the surface feels permanently sticky even after cleaning, or when warping prevents the mat from lying completely flat. With regular care, a good mat should last 5–10 years of frequent use.
Conclusion
Learning how to use a cutting mat might seem simple, but the difference it makes in your sewing and quilting projects is profound. By choosing the right size, aligning fabric with the grid, pairing the mat with a sharp rotary cutter and non-slip ruler, and maintaining it properly, you turn a basic tool into a precision instrument. Remember to clean the mat monthly, flip it often, and never skimp on blade sharpness. As you build these habits, your cuts will be squarer, your assembly faster, and your final projects will look professionally finished. Starting with a solid foundation on your cutting mat gives every stitch that follows a head start.
