
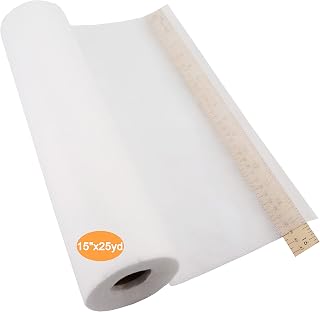
New brothread No Show Mesh Embroidery Stabilizer
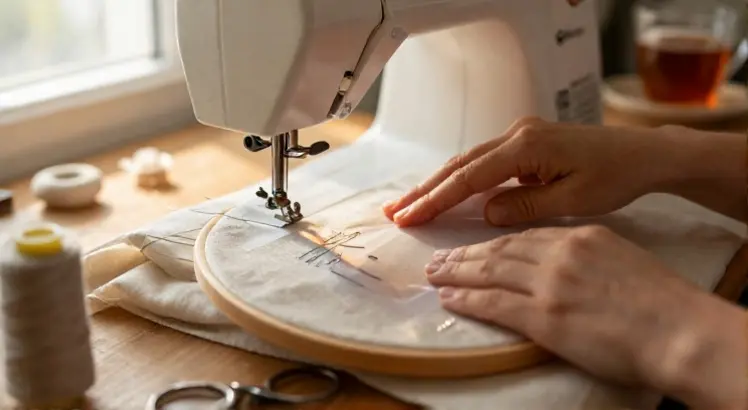
Check PriceA sewing stabilizer is a backing material that supports fabric during stitching. It prevents puckering, stretching, and distortion as you sew. Think of it as a temporary support system for your fabric. Without it, many fabrics would lose their shape under needle pressure.
Stabilizers are essential for embroidery, quilting, and any project involving stretchy or delicate materials. They provide the foundation needed for clean, professional looking results. Using the wrong stabilizer or skipping it entirely often leads to disappointing outcomes. A good stabilizer keeps your stitches even and your fabric flat.
Many beginners overlook stabilizers and then wonder why their projects look messy. The truth is that fabric alone cannot always handle the stress of dense stitching. Adding a stabilizer dramatically improves stitch quality and overall project durability. It is one of the simplest ways to elevate your sewing.
Pro Tip: Always test your stabilizer on a fabric scrap before starting your main project. This quick step saves you from costly mistakes and frustration. You will see exactly how the fabric and stabilizer behave together.
Understanding the Main Types of Stabilizers
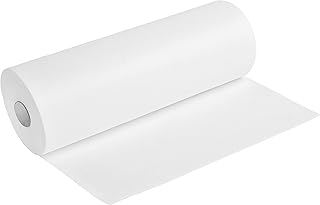
New brothread Cut Away Embroidery Stabilizer
Check PriceThere are four primary stabilizer categories every sewer should know. Tear away stabilizers are designed to be easily removed after stitching is complete. Cut away stabilizers remain in place permanently to provide ongoing support. Water soluble stabilizers dissolve completely when rinsed or soaked.
Fusible interfacing acts as a stabilizer that bonds to fabric with heat. Each type serves a distinct purpose and suits specific fabric and project needs. Understanding these differences is crucial for making the right selection. You can learn more about choosing the best fabric stabilizer for your specific needs.
Tear away options work well for stable woven fabrics that can handle some tension. Cut away varieties are ideal for knits and stretchy materials that need permanent reinforcement. Water soluble types shine when working with lace, cutwork, or free standing embroidery designs. Heat fusible stabilizers offer convenience for garment construction and bag making.
How to Match Stabilizers to Different Fabrics
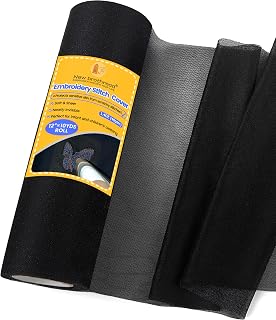
New brothread Embroidery Stitch Cover Stabilizer
Check PriceMatching stabilizer weight to fabric weight is the golden rule of successful stabilization. Lightweight fabrics like cotton voile need light stabilizers to avoid stiffness. Heavy denim requires a sturdy cut away or multiple layers of tear away. The stabilizer should support without overwhelming the fabric.
Stretchy knits and performance fabrics demand permanent cut away stabilizers. These materials move and shift constantly, so temporary support is not enough. Woven cottons and linens usually respond well to tear away options. Delicate sheers need water soluble stabilizers that vanish without leaving any residue behind.
Always consider the stitch density of your design when picking stabilizer weight. Dense embroidery requires heavier backing to prevent buckling. Light topstitching on stable fabric may need only minimal support. The combination of fabric type and stitch count determines your ideal stabilizer choice.
How to Use Tear Away Stabilizer Correctly
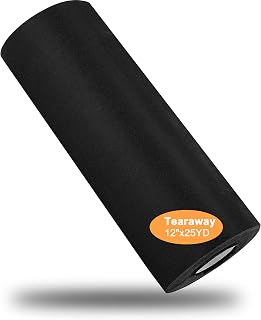
New brothread Black Tear Away Stabilizer Backing
Check PriceBegin by cutting a piece of tear away stabilizer slightly larger than your hoop or sewing area. Place it behind your fabric and secure both layers in your embroidery hoop or under the presser foot. Ensure the stabilizer sits flat against the fabric without any wrinkles or bubbles. Wrinkles during hooping lead to uneven stitching later.
Stitch your design as normal, allowing the needle to pass through both layers. Once the stitching is complete, carefully tear away the excess stabilizer from around the design. Work slowly and gently to avoid pulling on the stitches. Use your fingers or small tweezers for tight corners and intricate areas.
For best results, tear the stabilizer along the grain rather than against it. This prevents accidental distortion of your finished stitches. Some sewers prefer to score the stabilizer lightly with a pin before tearing. If you encounter resistance, stop and check whether any stitches might be compromised.
How to Use Cut Away Stabilizer for Lasting Results
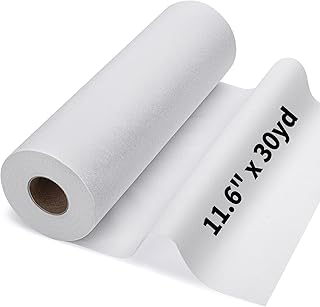
Medium Weight Fusible Interfacing for Sewing
Check PriceCut away stabilizer provides permanent support and is the go to choice for garments that will be washed often. Start by hooping the stabilizer together with your fabric as a single unit. The stabilizer should extend at least one inch beyond all edges of your design. This margin ensures complete coverage under dense stitch areas.
After completing your stitching, use sharp embroidery scissors to trim the excess stabilizer. Cut as close to the stitch line as possible without snipping any threads. Appliqué scissors with a curved tip make this task much easier and safer. Leave about one eighth of an inch of stabilizer around the design for maximum durability.
Never pull or tear cut away stabilizer after stitching since it can damage the design. Always trim it carefully with scissors designed for detailed work. The remaining stabilizer will soften slightly after washing but continues providing support. This is why it is preferred for children’s clothing and frequently laundered items.
How to Use Water Soluble Stabilizer on Sheer Fabrics
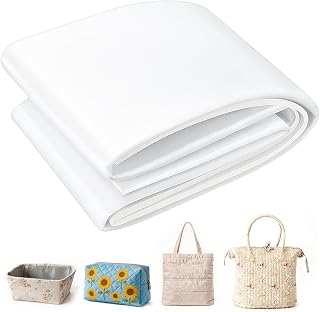
Falikoco Soft Stable Foam Stabilizer
Check PriceWater soluble stabilizer is a true game changer for sheer and delicate fabrics. It looks like thin plastic film and dissolves completely when wet. This makes it perfect for projects where no stabilizer residue can be visible. Lace, organza, and cutwork designs benefit tremendously from this type.
Hoop the water soluble stabilizer alone first, then float your fabric on top using temporary adhesive spray. This method works especially well when sewing delicate fabrics like silk that cannot tolerate hooping stress. Stitch your design, then carefully remove the hoop from the machine. Trim away large excess pieces before rinsing.
Rinse the finished piece under lukewarm running water until the stabilizer dissolves. Avoid hot water as it may affect certain fabric dyes or fibers. Pat the fabric gently with a towel and lay it flat to dry completely. The result is a beautifully stitched design with absolutely no visible backing material.
How to Apply Fusible Interfacing as a Stabilizer
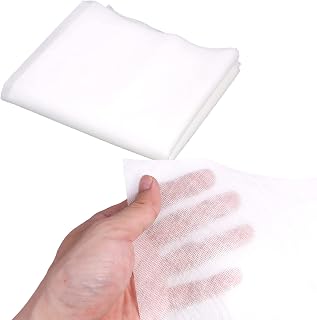
DGQ Wash Away Water Soluble Embroidery Stabilizer
Check PriceFusible interfacing bonds permanently to fabric using heat activated adhesive. Place the rough, shiny side of the interfacing against the wrong side of your fabric. Cover with a pressing cloth to protect both your iron and the material. Press firmly with a hot iron for the time specified on the product instructions.
Let the fused fabric cool completely before handling or stitching. This cooling period allows the adhesive to set properly. Rushing this step often leads to bubbling or separation later. Once cooled, your fabric will have significantly more body and stability for sewing.
Fusible interfacing is ideal for bag making, collar construction, and any project requiring lasting structure. It prevents sagging and helps maintain crisp edges through years of use. Choose lightweight fusible for blouses and medium weight for structured garments or accessories. The right weight makes all the difference.
Stabilizer Mistakes That Can Ruin Your Project
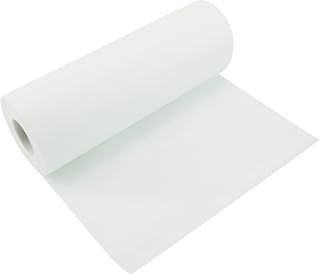
New brothread Tear Away Embroidery Stabilizer
Check PriceOne common error is using too few layers of stabilizer for dense stitch designs. A single layer may buckle under heavy embroidery, causing permanent fabric distortion. Always stack multiple layers for designs with high stitch counts. Better to over support than to ruin hours of careful stitching work.
Another frequent mistake involves hooping the stabilizer too loosely. A slack stabilizer cannot do its job of maintaining tension. The fabric shifts during stitching and creates misaligned or puckered results. Always check that your hooped assembly is drum tight before starting the machine.
Using the wrong stabilizer type for your fabric causes lasting problems. Cut away stabilizer on lightweight cotton leaves stiff, uncomfortable patches. Tear away on stretchy knit results in wavy, distorted embroidery after the first wash. Match your stabilizer type carefully to your fabric’s specific characteristics.
Warning: Never use tear away stabilizer on stretchy fabrics or garments that will be worn and washed frequently. The stabilizer will fail over time, and your stitching will distort permanently. Choose cut away for these applications instead.
Choosing Stabilizers for Tricky Fabric Types
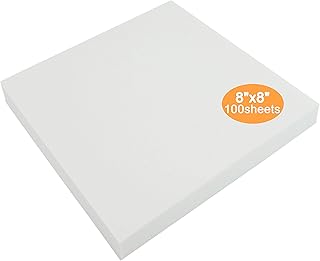
New brothread Tear Away Precut Sheets
Check PriceTerry cloth and towels need a topping stabilizer to prevent stitches from sinking into the pile. A lightweight water soluble film placed on top keeps embroidery crisp and visible. The film dissolves after washing, leaving only the raised, clear design. This technique transforms ordinary towels into personalized gifts.
Leather and vinyl require special handling because needle holes are permanent. Use a sticky, self adhesive stabilizer instead of pins or temporary spray. Place the stabilizer on the back and stitch carefully at a slower speed. Any mistakes with these materials cannot be undone, so test thoroughly first.
Sheer fabrics like chiffon and georgette need two layers of lightweight water soluble stabilizer. Hoop one layer, float the fabric with adhesive, and place a second layer on top. This sandwich technique prevents the fabric from shifting or tearing during stitching. The result is flawless embroidery on the most challenging materials.
How to Use Stabilizer in Machine Embroidery
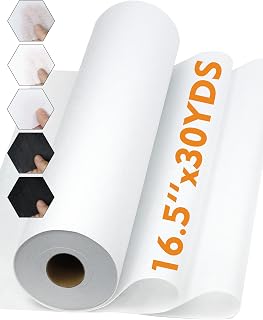
PLANTIONAL Medium Weight Fusible Interfacing
Check PriceMachine embroidery places intense demands on fabric because thousands of stitches concentrate in small areas. The right stabilizer selection directly impacts the final quality of your embroidered piece. Most embroidery designs require at least one layer of cut away or tear away backing. Dense designs with many color changes need two or even three layers.
Hoop the stabilizer tightly with the fabric for best results. The drum tight tension prevents flagging, which is when fabric bounces during high speed stitching. Flagging causes thread breaks, skipped stitches, and poor registration between color changes. A properly hooped assembly solves most embroidery quality issues before they start.
For intricate embroidery work, explore the range of best embroidery stabilizers available to match your project requirements. Each stabilizer type brings unique benefits depending on your fabric and design complexity. Testing a few options helps you develop an instinct for what works in different situations. Your embroidery machine will reward proper stabilization with flawless results.
Specialty Stabilizers for Advanced Sewing Needs
OESD Polymesh Cut Away Stabilizer
Check PriceFoam stabilizers add dimensional height to embroidery designs, creating a puffy, raised effect. This specialty product comes in various thicknesses and colors to match your project. Place the foam on top of the fabric before stitching your chosen design. The needle perforates the foam, and excess material tears away cleanly after completion.
Stitch cover stabilizer protects sensitive skin from scratchy embroidery backing on garments. It is applied to the wrong side of the fabric after embroidery is complete. This soft, lightweight material makes embroidered clothing comfortable against the skin. It is especially valuable for baby clothes and intimate apparel.
Precut sheets save time and eliminate the frustration of cutting stabilizer to size. These sheets come in standard hoop dimensions, ready to use immediately. They are perfect for production sewing or when you are working on multiple projects. The convenience factor makes them worth the slightly higher cost for many sewers.
Pro Tips for Flawless Stabilizer Application
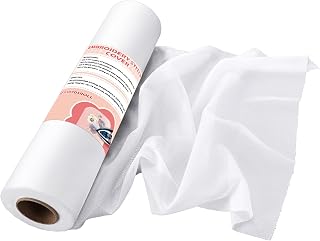
Soft & Cozy Embroidery Stitch Cover Stabilizer
Check PriceStore your stabilizers flat in a dry, cool location away from direct sunlight. Heat and humidity can degrade the materials and reduce their effectiveness. Rolled storage creates stubborn curls that make hooping difficult and frustrating. Treat your stabilizers with the same care you give your fabric collection.
Always pre shrink cut away stabilizers if they will be used on washable garments. Soak the stabilizer in warm water, then let it air dry before use. This prevents the backing from shrinking during the first laundry cycle and distorting your embroidery. It is an extra step that pays off with long lasting professional results.
Keep a variety pack of stabilizers in your sewing room for different projects. Having tear away, cut away, and water soluble options on hand prevents delays. You will be ready for any fabric or design that comes your way. According to textile experts at sewcutepatterns.com, using the correct stabilizer is the single most important factor in embroidery success.
Frequently Asked Questions About Stabilizers
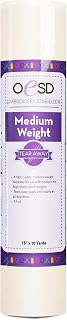
OESD Medium Weight Tear Away Stabilizer
Check PriceCan I reuse leftover stabilizer pieces?
Yes, you can piece together smaller scraps of tear away and cut away stabilizers for larger projects. Overlap the edges slightly and secure them with temporary adhesive spray. This technique works well for practice pieces and non critical projects. For heirloom quality work, however, use a single continuous sheet for best results.
What happens if I use the wrong stabilizer weight?
Using a stabilizer that is too light results in puckering and fabric distortion. One that is too heavy makes the finished piece stiff and uncomfortable. The fabric may also become difficult to hoop properly. Always match stabilizer weight to both fabric weight and stitch density for balanced results.
Do I need stabilizer for hand embroidery?
Stabilizer can significantly improve hand embroidery on stretchy or loosely woven fabrics. It prevents the fabric from pulling and distorting as you work. Lightweight tear away or fusible interfacing works best for hand stitching. Traditional linen and cotton fabrics in a hoop may not require additional backing.
How many layers of stabilizer should I use?
The number of layers depends entirely on your fabric type and design density. Lightweight designs on stable woven fabric may need only one layer. Dense embroidery on knits often requires two or three layers of cut away. Test a sample to determine the ideal layering for your specific project combination.
Can I iron directly on water soluble stabilizer?
No, never apply direct heat to water soluble stabilizer films. They will melt and stick to your iron, creating a difficult mess. Always use a pressing cloth as a barrier if ironing is necessary. Better yet, avoid heat entirely and use temporary adhesive spray to position these stabilizers.
Mastering stabilizer use transforms your sewing and embroidery projects from amateur to professional quality. The right stabilizer supports every stitch, prevents fabric distortion, and ensures your creations last through years of use and washing. Take time to experiment with different types on scrap fabric. Your finished projects will reflect the care you invested in proper stabilization.

Disclosure: As an Amazon Associate, we earn from qualifying purchases at no extra cost to you. Our posts are created with AI tools and human editing.