
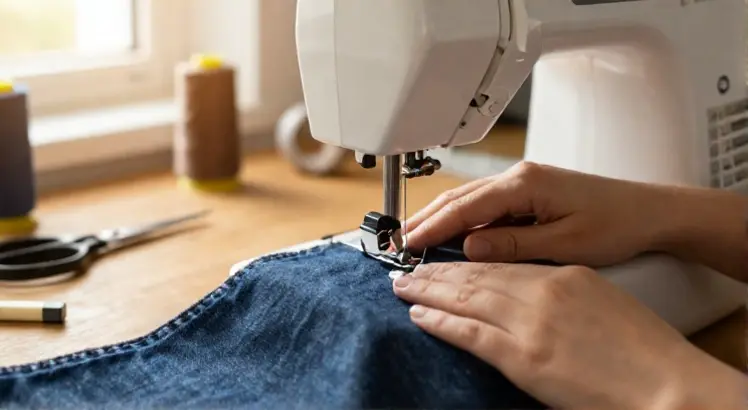
Mastering buttonholes transforms your sewing projects from homemade to professionally finished. A buttonhole machine creates precise, durable openings for buttons in just a few simple motions. Whether you are a beginner or an experienced sewist, understanding these machines unlocks a world of garment possibilities and polished details.
Understanding Buttonhole Machines and Their Types
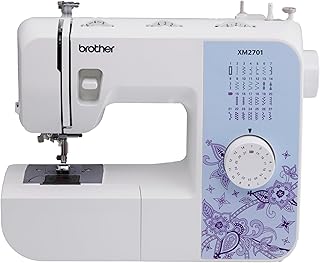
Brother XM2701 Lightweight Portable Sewing Machine
Check PriceButtonhole machines are specialized sewing machines designed to stitch perfectly sized buttonholes automatically or semi automatically. There are two main types you will encounter: one step and four step systems. One step machines measure the button and stitch the entire buttonhole in a single, smooth operation, making them incredibly fast and user friendly.
Four step machines require you to manually change settings for each side of the buttonhole. You sew the left bead, the bartack, the right bead, and the final bartack in sequence. While this adds a little extra time, it gives you fine control over the stitch length and density for each individual phase.
Both systems produce strong, neat buttonholes when used correctly. The choice often comes down to your machine’s built, in capabilities and your personal preference for speed versus detailed customization. Many modern computerized machines now default to the convenient one step method for everyday sewing.
Key Components of a Buttonhole Machine
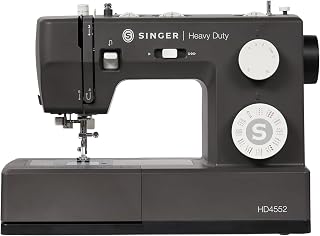
SINGER Heavy Duty 4552 Next Evolution Sewing Machine
Check PriceTo use your machine correctly, identify the buttonhole lever, the presser foot, and the stitch selection dial. The buttonhole lever is a small pull down lever that sits just behind the needle area. It tells the machine when to reverse and finish the hole, so always ensure it is fully engaged before you start stitching.
The buttonhole presser foot often has a special slot to hold a button. Place your button in this slot to tell the machine exactly how long to make the hole. Your stitch selection dial or LCD screen lets you pick the buttonhole pattern, which is usually represented by a small rectangular icon.
Other important parts include the bobbin case and top thread path. Smooth thread flow is critical because buttonhole stitches are dense and can jam easily. Familiarize yourself with these components before you start, and keep your manual handy for model specific guidance.
How to Set Up Your Buttonhole Machine
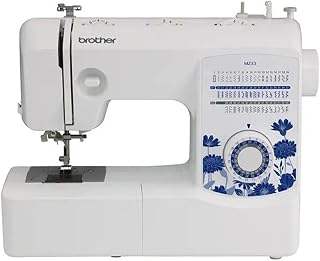
Brother MZ53 Full-Size Sewing Machine
Check PriceBegin by turning off the machine and removing the standard presser foot. Snap on the buttonhole foot, making sure it clicks firmly into place. If your machine uses a buttonhole lever, pull it down gently until it sits against the foot’s vertical stop, this step is vital for consistent sizing.
Select the buttonhole stitch on your dial or screen. On many models, the stitch width and length are preset, but you may adjust them slightly for thick fabrics. Insert a new, sharp needle appropriate for your fabric weight, a universal size 80/12 works for most cottons and linens.
Thread the machine with a good quality all purpose polyester or cotton wrapped polyester thread. Wind a full bobbin and insert it smoothly. Always test your settings on a double layered scrap of your actual project fabric and interfacing, as this reveals any tension or sizing adjustments needed before you sew on the final piece.
Threading the Machine and Needle
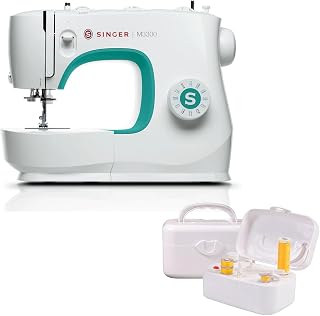
SINGER M3300 Sewing Machine with 97 Stitches
Check PriceProper threading eliminates most buttonhole problems. Raise the presser foot and needle to their highest positions. Follow the numbered thread path exactly as shown in your diagram, ensuring the thread slips into the tension discs and the take, up lever.
Use a thread net or spool cap to control thread delivery from a vertical spool. After threading the needle, pull a few inches of thread to check for smooth resistance. A jerky pull suggests the thread is snagged or incorrectly seated in the tension mechanism, which leads to looping.
For buttonholes, consider using a topstitching weight thread or a slightly heavier thread in the needle for added definition. Always use the same thread type in the bobbin unless you are intentionally creating a contrasting effect. The bobbin thread should wind evenly and insert with the correct rotation direction.
Testing Your Settings on Scrap Fabric
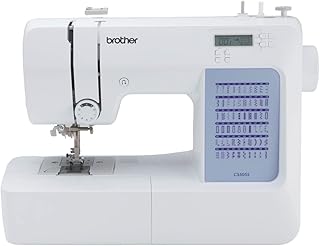
Brother CS5055 Computerized Sewing Machine
Check PriceA test sample is non negotiable when learning how to use a buttonhole machine. Cut a scrap at least 4 inches square and fuse a layer of the same interfacing you will use on the garment. Fold and press the scrap to mimic the garment’s seam allowance and facing area.
Mark a test buttonhole placement with a fabric pencil or chalk. Stitch a complete buttonhole and inspect both sides. The stitch density must be even, without gaps or overlapping threads. A perfectly balanced buttonhole shows no bobbin thread on the top and no top thread underneath.
Test the buttonhole with the actual button you intend to use. The button should pass through the opening easily but not fall out. If the hole is too tight, adjust the length slightly via the button clamp or the stitch length dial according to your manual’s instructions.
Marking Buttonhole Placement Accurately
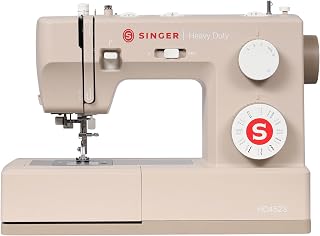
SINGER Heavy Duty 4523 Next Evolution Sewing Machine
Check PriceAccurate marking prevents crooked or misaligned buttonholes. Use a clear ruler and a water soluble marking pen or tailors chalk to draw a line that follows the fabric grain. For vertical buttonholes, the center line should run parallel to the garment’s opening edge.
Mark the exact start point of each buttonhole with a short horizontal dash. Measure the distance between the button’s center and the fabric edge to determine placement. For women’s garments, buttonholes are typically on the right front, while for men’s they are on the left, but always follow your pattern guide.
Double check all marks before sewing. Use a seam gauge to ensure every buttonhole is spaced exactly the same distance apart. A small error can make the finished garment pucker, so take your time with this preparatory step. Then pin the facing back and you are ready to sew.
Using an Automatic Buttonhole Foot
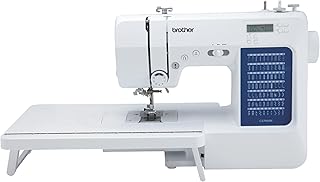
Brother CS7000X Sewing and Quilting Machine
Check PriceThe automatic buttonhole foot holds the button and measures the length of the hole for you. Open the button placement slot on the back of the foot and insert your chosen button snugly. Push the button holder closed so it does not shift while stitching.
Attach the foot to the machine and lower the buttonhole lever. The machine sensor reads the button’s diameter and automatically sets the hole length. This eliminates guesswork and guarantees a custom fit for each button, even if your buttons vary slightly in size within the project.
Begin stitching, and the machine will sew the first bead, the bottom bartack, the second bead, and the top bartack in one continuous cycle. Do not pull or push the fabric, let the feed dogs move it. The machine stops automatically when the buttonhole is complete.
Step by Step One, Step Buttonhole Process
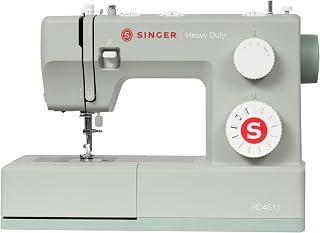
SINGER Heavy Duty 4511 Next Evolution Sewing Machine
Check PriceOnce the foot is on and the button is in its holder, lower the presser foot onto your marked fabric. Align the needle exactly over the starting dash. Lower the buttonhole lever until it touches the foot’s stop, then gently start sewing at a medium speed.
The machine sews a zigzag column downward, then stitches several wide bartacks at the end. It reverses and sews the second column upward, finishing with a few reinforcing stitches at the starting end. A one step machine completes this entire cycle without any dial turns or manual intervention from you.
When the machine stops, raise the needle and presser foot. Carefully remove the fabric and leave long thread tails. These tails will be pulled to the back and secured with a hand sewing needle. Trim the leftover tails close to the knot for a neat finish.
Mastering the Four, Step Buttonhole Technique
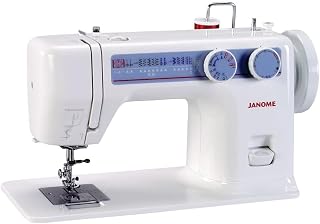
Janome 712t Treadle Sewing Machine
Check PriceA four step buttonhole requires you to manually select each stage using the stitch pattern dial. Mark your buttonhole length on the fabric, then attach the buttonhole foot. Set the dial to the first step, which is usually the left side zigzag or straight stitch column.
Sew down the left side of the marked line, stopping exactly at the end mark. Turn the dial to the second step, typically the bartack, and sew five to six wide stitches to create the bottom bar. Turn to the third step and sew back up the right side, mirroring the first column.
Finally, select the fourth step to make the top bartack. Engage the buttonhole lever if your model requires it. The process gives you complete control over each segment’s density, which is helpful when working with very thick or tricky fabrics like velvet or layered denim.
Troubleshooting Common Buttonhole Issues
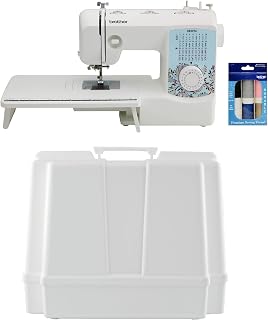
Brother XR3774 37-Stitch Sewing and Quilting Machine
Check PriceIf the right side stitch is loose and uneven, your bobbin tension may be too low or the top thread may be snagged. Rethread the machine completely, ensuring the presser foot is raised when you thread the top path. This allows the thread to seat properly in the tension discs.
When the fabric puckers around the buttonhole, you likely need more stabilizer. Always use a tear away or wash away stabilizer under the fabric. For very lightweight fabrics, a second layer of water soluble stabilizer on top can prevent the stitches from sinking into the weave and distorting the fabric.
Skipped stitches during buttonhole sewing usually point to a blunt or wrong needle. Switch to a fresh size 90/14 needle for dense fabrics. If the buttonhole lever is not fully lowered, the machine will sew a straight line instead of a hole. Double check this lever every time you start.
Essential Maintenance for Longevity
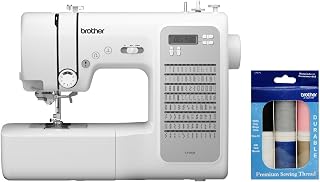
Brother CP100X Computerized Sewing and Quilting Machine
Check PriceButtonholes create dense stitching that leaves a lot of lint in the bobbin area. After every project with many buttonholes, remove the needle plate and brush out the lint. Use a small brush or a vacuum attachment, and never blow into the machine, as moisture can cause rust.
Oil your machine according to the manufacturer’s schedule. A drop of sewing machine oil on the hook race keeps the bobbin case moving smoothly. If your machine sounds loud or the handwheel feels stiff, it is often a sign that oiling is overdue or lint is packed behind the hook.
Check the buttonhole lever mechanism for any thread wraps. A single stray thread can prevent the lever from engaging correctly. Use tweezers to carefully remove any tangled fibers. A well maintained machine will stitch perfect buttonholes for years, making it a joy to use every time.
Pro Tips for Flawless Buttonholes
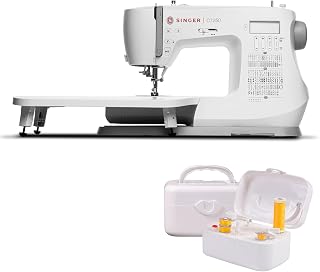
SINGER C7250 Sewing & Quilting Machine
Check PriceAlways interface your fabric where the buttonholes will be sewn. A lightweight fusible interfacing adds the stability needed for dense stitches and prevents the fabric from stretching or distorting. Even on quilting cottons, interfacing makes a visible difference in the final crispness of the buttonhole.
Use a seam sealant like Fray Check on the back of the buttonhole before cutting it open. Place a dressmaker pin across the end bartack as a safety stop. Then use a seam ripper to carefully slice from the center outward toward the pin, which prevents accidentally cutting through the stitches.
For a professional couture look, sew a second pass of buttonhole stitches right over the first pass. This is called a corded buttonhole, and it elevates any garment. You can also change the thread color for the second pass to create a decorative outline that adds visual interest to jackets and coats.
Comparing One, Step vs Four, Step Machines
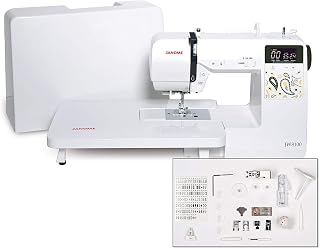
Janome JW8100 Fully-Featured Computerized Sewing Machine
Check PriceChoosing between a one step and a four step machine depends on your sewing style and budget. One step machines excel in speed and consistency. They are ideal for beginners who want buttonholes that look identical every time without adjusting multiple dials mid stitch.
Four step machines, often found on mechanical models, give you the ability to customize each segment. If a bartack needs to be denser for a heavy coat, you can control the stitch count. This flexibility is valued by sewists working with specialty fabrics or those who enjoy the hands on process. Exploring various best buttonhole sewing machines can help you decide which system feels right.
Many sewists keep both types in their studio. The one step is the daily workhorse, while the four step mechanical machine provides backup and portability. From an investment standpoint, understanding buttonhole sewing machine price ranges helps you match the features to your needs without overspending. For a deeper look at the mechanics, the Thesewingdirectory buttonhole foot offers additional visual guidance.
Frequently Asked Questions
How does a one step buttonhole machine work?
A one step machine uses a built in sensor or a button holder in the foot to measure the button’s diameter. You simply select the buttonhole stitch, lower the lever, and press the pedal. The machine automatically stitches both beads and bartacks in sequence, stopping when the hole is complete, ensuring a glove like fit for your button.
Can I use a regular sewing machine for buttonholes?
Yes, most modern home sewing machines include a buttonhole function, either one step or four step. If your machine lacks a dedicated buttonhole dial, you can still create a manual buttonhole using a narrow zigzag stitch and carefully pivoting the fabric. However, a machine with a dedicated setting saves significant time and increases accuracy.
What is the difference between one step and four step buttonholes?
The main difference is automation versus manual control. One step machines sew the entire buttonhole in one cycle using a built in button size measurement. Four step machines require you to select the stitch for each of the four phases individually, which gives you more control over stitch density and size but demands more attention and practice.
How do I adjust buttonhole size?
On a one step machine, place your button into the foot’s measuring slot to automatically set the length. For a finer adjustment, some models allow you to slightly increase or decrease stitch density via a dial. On a four step machine, you mark the desired length on the fabric and control the size by where you begin and end each step of the stitch.
Why is my buttonhole stitching uneven?
Uneven stitching is usually caused by incorrect tension, a snagged thread, or a missing stabilizer. Rethread the machine with the presser foot raised and add a layer of stabilizer beneath the fabric. Also check that the buttonhole lever is fully engaged, as partial engagement often leads to thin, wobbly columns that look uneven and unprofessional.
Which buttonhole machine is best for beginners?
A computerized sewing machine with a one step auto size buttonhole is the best choice for beginners. Models like the Brother CS7000X or SINGER 4552 offer push button simplicity and consistent results. These machines eliminate guesswork and build confidence quickly, allowing new sewists to focus on garment construction rather than buttonhole stress.
How do I maintain my buttonhole machine?
Maintain your machine by cleaning the bobbin area after every project, removing lint with a brush. Oil the hook race as directed in your manual, and replace the needle frequently. Test the buttonhole function monthly with a scrap to catch any timing issues early. A clean, lubricated machine rewards you with silent, flawless buttonhole stitching every time.
Conclusion
Learning how to use a buttonhole machine opens a new level of craftsmanship in your sewing. Whether you prefer the quick automation of a one step system or the hands on precision of a four step method, the key is thoughtful preparation and testing. The process always begins with the right interfacing, accurate markings, and a willingness to practice on a sample first. A well executed buttonhole instantly signals quality, and garment durability improves significantly when openings are reinforced with dense, balanced stitching.
Remember that different fabrics demand different approaches. A lightweight silk might require a water soluble topper, while a heavy denim jacket needs a sturdy stabilizer and a larger needle. Your machine’s manual is a valuable resource for these nuances. Regular maintenance, from clearing lint to oiling, keeps the mechanism precise and prevents those frustrating halfway jams that can ruin a finished panel. Store your machine covered and avoid forcing the handwheel when the buttonhole lever is down, as this can knock the timing out of alignment.
As you grow comfortable, experiment with decorative threads, corded buttonholes, and even keyhole shapes for tailored garments. A beautiful buttonhole transforms a simple placket into a design feature. Celebrate those perfectly matched rows on a dress shirt or the neatly finished fly on a pair of trousers. The skill you have built today will serve you through countless projects, giving every garment that unmistakable custom made finish. Keep your manual, your test scraps, and your favorite seam ripper close, and you will always be ready to sew a buttonhole you can be proud of.

Disclosure: As an Amazon Associate, we earn from qualifying purchases at no extra cost to you. Our posts are created with AI tools and human editing.