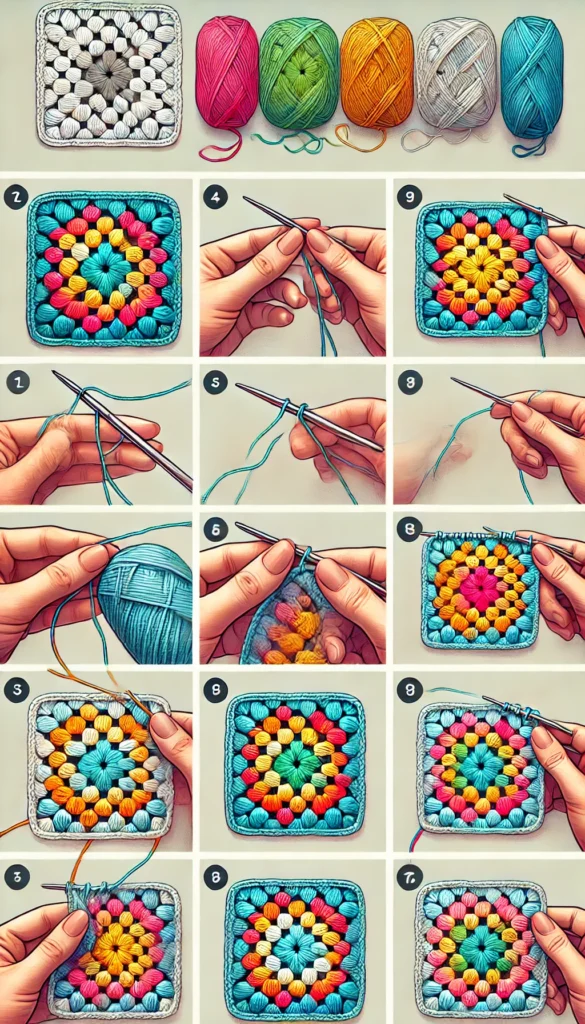
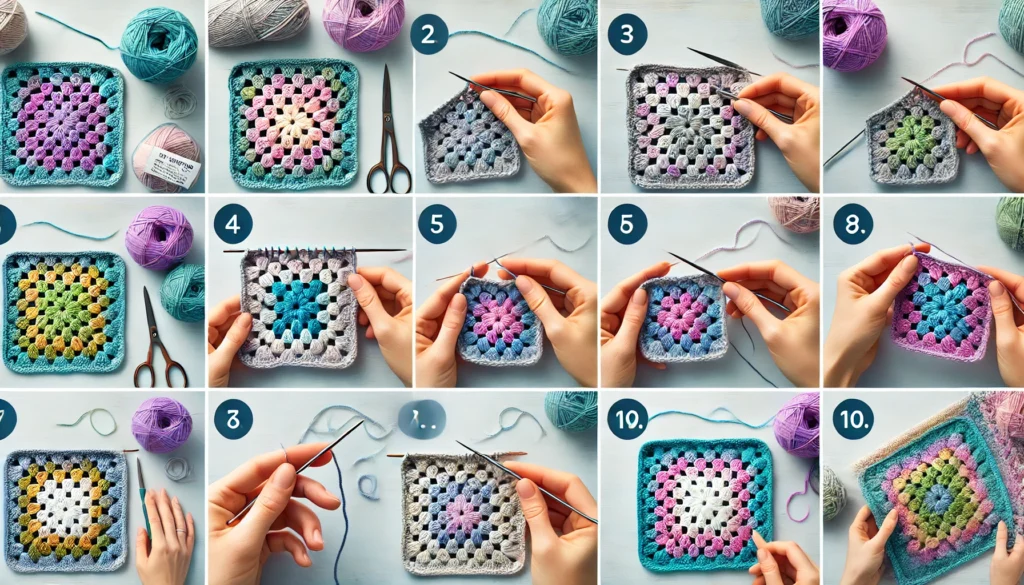
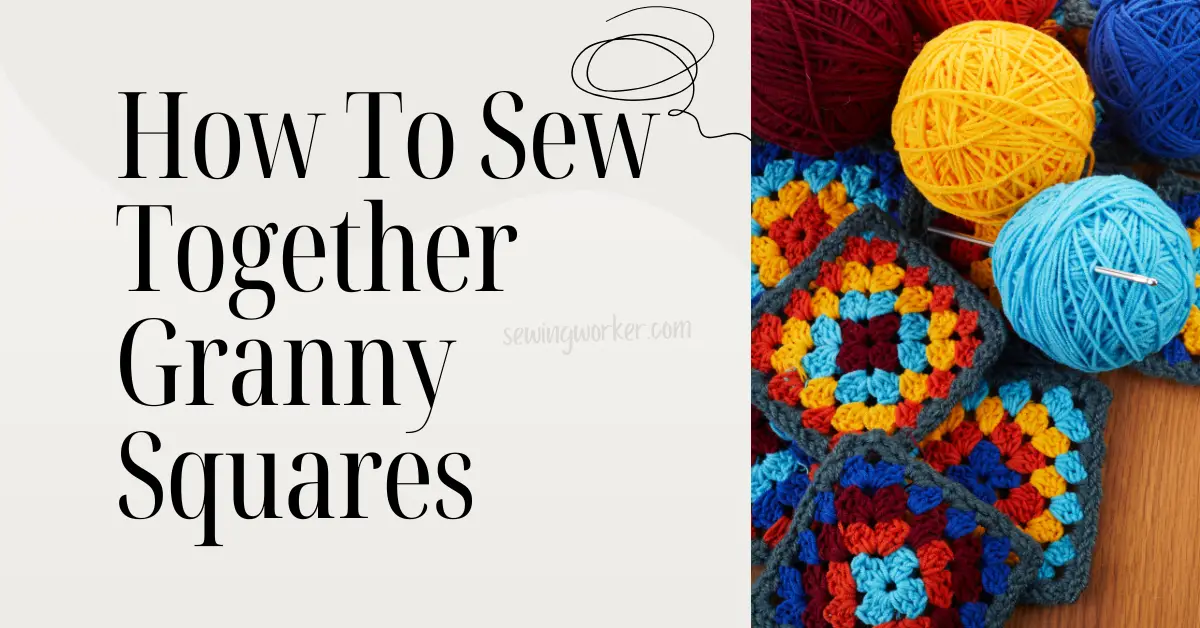
To sew granny squares together, you can use methods like the whip stitch for a visible seam, the invisible seam for a clean finish by stitching through back loops, or the join-as-you-go method, which connects squares during the final crochet round for a seamless look. The mattress stitch provides a flat, durable seam.

In Details
To sew granny squares together, you have several options depending on the look and stability you want for your project:
Whip Stitch Method: Place the squares together with their right sides facing each other, then sew through the edges using a needle and matching yarn, keeping your stitches even. This method is straightforward and creates a visible seam but works well for decorative edges.
Invisible Seam Method: Use a needle and work through the back loops of each square to create a nearly seamless join. This approach keeps the front smooth and is great for a clean finish.
Join-As-You-Go (JAYGO): With this crochet method, you connect squares during the final round instead of seaming separately. This approach creates a continuous and seamless look.
Mattress Stitch: For a strong and nearly invisible join, align the squares with the right sides facing up and sew through the edges, creating a flat and durable seam. It works best for projects that will endure regular use.
Sewing Guide From Start To Finish
What You’ll Need
- Your completed granny squares
- Yarn needle (also called tapestry needle)
- Yarn that matches your squares
- Sharp scissors
- Plenty of good lighting
- A flat workspace (like a table or bed)
- Stitch markers or safety pins
Before You Start
Lay out all your squares in the pattern you want. Take a picture with your phone – this will be your map! Check that all your squares are the same size by stacking them. If they’re not, you might need to block them first (making them the same size using water and pins).
Four Ways to Join Your Squares
Whip Stitch Method
This is perfect for beginners! About 70% of new crocheters start with this method.
Steps:
- Place two squares next to each other, right sides up
- Thread your needle with yarn (about the length of your arm)
- Start at any corner
- Push your needle up through both squares from back to front
- Bring the needle over the edge and down through both squares
- Keep going, making your stitches about 1/4 inch apart
- Try to keep the same tension (how tight you pull) for each stitch
Cool tip: If your seam looks bumpy, you’re probably pulling too tight!
Invisible Seam Method
When you don’t want anyone to see where squares meet, this is your best friend. It’s like magic – the squares look like they grew together!
Steps:
- Place squares side by side, right sides up
- Thread your needle with matching yarn
- Find the little ‘V’ shapes along the edge of each square
- Insert your needle under both legs of the ‘V’ on the first square
- Then do the same on the second square
- Pull gently – not too tight!
- Repeat along the whole edge
Pro tip: Use the same color yarn as your squares – it really will disappear!
Join-As-You-Go (JAYGO)
This is super clever because you join squares while making them. No sewing needed! About 45% of experienced crocheters love this method.
Steps:
- Make your first square completely
- Start your second square
- When you get to the last round, stop at the corner
- Insert your hook through the first square
- Complete your stitches through both squares
- Keep going around the edge
- Finish off your square normally
Smart trick: Keep your first square close by as a guide!
Mattress Stitch
This makes a really strong seam that lies flat. It’s like the secret handshake of professional crocheters!
Steps:
- Line up squares with right sides facing up
- Find the horizontal bars between stitches on both squares
- Insert needle under first bar on one square
- Then under matching bar on other square
- Keep weaving back and forth
- Pull yarn gently every few stitches
- Watch the squares zip together!
Common Oops Moments and How to Fix Them
- Squares don’t line up? Check if you’re catching the same loops on both sides
- Seam looks rope-like? You’re pulling too tight
- Yarn keeps splitting? Try a needle with a bigger eye
- Squares pucker? Undo and try looser stitches

What is the best stitch to join granny squares?
For joining granny squares, popular methods include the slip stitch join for a flat seam with a visible line on the back, mattress stitch for a nearly invisible finish, and single crochet join for a decorative raised ridge. The join-as-you-go method connects squares continuously as you work, ideal for seamless projects.
How to slip stitch granny squares together?
To slip stitch granny squares together, start by positioning the squares with their right sides facing each other. You will work along the back of the pieces. Insert your crochet hook into the back loops of the first stitch on each square.
Yarn over and pull through both loops, making the first slip stitch. Continue by inserting the hook into the next set of back loops on both squares, yarn over, and pull through all loops. Repeat this process across the entire edge.
This method creates a flat, sturdy seam visible only from the back side, which makes it great for items like blankets.
How to join knitted granny squares?
To join knitted granny squares, you can use several popular methods. One of the simplest techniques is the whip stitch, where you sew squares together by passing the needle and yarn through the edges. This creates a visible seam but is easy and works well for projects with a casual or homemade feel.
Alternatively, for a seamless crochet join, you can use methods like the single crochet or slip stitch join. This involves using a crochet hook to work through the edges of two squares, making a flat, neat seam. The “join-as-you-go” technique allows you to connect squares during the last round of crocheting, eliminating the need for sewing later and providing a continuous connection.
Other options include decorative joins like the flat braid or Celtic lace joins, which add a decorative touch between squares but require more crochet expertise.
Should you block granny squares before sewing together?
Blocking granny squares before sewing them together isn’t mandatory, but it has definite benefits. Blocking can help ensure consistent size and shape among your squares, making joining them easier and giving the final project a polished look. It is particularly helpful if your squares are uneven, curled, or if you’re working with different yarn weights or fibers.
However, not everyone finds it necessary, especially for everyday projects like blankets, as the process can be time-consuming. Some prefer to let the joining method and natural tension even things out during assembly.
How to whip stitch granny squares together?
To whip stitch granny squares together, start by aligning two squares with the edges you want to join touching and their right sides facing up.
Thread a tapestry needle with a length of yarn about three times the length of the edge. Insert the needle through both loops of the first stitch on each square, pull the yarn through, and leave a short tail for weaving in later.
Continue stitching by inserting the needle through the next set of loops on both squares, pulling tight but not distorting the shape. Repeat along the edge, making consistent stitches for a neat seam. Finish by tying off and weaving in the ends.

Hi, I’m Safura. What are you sewing today? If you have any questions or need help with anything related to sewing, please feel free to ask. I’m always here to assist you with sewing-related issues.


