
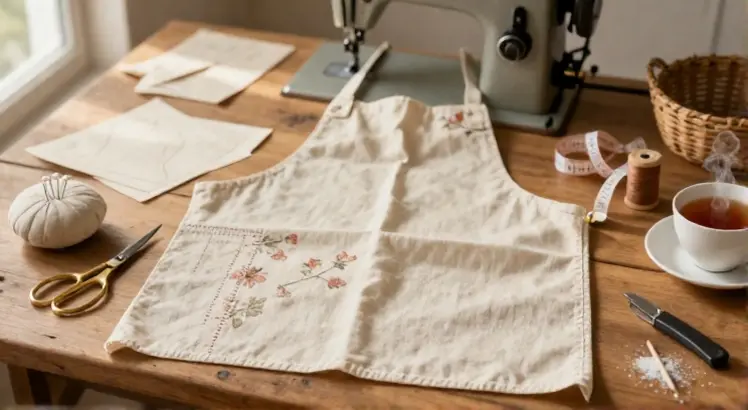
Sewing your own apron is one of the most satisfying beginner projects you can tackle. Whether you want a simple bib apron for cooking, a stylish waist apron for gardening, or a customized gift for a friend, learning how to sew an apron gives you endless creative possibilities. This guide will walk you through every step, from picking the right fabric to adding the final hem. You will gain confidence in using your sewing machine, measuring and cutting accurately, and finishing with a professional look. Let’s get started.
Step 1: Gather Your Materials and Tools
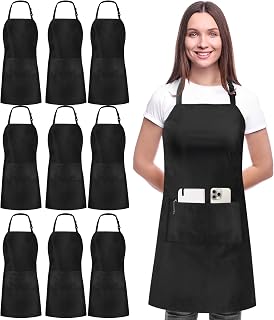
Utopia Kitchen 10 Pack Bib Apron
Check PriceBefore you start sewing, you need to have all the essential tools and materials ready. For a basic apron, you will need about 1 yard of fabric, matching thread, a sewing machine, scissors or a rotary cutter, pins or clips, a measuring tape, and an iron. If you are new to sewing, it is a good idea to practice on scrap fabric first. A basic sewing kit with needles and a seam ripper is also handy. If you are new to sewing, check out this guide on sewing straight stitches from The Spruce Crafts. You might also want to have a pattern or a template to follow. Many free apron patterns are available online, or you can draft your own simple shape. Having everything organized will make the process smooth and enjoyable.
Step 2: Choose the Best Fabric for Apron Sewing
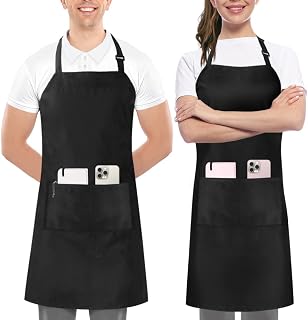
Utopia Kitchen 2 Pack Bib Apron
Check PriceThe fabric you choose makes a big difference in how your apron looks, feels, and holds up over time. Cotton and cotton blends are the most popular choices because they are easy to sew, breathable, and washable. Medium weight cotton canvas, denim, and linen are excellent for sturdy aprons that can handle frequent use and washing. If you want a lighter apron for occasional wear, quilting cotton or a cotton linen blend works well. Always pre wash your fabric to prevent shrinkage later. For more detailed recommendations, see our guide on the best fabric for aprons. Avoid stretchy or slippery fabrics, as they can be tricky for beginners and may not hold their shape as well.
Step 3: Measure and Cut the Apron Pieces
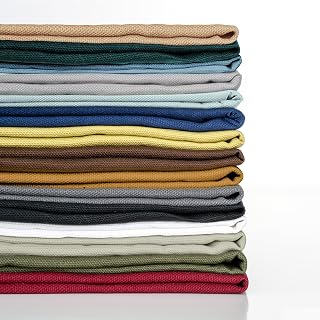
Simple&Opulence 100% Cotton Canvas Fabric
Check PriceOnce you have your fabric, it is time to cut the pieces. A classic bib apron typically consists of a main body panel, a neckband, and two waist ties. You can also add a pocket piece. Use a measuring tape to mark the dimensions on your fabric. For an adult size apron, the body panel is often about 20 inches wide and 30 inches long. The neckband should be long enough to go over your head and sit comfortably, around 20 to 24 inches. Waist ties are usually 2 to 3 inches wide and 30 to 35 inches long each. Cut the pieces carefully with sharp scissors or a rotary cutter on a cutting mat for straight edges.
Step 4: Prepare the Apron Pattern Pieces
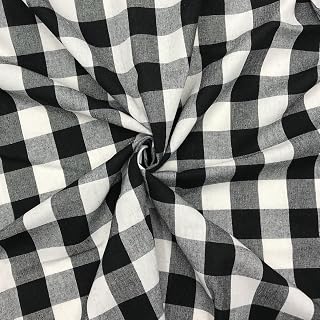
1″ Black White Gingham Fabric
Check PriceIf you are using a paper pattern, pin it to your fabric and cut around it. For a self drafted pattern, you can create a rectangular template from large paper or directly mark the fabric. To give the apron a flattering shape, you can taper the top of the body panel slightly or add a curved armhole. You can also round the bottom corners for a softer look. Use a fabric marking tool to draw any curves or fold lines. Then press all the pieces with an iron to remove wrinkles before sewing. This step ensures your seams will be crisp and accurate.
Step 5: Sew the Apron Body
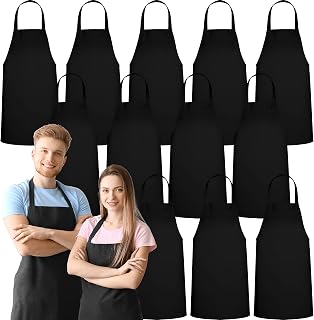
GREEN LIFESTYLE 12 Pack Bib Apron
Check PriceStart by hemming the sides and bottom of the main body panel. Fold the fabric over by 1/4 inch, press, then fold over another 1/4 inch and press again. This creates a double fold hem that encloses the raw edge. Pin the hem in place and sew along the inner fold, using a straight stitch and removing pins as you go. For a neat finish, you can use a edge stitch foot or a rolled hem foot. The top of the apron body will be attached to the neckband later, so leave it raw for now. This is a great time to practice sewing straight lines and keeping a consistent seam allowance.
Step 6: Attach the Apron Neckband
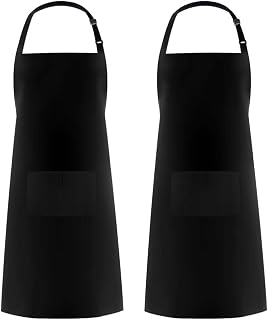
Syntus Apron for Men Women
Check PriceThe neckband is a long strip of fabric that goes around your neck and connects to the top corners of the apron body. Press the long edges of the neckband strip toward the center, then fold it in half lengthwise and press again. This creates a clean strap with no raw edges. Slip the top edge of the apron body into the folded neckband, positioning it so the ends of the neckband extend beyond the apron at each side. Pin carefully and sew along the strap, securing the apron body inside. This forms the neck loop. Make sure the neckband is not twisted and is long enough to slip over your head comfortably.
Step 7: Add the Waist Ties
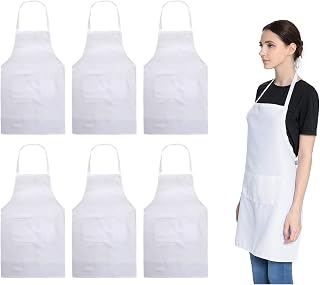
Total 6PCS White Apron
Check PriceWaist ties are attached to the sides of the apron body at the waistline. Prepare the tie strips just like the neckband: fold and press the long edges to the center, then fold in half and press. Insert one short end of each tie into the side seam of the apron body, about 1/2 inch deep. Pin them in place, making sure the ties are aligned with the top edge of the apron body or slightly below the waist area. Sew along the side hem, catching the tie ends securely. For extra strength, backstitch over the tie insertion point. The ties should be long enough to wrap around your waist and tie in a bow at the front or back.
Step 8: Hem the Apron Edges
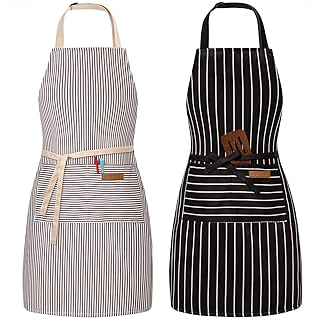
BeLuyi 2 Pack Adjustable Bib Apron
Check PriceAfter attaching the neckband and ties, you may have some raw edges at the top of the apron body. To keep everything neat, finish these edges with a narrow hem or by folding the fabric under the neckband area. If you want a polished look, you can apply bias tape along the entire top edge and around the neckband. Learn how to sew bias tape with our how to sew bias tape tutorial. This technique covers raw edges beautifully and adds a decorative contrast. Press all seams and hems once you finish sewing to set the stitches and give the apron a crisp, professional appearance.
Step 9: Add Pockets to Your Apron
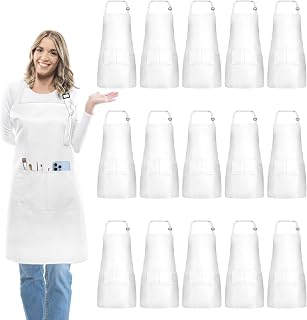
IMERAGO 15-Pack Adult Aprons
Check PriceA pocket is a practical and stylish addition to any apron. Cut a rectangle of fabric for the pocket, about 8 inches wide and 7 inches tall. Hem the top edge of the pocket piece by folding it over twice and sewing. Then fold and press the remaining three sides toward the wrong side. Position the pocket on the apron body, usually centered on the front or slightly to one side. Pin it in place and topstitch around the sides and bottom, leaving the top open. For a divided pocket, sew a vertical line down the center. This small detail adds a lot of functionality and a custom look.
Step 10: Finishing Touches and Pressing
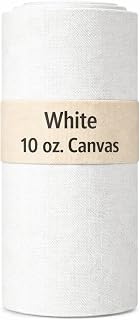
Sedona Designz 60″ Wide Cotton Duck Canvas Fabric
Check PriceWith all the main parts attached, take a moment to inspect your apron. Trim any loose threads and check that all seams are secure. Press the entire apron with a hot iron, paying special attention to the hems, neckband, and ties. This final press makes the fabric lie flat and gives the apron a store bought finish. If you want to personalize your apron, consider adding embroidery, decorative stitching, or a fabric label. You can also attach a D ring or a slider to the neckband to make it adjustable. A well pressed apron is a joy to wear and shows off your sewing skills.
Apron Sewing Patterns and Design Variations
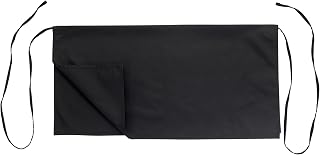
Winco 34″ x 17″ Black 4-Way Foodservice Apron
Check PriceOnce you have mastered the basic apron, you can explore different styles. A waist apron is shorter and ties around the waist, perfect for servers or gardeners. A cross back apron eliminates the neckband and instead uses straps that cross at the back, reducing neck strain. A full coverage apron with adjustable straps and multiple pockets is great for workshops. You can also play with fabric combinations: use a contrast fabric for the neckband and ties, or add a ruffle at the bottom. Many commercial patterns are available, or you can draft your own custom fit. Apron sewing is a wonderful way to express your style.
Common Mistakes When Sewing an Apron
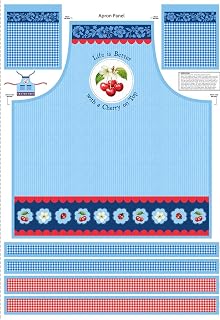
Wilmington – Sweet Cherry Apron Panel
Check PriceEven simple projects can have pitfalls. One common mistake is cutting the neckband too short, making it hard to get the apron on and off. Measure carefully and add a few extra inches for comfort. Another error is forgetting to backstitch at the ends of the ties, which can cause them to pull out under stress. Always reinforce these areas. Uneven hemming can make the apron look crooked, so take your time pressing and pinning. Using the wrong needle or thread tension can result in skipped stitches or puckering. Test your settings on a scrap of the same fabric. With a little patience, you can avoid these issues and end up with a beautiful apron.
FAQ: How to Sew an Apron
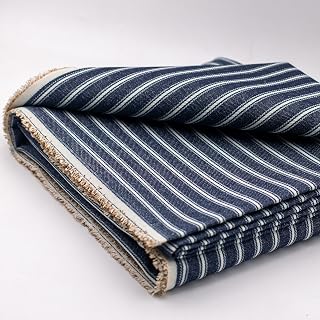
Blue Stripes Cotton Denim Fabric
Check PriceWhat is the easiest apron pattern for a beginner?
A simple rectangular bib apron with straight ties is the easiest. It requires only straight cuts and straight seams, and you can complete it without a commercial pattern. Many free tutorials are available online.
How much fabric do I need to sew an apron?
For an adult bib apron, you typically need 1 to 1.5 yards of fabric, depending on the width and whether you include a pocket. If you are using a directional print, you may need a little more to match the pattern.
Can I sew an apron by hand?
Yes, you can sew an apron by hand using a backstitch or running stitch. It will take longer, but it is perfectly doable. Use a strong thread and make sure your seams are secure, especially at the stress points like the ties.
How do I make the apron adjustable?
You can add a D ring or a slider to the neckband. Thread the neckband through the ring and fold it back on itself, sewing a small loop to secure it. This allows the length to be adjusted easily.
What is the best stitch length for sewing an apron?
A stitch length of 2.5 to 3 mm works well for medium weight fabrics. For heavier fabrics like canvas or denim, use a longer stitch length, around 3 to 3.5 mm, and a heavier needle.
Learning how to sew an apron is a rewarding experience that builds essential sewing skills. With the right fabric, tools, and a bit of practice, you can create a custom apron that fits perfectly and reflects your personal style. Whether you make one for yourself or as a gift, the handmade touch is always appreciated. Now grab your supplies and start stitching your very own apron today.

Disclosure: As an Amazon Associate, we earn from qualifying purchases at no extra cost to you. Our posts are created with AI tools and human editing.