
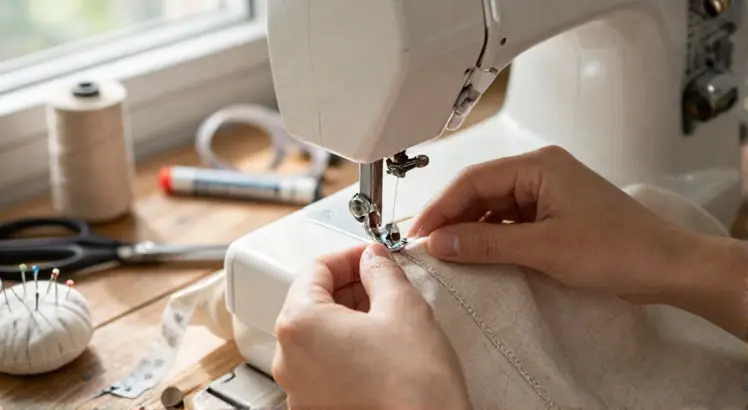
If you have ever wondered how to make a bag by sewing, you are in the right place. Sewing your own bag gives you a practical accessory while building core skills like straight stitching, pressing, and working with seam allowances. This beginner-friendly guide walks you through constructing a simple lined tote bag that you can customize with any fabric. By the time you finish, you will own a handmade bag and the confidence to tackle more advanced sewing projects.
What You Need to Sew a Bag
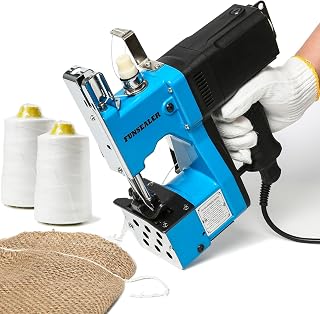
FunSealer Portable Bag Closing Machine
Check PriceGathering the right materials makes the process smooth and enjoyable. A basic bag project does not require a fancy sewing machine or pricey supplies. Here is a checklist of what you will need.
Fabric Selection
Choosing fabric is the most exciting part. For a sturdy tote bag that holds its shape, medium-weight cotton, canvas, or denim works best. Quilting cotton is a popular choice because it comes in countless prints and is easy to sew. If you prefer a softer, slouchy bag, linen or lightweight twill are great alternatives. You will need about half a yard of outer fabric and half a yard of lining fabric. Feel free to mix solids and patterns. If you are unsure which materials stand up to daily use, read our guide on choosing the right fabric for tote bags before you cut.
Essential Sewing Supplies
- Sewing machine with a universal needle (size 80/12)
- Matching all-purpose polyester thread
- Fabric scissors or rotary cutter and cutting mat
- Pins or sewing clips
- Iron and ironing board
- Measuring tape or quilting ruler
- Tailors chalk or water-soluble marker
- Optional: medium-weight fusible interfacing for extra structure
You will also need a basic understanding of your sewing machine. Make sure the machine is threaded correctly and the tension is set for medium-weight woven fabric. A fresh needle prevents skipped stitches and puckering.
Step 1: Cut Your Fabric Pieces
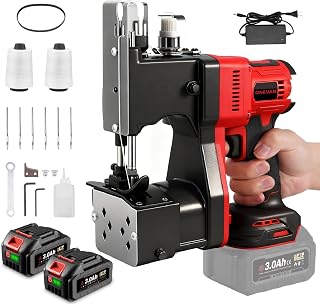
ONEVAN Cordless Bag Sewing Machine with 2×3.0Ah Batteries
Check PriceAccurate cutting is the foundation of a professional-looking bag. For a standard tote bag that measures approximately 14 inches wide by 15 inches tall, cut the following pieces:
- Outer fabric: two rectangles 15 inches wide by 16 inches tall (this includes a 1/2-inch seam allowance)
- Lining fabric: two rectangles of the same size
- Handles: two strips of outer fabric 4 inches wide by 22 inches long
If you want a stiffer bag, fuse interfacing to the wrong side of the outer fabric pieces before sewing. Press your fabric well to remove any wrinkles. Use a ruler and tailors chalk to mark the cutting lines on the wrong side of the fabric, then cut slowly. Stacking the outer and lining rectangles and cutting them at the same time ensures they are identical.
Step 2: Prepare the Handles
Handles take a lot of stress, so this step needs attention. Take one handle strip and fold it in half lengthwise with the wrong sides together. Press the fold to create a center crease. Then open the strip and fold each long raw edge toward that center crease, pressing again. Finally, fold along the original center line so the raw edges are enclosed inside. This creates a 1-inch-wide strap with four layers. Pin in place and topstitch along both long edges, about 1/8 inch from each side. Repeat for the second handle. The result is a flat, durable strap. If you prefer a different handle style like rolled straps or knotted accents, comprehensive tote bag tutorial walks through several innovative alternatives.
Step 3: Assemble the Outer Bag
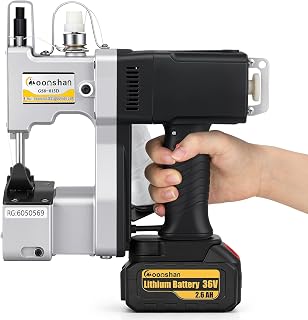
Moonshan Cordless Bag Closing Machine
Check PricePlace one outer fabric piece right side up on your workspace. Position the handles so the raw ends align with the top edge, measuring about 3.5 inches from each side. Pin the handles in place with the straps pointing downward. Repeat with the second outer piece, mirroring the placement. Now place the second outer piece on top, right side down, so the right sides are together and the handles are sandwiched between the layers.
Pin all around the sides and bottom, leaving the top edge open. Stitch with a 1/2-inch seam allowance, securing the handles by backstitching over the strap ends. Press the seams open or to one side, then turn the outer shell right side out and poke out the bottom corners with a blunt tool. You should have a neat bag shape with straps securely attached.
Step 4: Sew the Lining and Attach It
Take the two lining pieces and place them right sides together. Pin the sides and bottom, but this time leave a 4-inch gap along the bottom edge for turning later. Stitch with a 1/2-inch seam allowance and press the side seams. Do not turn the lining right side out yet. Slide the outer bag (which is right side out) into the lining so the right sides are facing each other. Align the top raw edges and side seams carefully. The handles should be tucked down between the layers. Pin around the entire top opening. Sew all the way around with a 1/2-inch seam allowance. This seam joins the outer fabric to the lining and closes the bag top.
Step 5: Turn and Finish
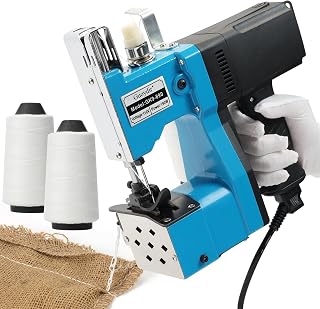
Guoydir Portable Handheld Sewing Machine Heavy Duty
Check PriceReach through the gap left in the lining and pull the outer bag through the opening. This turns the entire bag right side out. Push the lining down into the outer shell and use your fingers to smooth the top seam. Press the top edge flat, rolling the seam slightly toward the lining so it is hidden from view. To close the turning gap, fold the raw edges of the lining bottom inward and press. Stitch close to the folded edge on your machine or slip-stitch by hand for an invisible finish.
A final topstitching around the bag opening, about 1/4 inch from the edge, gives a crisp, professional look and keeps the lining from rolling out. Press the entire bag one more time, and it is ready to use.
Customization Ideas for Your Sewn Bag
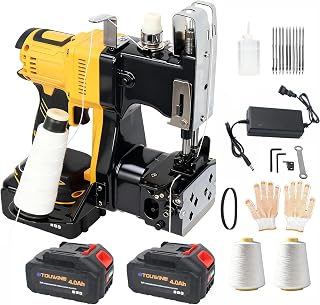
BTOUWIND Bag Sewing Machine with 2×4.0A Batteries
Check PriceOnce you master the basic tote, the possibilities expand. Here are simple ways to make the design your own:
- Add an interior pocket: Cut a 6-by-7-inch rectangle of lining fabric, hem one long edge, and stitch the other three sides to the lining before assembly.
- Use contrasting thread for topstitching to create a decorative outline.
- Apply fusible vinyl to the outer fabric for a water-resistant shopping bag.
- Add a magnetic snap or a simple button closure to the top.
- Experiment with patchwork or applique on the outer panels before cutting.
For a different finished shape, try a drawstring closure. You can find a detailed walkthrough in our simple tote bag sewing tutorial, which covers an unlined version perfect for market trips.
Common Mistakes and How to Avoid Them
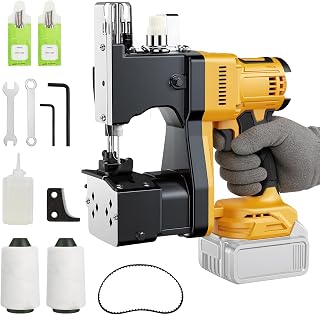
CAMXTOOL Cordless Bag Sewing Machine Compatible with Dewalt 20V Max
Check PriceEven simple bag sewing trips up beginners. Knowing these pitfalls will save you frustration.
- Shortening handles accidentally: When you pin the straps, make sure the loops are long enough. Measure the drop length you need before cutting. A 22-inch strip yields about a 10-inch drop after folding and stitching.
- Twisted straps: Check that straps lie flat and are not twisted between the layers before sewing the top seam. It is easier to unpin than to resew the entire top.
- Uneven cutting: If your rectangles are not identical, the bag will pucker. Use a rotary cutter and ruler for the most precise results. Pinning the fabric layers together before cutting helps keep them aligned.
- Skipping interfacing: A bag without interfacing can become floppy, especially with quilting cotton. Even lightweight fusible interfacing adds body and helps the bag stand on its own.
- Forgetting the turning gap: Without an opening in the lining, you cannot turn the bag right side out. Mark the gap clearly with a double pin or chalk line.
Frequently Asked Questions
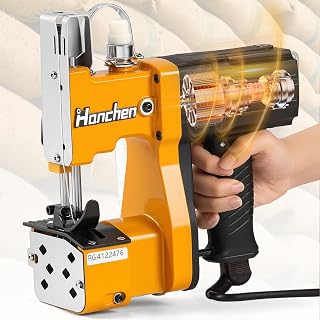
Hanchen Bag Sealing Machine
Check PriceWhat is the easiest bag to sew for a beginner?
A simple tote bag with two handles and an optional lining is the best starting point. It uses straight seams, requires minimal pattern pieces, and teaches fundamental skills like boxing corners (optional), attaching handles, and inserting a lining. The steps in this guide are designed exactly for that.
Can I make this bag without a sewing machine?
Absolutely. You can hand-sew the entire bag using a backstitch or running backstitch for strength. Use sturdy thread and a hand-sewing needle. The process takes longer but is completely doable. For a polished look, press the seams open with an iron even when hand-sewing.
How do I make my tote bag sturdier?
Use heavy fabrics like canvas or denim, or add fusible fleece or cotton batting between the outer fabric and lining. Interfacing on both the outer and lining pieces creates a stiff, almost boxy structure. A thick interfacing like Peltex will make the bag stand upright even when empty. Reinforce the top edge with a strip of interfacing inside the seam allowance.
What seam finish works best for a bag?
For unlined bags, a French seam or a flat-felled seam encloses raw edges and adds strength. Since this project includes a lining, a simple straight stitch with pinking or a zigzag stitch along the raw edges is enough to prevent fraying. The lining hides the seams, so no elaborate finishing is necessary.
How long does it take to sew a bag?
A beginner can complete this tote bag in about two to three hours from cutting to final press. With practice, the time drops to under an hour. Pre-washing, ironing, and careful pinning add time but improve the final result.
Your Next Bag Sewing Project Starts Today
Now that you know how to make a bag by sewing, you can fill your closet with custom totes for groceries, beach days, or gifts. The skills you practiced here teach you to read patterns, manage bulk, and finish seams like a pro. Pick a fabric that makes you smile, gather your tools, and set aside a quiet afternoon. As you sew, remember that each stitch builds muscle memory. Once this bag is done, you will be ready to tackle zippered pouches, drawstring backpacks, or even a structured handbag. The only limit is your imagination.
