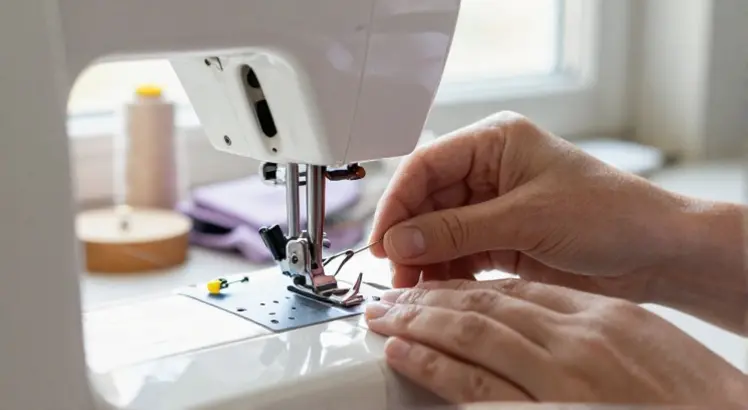
If you’ve noticed skipped stitches, thread snapping, or a dull thud as the needle punches through fabric, it’s probably time to swap out the needle. I’ve taught dozens of beginners how to do this on their Brother machine, and every single one was surprised by how quick and simple the process is once they knew the right steps. In this guide, I’ll walk you through exactly how to change needle on Brother sewing machine, from spotting the warning signs to securing the fresh needle without a hitch.
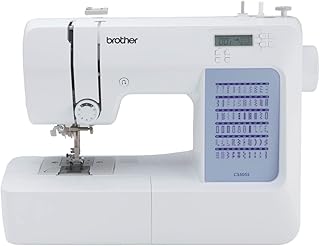
Brother CS5055 Computerized Sewing Machine
Check PriceWhy Changing the Needle Matters
A bent, dull, or wrong-sized needle is the hidden culprit behind most sewing headaches. A fresh needle slides through the fabric effortlessly, creating even, professional-looking stitches. When you ignore the needle, you risk snagging delicate material, damaging the bobbin case, and worst of all, breaking the needle during a high-speed project. Brother machines are built to last, but the needle is a consumable, think of it like the tires on a car. Changing it regularly protects the timing, the hook, and the overall stitch quality.
When to Change Your Sewing Machine Needle
- After every 8 hours of sewing – or one large project like a quilt or a full garment.
- When you hear a popping sound as the needle pierces the fabric.
- Skipped or uneven stitches that persist after rethreading.
- Visible damage – a bent tip, burr, or dull point you can feel with your fingernail.
- Switching fabric types – always match the needle to the fabric (more on that later).
Tools You’ll Need
Good news: Brother includes everything you need right in the accessory box. Before you begin, gather these items:
- A fresh Brother-compatible sewing machine needle (standard 15×1 or 130/705H system fits most home models).
- The small flathead screwdriver that came with your machine (usually stored under the needle plate or in the accessory compartment).
- A piece of scrap fabric to test the stitch after installation.
If you misplaced the screwdriver, a small eyeglass screwdriver or even a coin that fits the needle clamp screw can work in a pinch, though the dedicated tool gives you better control.
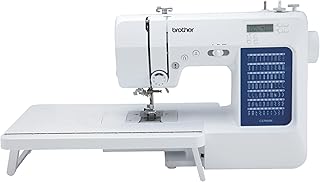
Brother CS7000X Computerized Sewing and Quilting Machine
Check PriceStep-by-Step: How to Change a Needle on a Brother Sewing Machine
I’ll break this down into six clear steps. The process is nearly identical across Brother models, from the budget-friendly XM2701 to the feature-packed SE600 embroidery combo. Follow along and you’ll have a fresh needle installed in under two minutes.
Step 1: Turn Off and Unplug the Machine
Always prioritize safety. Switch the power off and unplug the cord so there’s zero chance of accidentally pressing the foot controller while your fingers are near the needle bar. This simple habit prevents injuries and protects the machine’s internal electronics.
Step 2: Raise the Needle and Remove the Presser Foot
Turn the handwheel toward you until the needle is at its highest position. This gives you the most working room. Next, lift the presser foot lever and temporarily remove the presser foot. While some Brother manuals allow you to change the needle with the foot attached, taking it off gives you a clear, unobstructed view of the needle clamp, especially helpful if you wear glasses or are working in low light.
Step 3: Loosen the Needle Clamp Screw
Hold the old needle between the thumb and forefinger of your left hand. With the screwdriver in your right hand, turn the needle clamp screw counter‑clockwise just enough to release the needle, usually a quarter to half turn. You don’t need to remove the screw completely. On some Brother computerized models like the CS7000X, the screw is conveniently angled toward you; on mechanical machines it’s straight on. If you’re ever unsure about your model’s layout, check the Brother’s official needle replacement guide for a visual reference.
Step 4: Remove the Old Needle
Once the screw is loosened, the needle will slip out easily. Pull it downward and discard it safely, I like to wrap it in a piece of tape before tossing it in the trash so no one gets poked. Take a second to inspect the back of the old needle. A deep groove running along one side confirms you had the flat side facing the correct direction. That’s your memory cue for the next step.
Step 5: Insert the New Needle Correctly
This is the most important moment. Every Brother home sewing machine uses a needle with a flat shank on the back. Look at the new needle: one side is round, the other is flat. The flat side must face toward the back of the machine. If you’re holding the needle with the flat side away from you, you’re holding it right.
- Slide the new needle up into the needle clamp until it hits the stop pin. You may need to wiggle it gently.
- Make sure the needle is fully inserted. A partially seated needle will cause skips and could hit the bobbin case.
- Keep the flat side to the rear. If you insert it sideways or backward, the machine won’t pick up the bobbin thread at all.
Step 6: Tighten the Clamp and Reattach the Foot
While holding the needle in place with your left hand, turn the clamp screw clockwise with your right hand until it’s snug. Check that the needle doesn’t wiggle. Then reattach the presser foot, plug the machine back in, and run a few test stitches on scrap fabric. If the stitches look balanced and there’s no clunking noise, you’re all set.
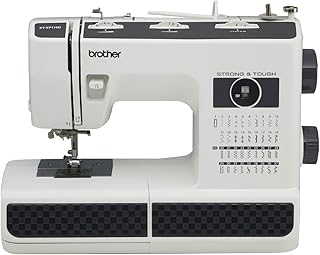
Brother ST371HD Strong & Tough Sewing Machine
Check PriceCommon Mistakes to Avoid
- Forgetting to unplug the machine – I’ve seen too many startled stitchers when the motor hums unexpectedly.
- Facing the flat side forward – this is the #1 beginner error. If the thread shreds and the bobbin won’t catch, flip the needle.
- Using a bent needle without realizing it – roll the needle on a flat surface; if it wobbles, replace it.
- Not pushing the needle all the way up – the needle bar has a built‑in stop; don’t leave a gap.
- Over‑tightening the clamp screw – you only need it secure, not cranked down like a lug nut. Over‑torquing can strip the thread.
Choosing the Right Needle for Your Project
Brother machines accept the universal home needle system (130/705H), but not all needles are created equal. Using the correct type and size prevents puckering, uneven tension, and fabric runs. Here’s a quick reference:
- Universal (size 80/12) – everyday woven and knit fabrics; great for cotton quilting.
- Stretch / Ballpoint (size 75/11 or 90/14) – jersey, spandex, and rib knits; the rounded tip slides between fibers instead of piercing them.
- Sharp / Microtex (size 70/10 – 90/14) – silk, microfiber, laminated fabrics; the ultrasharp tip makes perfectly straight stitches.
- Denim / Jeans (size 90/14 – 110/18) – heavyweight cotton, canvas, multiple layers.
- Leather (size 90/14 – 100/16) – natural leather and thick vinyl; the wedge point cuts cleanly.
We’ve tested dozens of brands on Brother machines, and the best needle makes a world of difference, especially with specialty threads. For a detailed breakdown, see our guide to the best sewing machine needles.
Tips for Maintaining Your Brother Sewing Machine
- Keep a needle log. Jot down the date and hours sewn each time you change the needle. It takes five seconds and prevents guesswork.
- Store needles in their original case so you can read the size and type at a glance.
- Clean the bobbin area each time you swap a needle. Lint buildup can push on the needle bar and affect timing.
- Use only high‑quality needles (Schmetz, Organ, or genuine Brother branded). Cheap off‑brand needles often have inconsistent shanks that slip or sit crooked.
FAQ
How often should I change the needle on a Brother sewing machine?
After every 8–10 hours of stitching, or at the start of a new project. If you sew daily, make it a weekly habit. Heavy fabrics and metallic threads dull needles faster, so inspect the tip under a bright light and change it sooner if needed.
Can I change the needle on a Brother machine without a screwdriver?
Not easily. Brother needle clamp screws are designed for a small flathead driver. A coin or a butter knife might work in an emergency, but you risk stripping the screw head. I always keep the original screwdriver in the machine’s tool tray.
Why does my needle keep breaking?
Several reasons: you might be pulling the fabric instead of letting the feed dogs move it, the needle is bent or inserted backward, the needle size is too fine for the fabric, or the thread is catching in the bobbin area. Start by replacing the needle with the correct type and making sure it’s fully seated and the flat side is to the back.
Do all Brother sewing machines use the same needles?
Yes, nearly all home Brother models, from the classic CS6000i to the heavy‑duty ST150HDH, use the 15×1 (130/705H) system. Industrial and some serger models are exceptions. When in doubt, check your manual, but a standard pack of universal needles from Schmetz or Organ will fit.
Conclusion
Learning how to change a needle on a Brother sewing machine is one of those “small skills, big payoff” moments. Once you’ve done it a couple of times, the steps become muscle memory, unplug, handwheel up, foot off, loosen screw, flat side back, slide in, snug screw, reattach foot, test. Treat the needle as the MVP of your sewing kit.
Swap it regularly, match it to your fabric, and your Brother machine will reward you with smooth, quiet stitching project after project. And if you’re curious about upgrading to a model that makes maintenance even easier, don’t miss our comprehensive guide to the best Brother sewing machines.