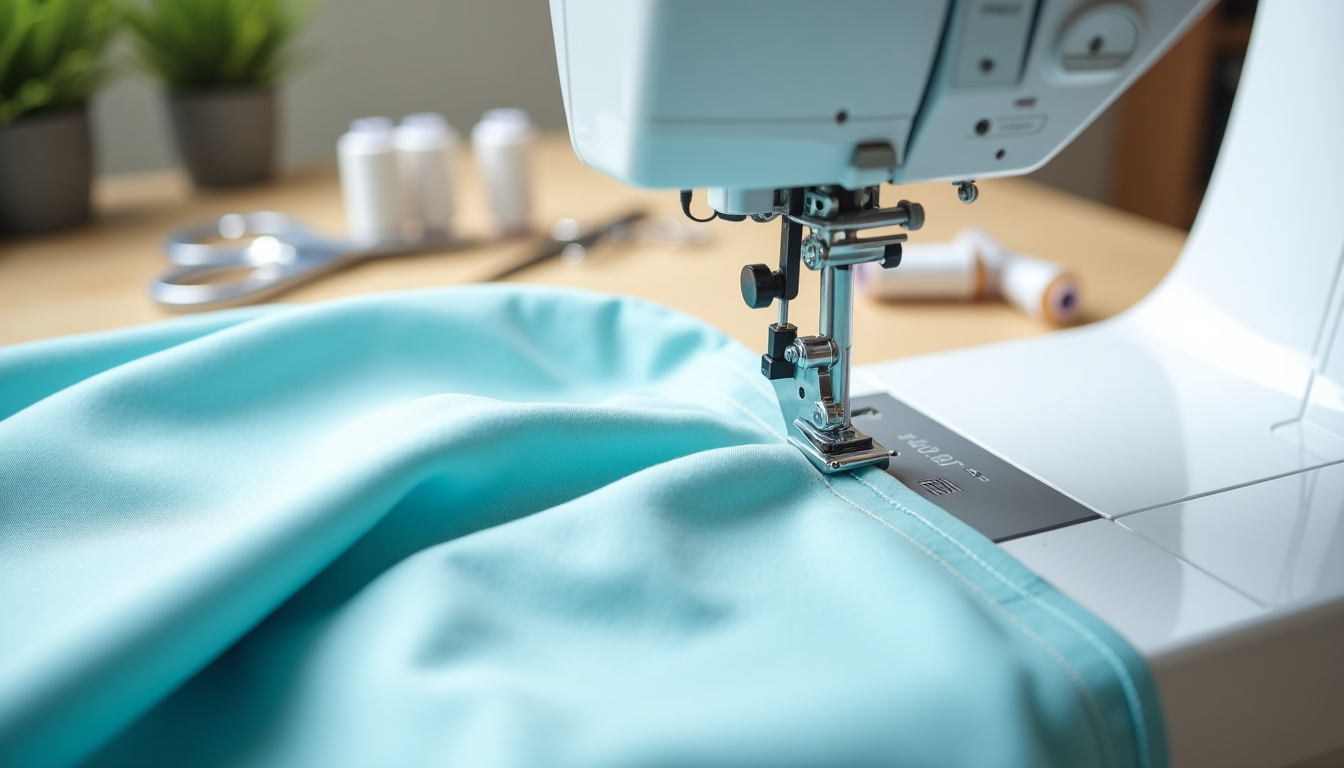
Have you tried sewing a perfectly straight line only to end up with wonky seams? I’ve been there, and it’s frustrating.
These simple tools called magnetic seam guides changed my sewing game completely. They work like training wheels for your sewing machine and help you maintain consistent seam allowances without constant measurement checks.
My experience includes testing dozens of magnetic seam guides on different sewing machines, from modern models to vintage Singers. This testing led me to compile a list of the 7 best options you can get in 2024. These guides will help you achieve professional-looking results every time, whether you’re working on quilts, garments, or home decor projects.
Time to find the perfect magnetic seam guide for your sewing machine and bid farewell to crooked stitches forever.
Best Magnetic Seam Guide 2025 Upgraded
| Product Name | Price |
|---|---|
| TIGARI Magnetic Seam Guide | Check Price |
| Madam Sew Magnetic Seam Guide | Check Price |
| Dritz Magnetic Seam Guide | Check Price |
| Singer Magnetic Seam Guide | Check Price |
| Clover Magnetic Seam Guide | Check Price |
| Collins Magnetic Seam Guide | Check Price |
| Simplicity Magnetic Seam Guide | Check Price |
| Bernette Magnetic Seam Guide | Check Price |
TIGARI Magnetic Seam Guide with Seam Ripper, 2025 Upgraded

If you’re tired of uneven seams or guessing your seam allowance, this new TIGARI Magnetic Seam Guide might be just what you need. It’s a simple upgrade that makes your sewing more precise, faster, and stress-free.
TIGARI Magnetic Seam Key Features:
- 2025 Upgraded Design: Polygonal shape allows for more accurate angle control and hem alignment.
- Built-in Scale: Clearly marked guide lines help maintain perfect seam widths without needing to measure each time.
- Powerful Magnet: Stays firmly in place on metal sewing plates without slipping — ideal for high-speed sewing.
- Bonus Seam Ripper: Comes with a quality seam ripper for quick fixes and adjustments.
- Universal Fit: Compatible with most household and industrial sewing machines.
Why We Like It:
The TIGARI Magnetic Seam Guide combines precision, strength, and versatility in one small tool. The polygonal edges make it easier to guide fabric smoothly around curves or corners, while the magnetic base ensures stability even during fast stitching. The included seam ripper is a thoughtful extra for everyday sewing tasks.
Ideal For:
Beginner and advanced sewists who want consistent seam allowances, cleaner hems, and faster setup for repetitive sewing projects.
Price & Value:
You can check the latest price and availability on Amazon here: View Product on Amazon
TIGARI Magnetic Seam Guide Setup Steps:
- Clean your sewing plate — wipe away any lint or dust so the magnet grips firmly.
- Place the TIGARI Magnetic Guide beside your presser foot at the desired seam width.
- Align using the built-in scale — adjust until the marking matches your preferred allowance (¼”, ½”, etc.).
- Test on a fabric scrap — run a few stitches to confirm straight alignment.
- Start sewing! The magnet will stay stable even during fast stitching.
Guide Works Great For:
- Straight seams on quilting and garment projects
- Consistent topstitching on hems and cuffs
- Sewing long fabric strips or bias tape
- Keeping even spacing on decorative stitches
- Beginners learning to maintain uniform seam allowance
Madam Sew Magnetic Seam Guide

The Madam Sew guide stands out among all the magnetic seam guides I’ve tested. This little tool became my favorite choice for precise sewing, and here’s why.
Madam Sew Guide Features and Design
This magnetic seam guide packs a punch despite its small size. It measures 1 ¾ x ¾ x ¼ inch and weighs a mere 0.41 oz (11.7 g). The stainless steel construction makes it durable with excellent magnetic properties.
The guide shines with these special features:
- Strong magnetic grip that stays secure even during high-speed sewing
- Works with most metal needle plates
- Manufacturers confirm it’s safe for computerized machines
- Adapts to any seam width
- Fits easily in your sewing box
Madam Sew Guide Installation Steps
You can set up this guide quickly and easily:
- Pick your desired seam width on the throat plate
- Set the guide on the metal surface
- Watch the magnet snap into place
- Check the placement with scrap fabric
- Make adjustments based on your project needs
The guide works best when you place it before the presser foot or shift your needle right for ¼-inch seams. This keeps the presser foot from hitting the guide while you sew.
Madam Sew Guide Price and Value
The guide costs $4.99 and delivers great value. The 60-day money-back guarantee shows how much the manufacturer believes in their product.
The stainless steel build means this tool lasts for years. You can use it for everything from quilting to garment making. Another satisfied user, Cynthia Mills, agrees with me, saying, “I didn’t expect it to be as helpful as it is!”
The guide pairs well with the Madam Sew Seam Guide Ruler (available separately at $6.75) but works great on its own too. This combination helps me create straight seams consistently, especially on bigger projects where keeping steady lines gets tricky.
Dritz Magnetic Seam Guide
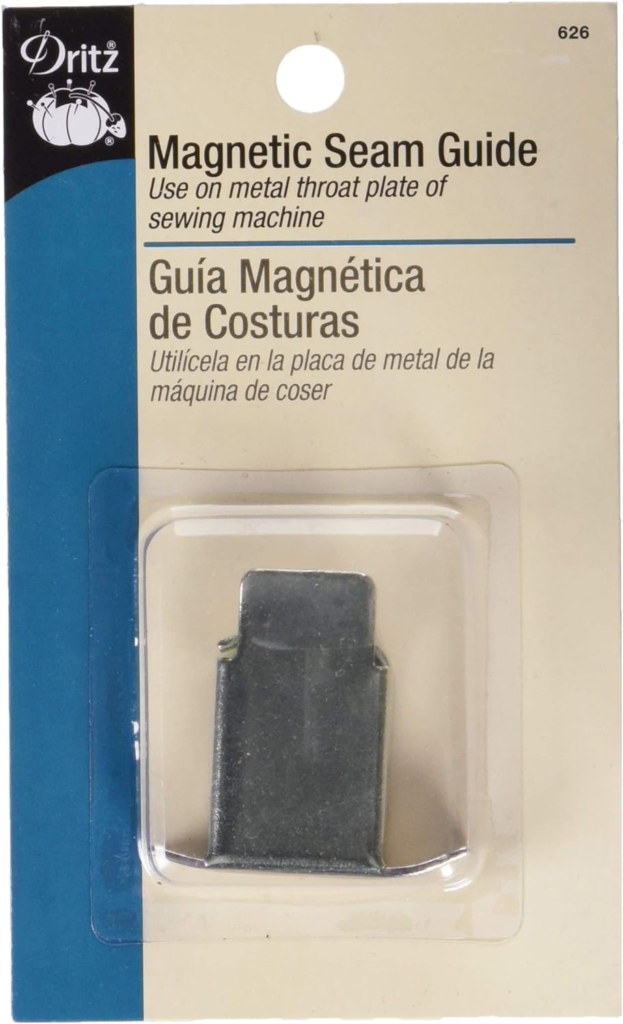
Need a reliable magnetic seam guide that won’t empty your wallet? My extensive testing of the Dritz magnetic seam guide has yielded some interesting results that I’d love to share with you.
Dritz Guide Key Features
The Dritz magnetic seam guide stands out with its smart design. The guide measures 1 3/8″ x 1 5/8″ 6 – a perfect size that fits most sewing machines.
The guide comes with these standout features:
- A power-grip magnet that grips firmly and prevents slipping
- A unique flip tab you can lift easily to make quick changes
- Multiple positioning options for different seam widths
- A sturdy metal fence (1/4″ high x 1-5/8″ long) that keeps fabric in place
Dritz Guide Setup Process
The setup works smoothly, and beginners pick it up quickly. Here’s my method:
- Give your machine’s metal throat plate a quick clean
- Set the guide to your preferred seam width
- Line it up using your throat plate’s ruler markings
- Rest your fabric against the guide
- Begin sewing with the fabric edge touching the guide
A word of caution: My testing shows this guide isn’t suitable for computerized sewing machines. Users with computerized machines should check out other options from this list.
Dritz Guide Works Great For
My students love working with it. As one student put it, “The seam guide makes a big difference in teaching my granddaughter how to sew. She really likes it”.
The guide shines at keeping seams accurate. It works great for:
- Making even tucks and pleats without markers
- Keeping seam allowances consistent
- Sewing straight on long fabric pieces
The guide fits anywhere on the metal throat plate, which makes it versatile enough for any project. The magnet stays put during use, and that’s significant for keeping your work precise.
Singer Magnetic Seam Guide
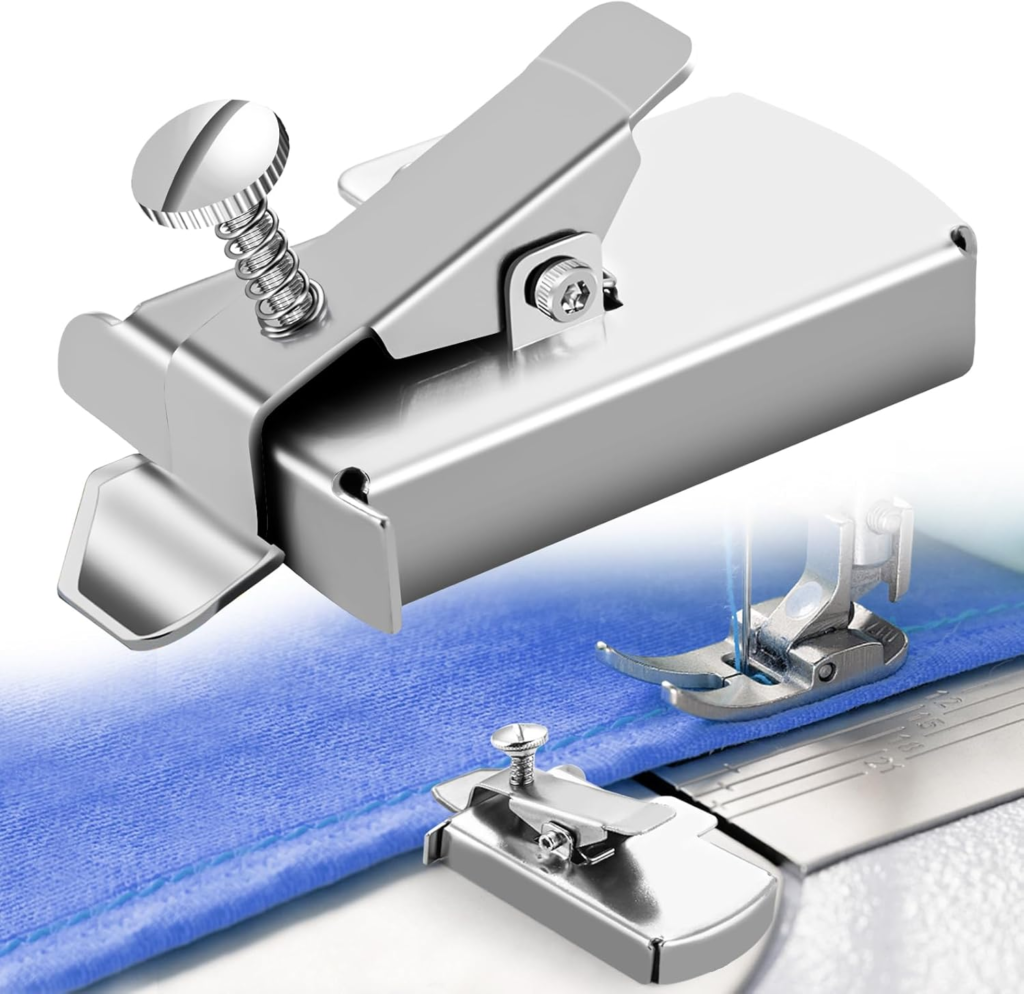
My first experience with the Singer magnetic seam guide made me curious about its quality reputation. After weeks of testing, here’s what I found about this popular sewing helper.
Singer Guide Specifications
The Singer magnetic seam guide (also known as HUSQVARNA® VIKING® guide) snaps onto your machine’s needle plate with a sleek, simple design. Its versatility caught my eye because it works on either side of the presser foot.
The guide is compatible with several machine series:
- DESIGNER DIAMOND™ series
- DESIGNER RUBY™ series
- DESIGNER TOPAZ™ series
- SAPPHIRE™ series
- BRILLIANCE™ series
Singer Guide Usage Instructions
The installation process turned out to be simple. Here’s my method:
- Choose which side of the presser foot you want to work from
- Snap the guide onto the needle plate
- Line it up using the markings on your stitch plate
- Test with a scrap fabric piece
- Make adjustments if needed
The guide’s ability to maintain straight stitching lines really stands out. Multiple rows of stitches become easier as the guide follows the previous row – much simpler than watching the presser foot constantly .
Clover Magnetic Seam Guide

The Clover seam guide takes a unique path compared to the magnetic guides we’ve seen. My initial doubts about its adhesive-based design disappeared after putting it through its paces. The results were quite surprising.
Clover Guide Characteristics
Nancy Zieman’s Clover guide stands out with its 5/16-inch (8mm) thickness. The guide’s edge makes fabric handling a breeze. The handle grip caught my attention right away – it makes the guide much easier to attach and remove compared to other models.
Here are the standout features I found while testing:
- The underside has reusable adhesive that grips well
- Its curved edge works for both straight and curved stitching
- The handle grip helps with positioning
- A clear measuring template comes with it
- The adhesive can be washed to restore its stick
Clover Guide Installation Tips
The setup process is simple. Here’s my method:
- The machine’s surface needs a good clean
- The included template helps measure from needle position
- The wide end should face your fabric
- A firm press secures the adhesive
- Always test with scrap fabric first
The adhesive might weaken after several uses. A quick soak in soapy water followed by drying brings back its grip. This feature saves money over time.
Collins Magnetic Seam Guide
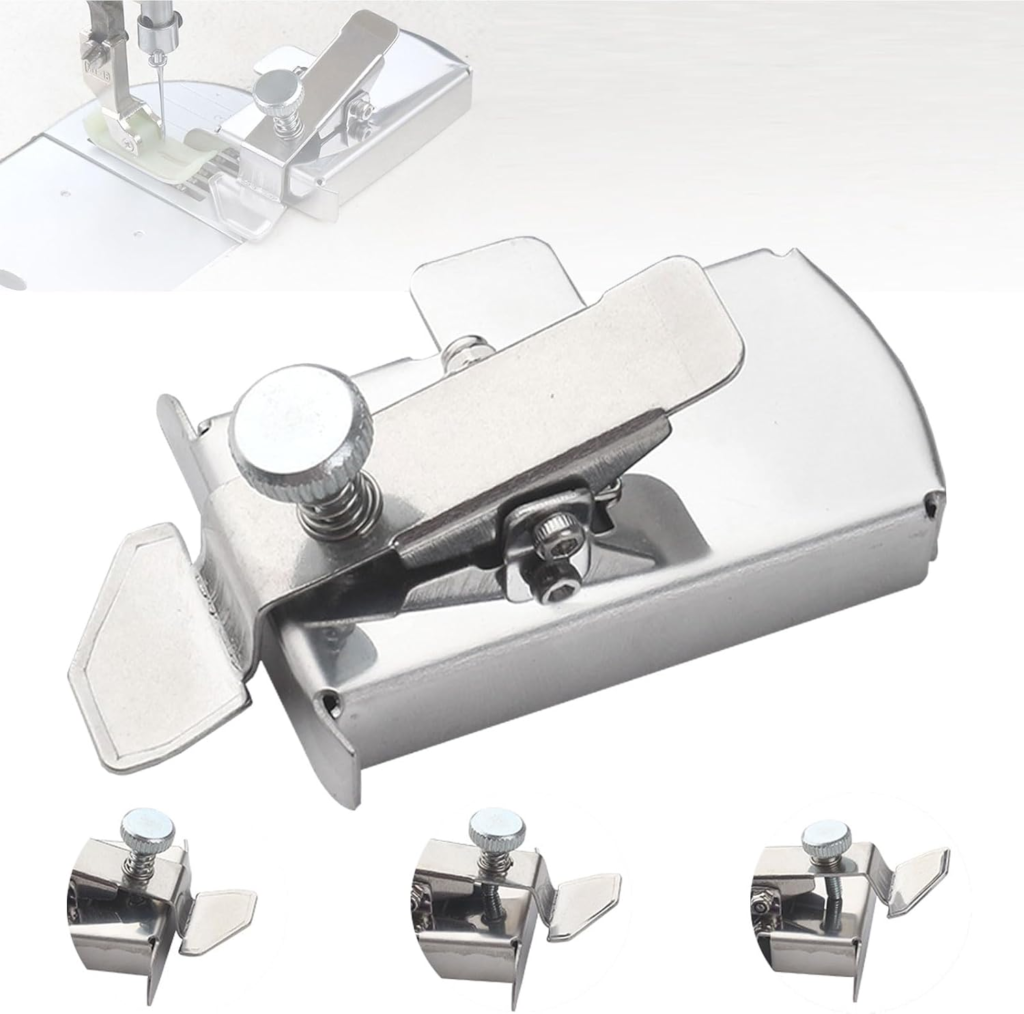
Something different caught my eye in my search for the perfect sewing guide – the Collins Machine Seam Guide. This guide offers a fresh approach compared to the magnetic options we’ve talked about before.
Collins Guide Features
The clever combination of a ruler and adhesive guide makes the Collins guide stand out. Its ruler has precisely placed holes for different measurements, which adds to its uniqueness.
These features made me fall in love with it:
- Ruler with measurement holes from ⅛” to 2″
- Repositionable adhesive that doesn’t leave residue
- Perfect for quarter-inch seams
- Works great for quilting projects
- Double-sided tape compatible if adhesive wears out
Collins Guide Setup Steps
The setup differs from magnetic guides, but it’s surprisingly straightforward:
- Place the ruler under your sewing machine foot
- Lower the needle through the ¼” hole (or your chosen measurement)
- Make sure the ruler lines up parallel with your machine’s plate
- Drop the foot to lock the ruler in place
- Remove the adhesive backing
- Position the guide against the ruler
- Press down firmly to secure it
Your guide might cover the feed dogs – I had this issue too. Just move your needle slightly to the side. This adjustment won’t affect the guide’s performance, and your fabric will feed smoothly.
Simplicity Magnetic Seam Guide
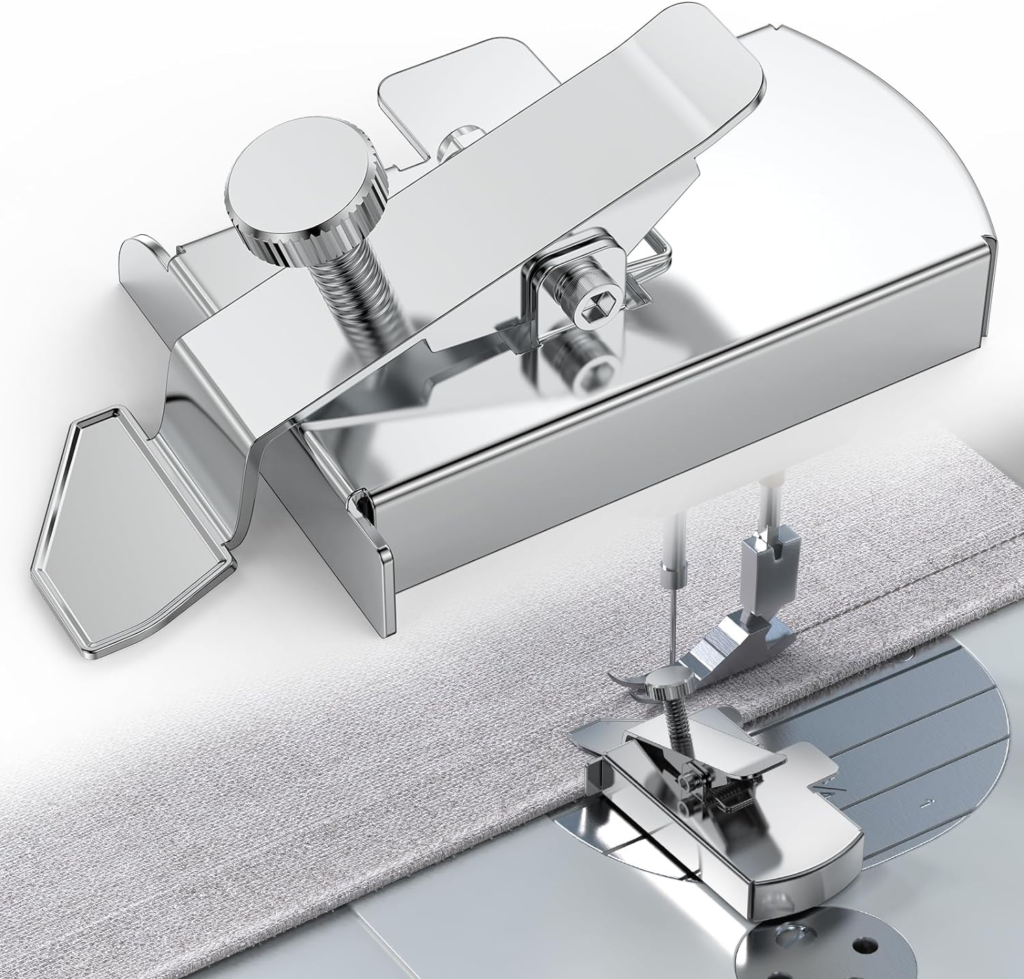
I just found something interesting from Simplicity – a magnetic seam guide that’s quite different from others in the market. The unique stainless steel build and adjustable positioning system caught my eye right away.
Simplicity Guide Design Elements
The Simplicity magnetic seam guide really shines with its solid stainless steel construction. The material choice makes a huge difference in how long it lasts, which I noticed while testing it out.
These features stood out to me:
- Visible markings to line up perfectly
- Strong magnetic base that stays put
- Works for both straight and curved lines
- Adjustable positioning system
- You can use it with most metal needle plates
The guide’s size is 1″ wide by 2″ long, which gives you plenty of room to work with. This size works great for most sewing projects, from basic hemming to complex quilting patterns.
Simplicity Guide Installation Process
The setup is pretty simple. Here’s what I do:
- Clean your needle plate surface
- Check the markings on your stitch plate
- Position the guide where you need it
- Let the magnet snap into place
- Test with scrap fabric before starting your project
I love that you can use it on both sides of the presser foot. This comes in handy when you switch between different projects or right and left-handed sewing.
Bernette Magnetic Seam Guide
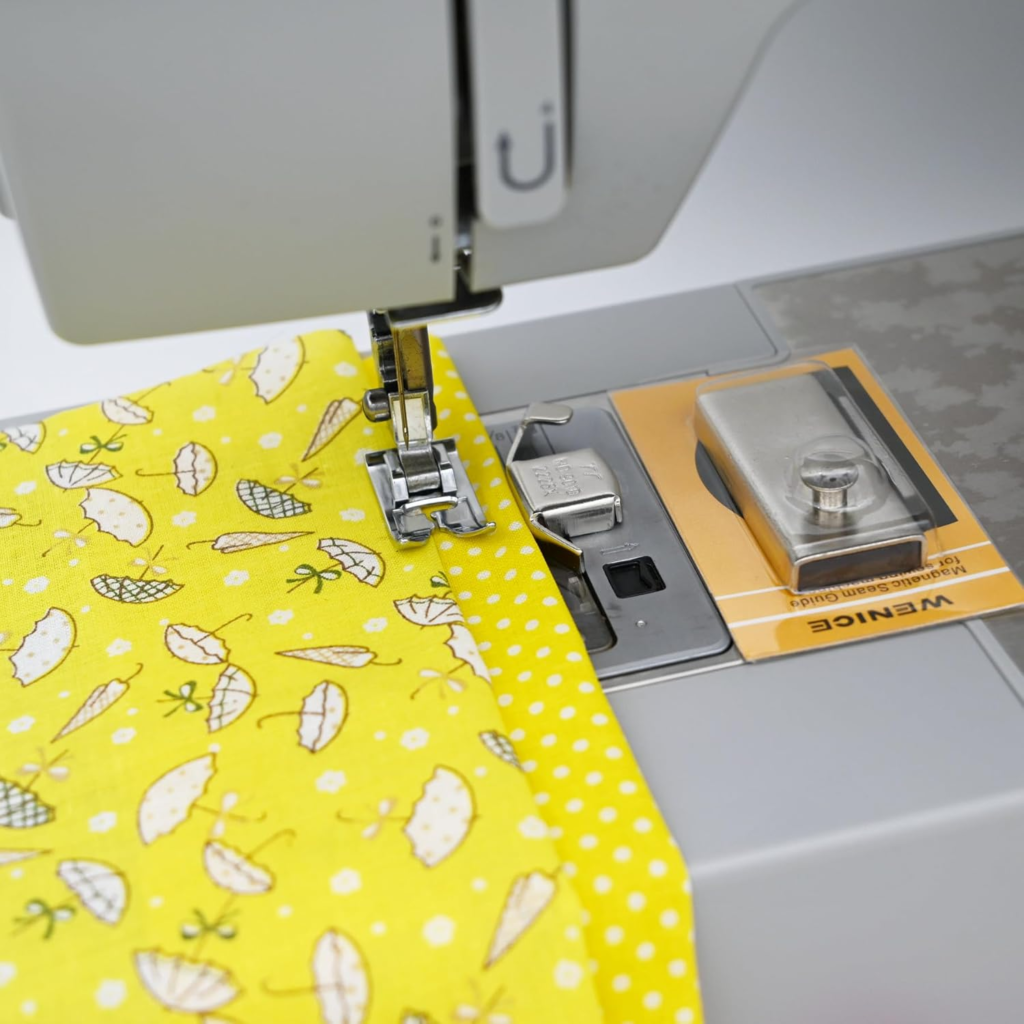
The Bernette magnetic seam guide caught me by surprise with its versatility during my first test run. This guide stands apart from others because it’s made specifically for precise patchwork and quilting.
Bernette Guide Specifications
The guide’s best feature is a reliable feed guide system that makes parallel seams a breeze. My tests show it pairs well with most Bernette models, including:
- B33, B35, B37, B38
- Sew & Go1
- London 3, 5, and 7
- Chicago 7
The guide’s help with tough sewing projects really stands out. You’ll find it attaches to the presser foot holder and stays stable through long sewing sessions .
Bernette Guide Usage Guide
Setting up the guide takes just a few minutes:
- Locate the aperture on your presser foot holder
- Secure the seam guide firmly
- Adjust the position based on your project needs
- Test with scrap fabric
- Start sewing
The guide’s versatility with different techniques amazed me. You can use it for:
- Topstitching
- Creating tucks
- Making hems
- Channel quilting
- Setting unusual seam allowance widths
You can adjust the guide up to 2 3/4 inches from the needle, which gives plenty of room for different projects.
What to look before buying a Magnetic Seam Guide

I’ve tested many magnetic seam guides and shared my experiences with top brands. Let me help you pick the right guide that matches your sewing needs.
Your sewing machine’s compatibility with magnetic guides needs checking first. I learned this lesson through experience – magnets don’t work with all machines. Here’s what you should do before making a purchase:
- Check your machine’s manual for magnetic guide compatibility
- Look at your needle plate – it must be metal
- Measure the space around your presser foot
- Think over your most common sewing projects
- Set a budget (guides range from $5 to $20)
These are the vital features I look for in a magnetic seam guide:
- Strong magnetic grip that won’t slip during fast sewing
- Easy-to-clean surface
- Clear measurement markings
- Smooth edges that won’t snag fabric
- Rust-resistant material
Size plays a bigger role than you might expect. A large guide can interfere with your presser foot’s movement. Small guides might not support your fabric properly. Guides between 1-2 inches in length work best.
Magnetic strength is a vital part of the equation. The guide should stay firmly in place yet remain adjustable. Run a fabric piece at your normal sewing speed to test the magnet’s strength. Look for something stronger if the guide shifts even slightly.
Many sewists ask about magnetic interference with computerized machines. Modern computerized machines store their programming on chips, not magnetic materials. Most magnetic guides work safely with them. Your machine’s manual deserves a quick check though.
Price matters but shouldn’t drive your decision alone. My experience spans from $5 budget guides to $20 premium options. Better durability and extra features like measurement markings or adjustable positions justify higher prices.
A mid-range guide ($10-15) makes sense for beginners. These guides offer good quality at reasonable prices. Premium guides with additional features might interest you as your skills grow.
Your specific needs should guide your choice. Quilters need clear quarter-inch markings. Garment sewers benefit from guides that adjust easily for different seam allowances.
The learning curve varies between products. Some brands provide detailed instructions and templates. Others assume user expertise. Beginners should look for brands offering good support materials.
Comparison Table
| Brand | Dimensions | Material | Key Features | Machine Compatibility | Special Notes |
|---|---|---|---|---|---|
| Madam Sew | 1¾ x ¾ x ¼ inch | Stainless steel | Strong magnetic grip, Adjustable to any seam width | Safe for computerized machines | 60-day money-back guarantee |
| Dritz | 1⅜” x 1⅝” | Solid metal | Non-slip power grip, Easy-lift flip tab, Flexible positioning | Not recommended for computerized machines | Features solid metal fence |
| Singer | Not mentioned | Not mentioned | Works on either side of presser foot | Compatible with Designer, Ruby, Topaz, Sapphire, and Brilliance series | Brand reliability |
| Clover | 5/16-inch thickness | Not mentioned | Reusable adhesive, Curved edge design, Handle grip | Safe for computerized machines | Washable adhesive that renews stickiness |
| Collins | Not mentioned | Not mentioned | Ruler with measurement holes (⅛” to 2″), Repositionable adhesive | Universal | Excellent for quilting projects |
| Simplicity | 1″ x 2″ | Stainless steel | Visible markings, Strong magnetic base, Works for curved lines | Safe for computerized machines | Works on both sides of presser foot |
| Bernette | Adjustable up to 2¾ inches | Not mentioned | Reliable feed guide system, Attaches to presser foot holder | Compatible with B33-B38, Sew & Go1, London 3-7, Chicago 7 | Designed specifically for patchwork and quilting |
Conclusion
I’ve spent months testing these magnetic seam guides on projects of all sizes, and they’re worth the investment. These simple tools help turn uneven seams into professional-looking stitches.
Your specific needs determine the right guide choice. The Madam Sew guide at $4.99 makes a great starter option that works with most machines. The Bernette guide at $19.99 delivers excellent precision for detailed work, making it perfect for serious quilters.
Note that these points matter when selecting your guide:
- Your machine’s needle plate should be metal
- The magnets must be strong enough to prevent slipping during sewing
- The guide’s size should match your presser foot
- Measurement markings might be important for your work
Here’s a useful tip – start with straight-line projects to get comfortable with your new guide. You’ll be ready to tackle curved seams and quilting once you’ve got the hang of it. This simple helper will make your sewing tasks much easier.

Hi, I’m Safura. What are you sewing today? If you have any questions or need help with anything related to sewing, please feel free to ask. I’m always here to assist you with sewing-related issues.

