
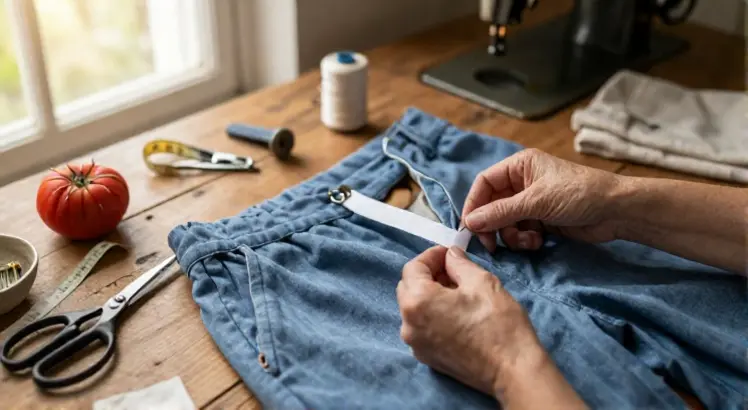
Has the elastic in your favorite trousers lost its stretch, leaving you with a sagging waistband? You don’t have to discard them just yet. Replacing the elastic is a straightforward sewing project that can restore comfort and fit, often in under an hour. This guide walks you through each stage, from choosing the right elastic to stitching the final seam, so you can give your pants a second life.
When waistband elastic wears out, the fabric may bunch awkwardly or slide down throughout the day. Replacing it yourself saves money on alterations and lets you customize the snugness. According to a detailed guide on WikiHow, even beginners can master this task with basic sewing supplies. You will soon be able to refresh every pair of pants in your wardrobe.
Before you begin, gather your materials and set up a clean, well lit workspace. You will need a seam ripper, scissors, pins, a measuring tape, and a sewing machine or needle and thread. Having the correct elastic width and length is crucial for a polished result. Follow these steps to turn a worn out waistband into a perfectly fitting feature.
Why Replace Elastic in Pants?
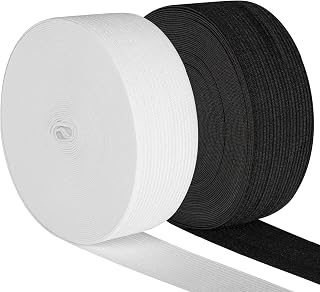
Elastic Band for Sewing, 2 Inch Elastic for Sewing Elastic Straps Wig Band Edge Band Knit Spool Sewing Band for Waistbands Pants Clothes & Lace Front Wigs((10 Yard Black, 10 Yard White)
Check PriceWorn elastic loses its recovery power, causing a loose, uncomfortable fit. Replacing it instantly revives the functionality of casual trousers, uniform pants, or lounge wear. You also avoid the frustration of constant pulling up or adjusting throughout the day. A fresh elastic band provides consistent tension that keeps everything in place.
Beyond comfort, this repair extends the lifespan of your clothing. It is a sustainable choice that reduces textile waste and saves money. Many pants are otherwise in great condition except for the failed waistband. Learning this skill allows you to rescue high quality garments from the donation pile.
This project also gives you the freedom to customize the pressure. Some prefer a very snug waist, while others want a gentler hold. By choosing the elastic length and type, you control the exact feel. It is a small alteration that makes a big difference in daily wear.
Tools You Will Need for the Job
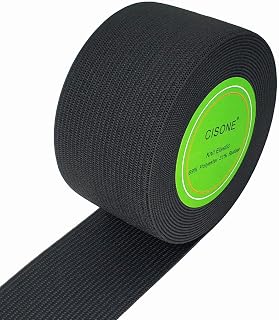
Knit Elastic 1.5 Inch Wide Black Heavy Stretch High Elasticity Knit Elastic Band 5 Yards
Check PriceStart by assembling a few essential items. You will need a seam ripper to unpick stitches without damaging the fabric. Scissors dedicated to fabric cuts ensure clean, fray free edges. A flexible measuring tape is indispensable for taking accurate body and waistband measurements.
Gather straight pins or sewing clips to hold layers securely. Keep a hand sewing needle and matching thread for finishing touches, even if you plan to use a machine. An iron and pressing cloth help flatten the casing before and after threading. A bodkin or large safety pin is the perfect tool for pulling elastic through the tunnel.
For the elastic itself, choose a width that matches the existing casing. Knit, braided, and woven elastics all behave differently. Having a clear ruler or measuring gauge will help you double check the elastic length before you cut. Proper tools make the process smooth and frustration free.
Understanding Elastic Types for Pants
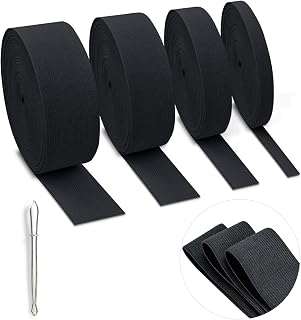
4 Rolls Elastic for Sewing, Black Elastic Band Knit Elastic Spool High Elasticity 0.4/0.6/1/1.5 Inch in Width, 5.5 Yards/Roll for Wigs Waistband Pants Dress Swimwear Belt (Black-4 Rolls)
Check PriceNot all elastic is created equal. Knit elastic is soft, comfortable, and does not narrow when stretched, making it ideal for waistbands that touch the skin. Braided elastic tends to narrow as it stretches and can become brittle over time, so reserve it for casings inside fabric. Woven elastic, often called no roll, is firm and holds its shape well under heavier fabrics.
If you are unsure which to pick, consult our guide on types of elastic bands for sewing. The width must be able to slide through the casing without twisting. Measure the channel inside the waistband before purchasing. Choosing the wrong kind can lead to uncomfortable rolling or pinching.
Consider the garment’s weight as well. Lightweight cotton pants pair well with soft knit elastic, while denim or heavier trousers may need a sturdy woven variety. Non roll elastic is excellent for broad waistbands that sit flat. Always test a small piece to ensure the tension feels right against your body.
Measuring the Waistband for New Elastic
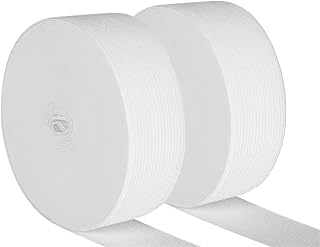
Elastic Band for Sewing, 2 Pack 1.5 Inch Elastic for Sewing Elastic Straps Wig Band Edge Band Knit Spool Sewing Band for Waistbands Pants Clothes & Lace Front Wigs((20 Yard White)
Check PriceAccurate measurement is the most critical step. Wrap a measuring tape around your natural waist or where the pants sit. Pull it comfortably snug, not tight. Subtract about 2 to 3 inches from that measurement to determine the elastic length, because you need tension to hold the trousers up.
Alternatively, you can cut the new elastic about 1 to 2 inches shorter than the relaxed waistband measurement. Everyone’s comfort preference varies, so consider making a test by pinning the elastic together and trying on the pants. Adjust until the tension feels secure but never digs in. Mark this length clearly before cutting.
Write down the measurement or chalk it onto the elastic. If you are working with a child’s pants, be especially careful to leave some ease for growth. Overly tight elastic can make the garment unwearable. A little too loose is easier to fix by shortening later if needed.
Removing the Old Worn Out Elastic
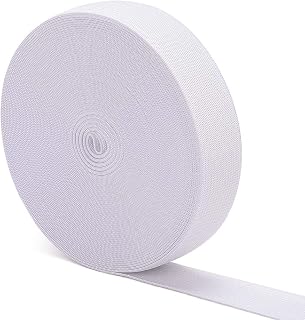
Airisoer Elastic Bands for Sewing 1 Inch x 12 Yards, White
Check PriceTurn the pants inside out and locate the casing seam. Most waistbands have a small opening where the old elastic was inserted originally. If not, you may need to carefully open a small section of stitching with a seam ripper. Work slowly to avoid catching the fabric threads.
Once you find the access point, use your fingers or a seam ripper to gently pull the old elastic free. It may be stitched down at the ends or sides, so unpick any anchoring stitches. For more detailed steps on direct attachment methods, see how to sew elastic band on pants. Remove all remnants of the worn elastic completely.
Inspect the inside of the casing for loose threads or damage. This is a good time to press the waistband flat with an iron. A crisp, wrinkle free channel will make it much easier to thread the new elastic without snagging. Clean every bit of old lint or rubber that might block the new band.
Preparing the New Elastic Band
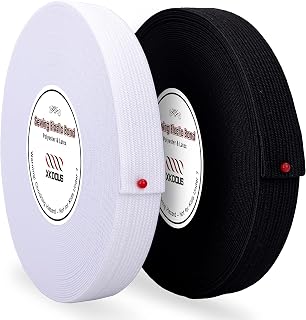
XKDOUS Elastic Band for Sewing, 0.75 Inch 16 Yards,2 Roll,Black and White
Check PriceCut the new elastic to the length you measured earlier. To prevent fraying, you can seal the cut ends with a tiny dab of fabric glue or by carefully melting synthetic fibers with a lighter, though be cautious with cotton elastics. Another option is to fold over each end by about 1/4 inch and stitch it down, creating a neat finish.
Test the stretch by hand to ensure the elastic has good recovery. If it feels stiff or cracks, it may be old stock. Mark the midpoint of the elastic length with a pin or fabric marker. Doing so helps you center it inside the waistband later. This small step prevents the bulk from gathering unevenly.
Lay the prepared elastic flat next to your pants. Double check the width against the casing opening. If the elastic seems too wide to feed through easily, consider switching to a narrower type or narrowing the casing slightly. Compatibility at this stage avoids a stuck, twisted mess inside the channel.
Threading Elastic Through the Waist Casing
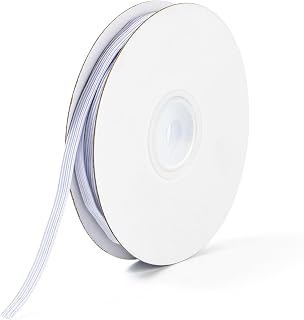
XKDOUS Elastic Band for Sewing, 1/4 Inch 11 Yards,White
Check PriceAttach a large safety pin or a bodkin to one end of the elastic. Insert it into the casing opening and slide it forward inch by inch, bunching the fabric behind the pin. Keep the elastic flat as you guide it, checking frequently that it has not twisted. Moving slowly and evenly prevents frustrating kinks inside the tunnel.
Use your other hand to feel through the fabric and guide the pin forward. When you reach a side seam, gently work the pin past it without forcing. If the casing is narrow, a bodkin with a loop end can be less bulky than a safety pin. Once the elastic emerges from the far opening, secure both ends immediately.
Before finalizing, try on the pants or lay them flat to verify the tension. Make sure the elastic sits smoothly and no twists are felt. If the fit seems off, pull the elastic through a bit more or less to adjust. You can still change things at this stage before any permanent stitching.
Securing the Elastic Ends Together
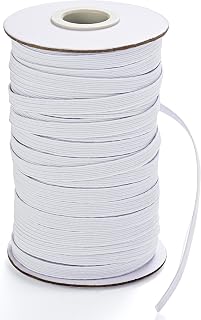
Elastic for Sewing 1/4 Inch 40 Yards White
Check PriceOverlap the two elastic ends by about 1 inch. Pin them securely to keep the join flat. You can stitch a rectangle with an X through the center using a wide zigzag stitch on a sewing machine, or sew a sturdy box pattern by hand. Reinforce the join well because this seam will bear all the tension when the pants are worn.
Test the stitched join by pulling firmly on both sides. It should hold without any popping stitches. If the elastic feels lumpy, try a slightly flatter overlap or position the join where it aligns with a side seam for less discomfort. Trim any excess elastic beyond the stitching, leaving a small tail that will not fray.
Avoid rushing this step. A weak join can unravel after a few wears, causing you to repeat the whole process. Use a thread color that blends with the elastic, even though this part will be hidden inside the casing. A neat, strong connection guarantees long lasting performance and peace of mind.
Stitching the Casing Opening Closed
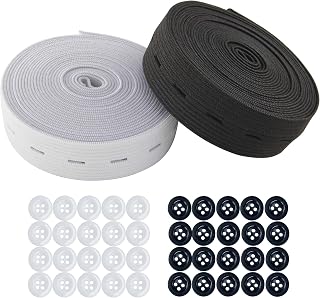
3/4 Inch Width Black & White Sewing Elastic Band With Buttonholes,Flat Waistband Tightener Band Spool for Pants,Kids Adjustable Waist,DIY Crafts (Total 10 Yards,5 yards per color)
Check PriceNow tuck the joined elastic neatly back into the casing so it lies flat against the pants. Fold the raw edges of the casing opening inward to match the existing seam line. Press this fold with an iron to hold the shape. Use pins or clips to keep the fabric layers aligned while you stitch.
Thread your machine with matching thread and select a straight stitch or a narrow zigzag. Sew slowly along the folded edge, backstitching at the beginning and end to secure the thread. Try to follow the original stitch line to make the repair virtually invisible. Keep the elastic free, not caught in the seam.
If sewing by hand, use a ladder stitch or slip stitch for a hidden closure. Pull the thread taut after every few stitches to close the gap. When finished, remove all pins and check that no part of the elastic is snagged. A cleanly closed casing looks professional and prevents the elastic from slipping out.
Testing the Fit and Making Adjustments
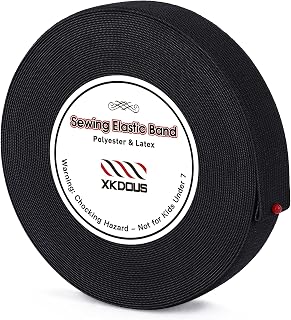
XKDOUS Elastic Band for Sewing, 1 Inch 14 Yards, Black
Check PriceAfter closing the casing, try on the pants and move around. Sit, stand, and bend as you normally would. The waistband should feel comfortably snug without digging in or sliding down. If it is too tight, you may need to open the casing again and replace with a slightly longer piece of elastic.
If it feels too loose, you can unpick the join and overlap the elastic further to shorten it, then resecure and close. Small adjustments make a huge difference. Take a few moments to wear the pants around the house before declaring the repair complete. Listen to how your body responds to the new tension.
Check that the elastic has returned evenly into the casing after movement. Sometimes it can twist during wear. If twisting occurs frequently, the casing may be too wide for the elastic. In that case, next time choose a wider elastic or add a row of topstitching through the casing to keep it in place.
Common Mistakes When Replacing Elastic
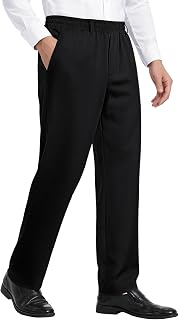
Mens Elastic Waist Pants for Seniors Wrinkle‑Free Stretch Dress Pants
Check PriceOne frequent error is cutting the elastic too short, making the pants uncomfortable or impossible to wear. Another is not securing the elastic ends strongly enough, leading to a sudden snap later. Always test the join with a firm tug before tucking it in. Skipping this quick check can cause a frustrating wardrobe malfunction.
Using the wrong type of elastic leads to rolling or premature wear. For example, braided elastic in a wide casing often twists because it narrows when stretched. Another mistake is sewing through the elastic while closing the casing, which locks the stretch and creates a rigid spot. Always pin the elastic away from the seam.
Rushing the threading process can result in hidden twists that feel bumpy and annoying. If you feel a twist after closing, it is worth reopening to fix it. Finally, neglecting to iron the waistband before and after can make the finish look sloppy. A quick press elevates the final result from homemade to handmade with care.
Frequently Asked Questions
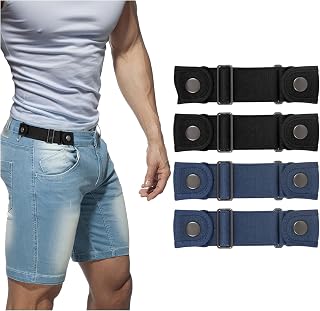
BELTROAD No Buckle Belts for Men Women Side Belt without Buckle Elastic Stretch Adjustable Belt Invisible No Buckle Belt
Check PriceCan I replace elastic without a sewing machine? Absolutely. Hand sewing the overlap join and casing closure works perfectly well. Use a strong backstitch for the elastic and a ladder stitch to close the opening. The process takes a bit more time but delivers equally durable results.
How do I know if my elastic is too old? Gently stretch it. If it fails to snap back, feels brittle, or shows cracks, it has lost its integrity. Older elastic should be replaced immediately. Always store new elastic in a cool, dark place to preserve its stretch properties for future projects.
What if my pants don’t have a casing? You can create one by folding over the top edge of the fabric, pressing it, and stitching a channel. Alternatively, sew the elastic directly to the inside of the waistband using a zigzag stitch, stretching it evenly as you sew. This method works for lightweight fabrics without a ready made tunnel.
Final Tips for a Professional Finish
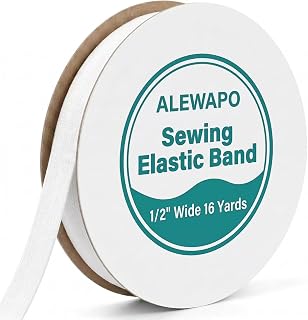
White Elastic Bands for Sewing, 1/2 Inch Wide 16 Yards Sewing Bands
Check PriceOnce the elastic is replaced, give the pants a final press with a warm iron. This sets the stitches and smooths out any puckers. If the waistband now rolls outward, consider adding a few vertical tacking stitches at the side seams. These will anchor the elastic and prevent it from flipping inside the casing.
Label your newly repaired pants with a tiny ribbon or tag if you have multiple similar pairs. This makes it easy to remember which ones have been altered. With practice, you can replace elastic blindfolded, taking less than 30 minutes per pair. You will feel a deep sense of accomplishment each time you wear them.
Embrace this simple fix to keep your wardrobe functional and sustainable. The ability to replace elastic gives you control over comfort and fit. Gather your tools, select a quality elastic, and rescue those languishing pants today. You will wonder why you waited so long to learn such a satisfying skill.

Disclosure: As an Amazon Associate, we earn from qualifying purchases at no extra cost to you. Our posts are created with AI tools and human editing.