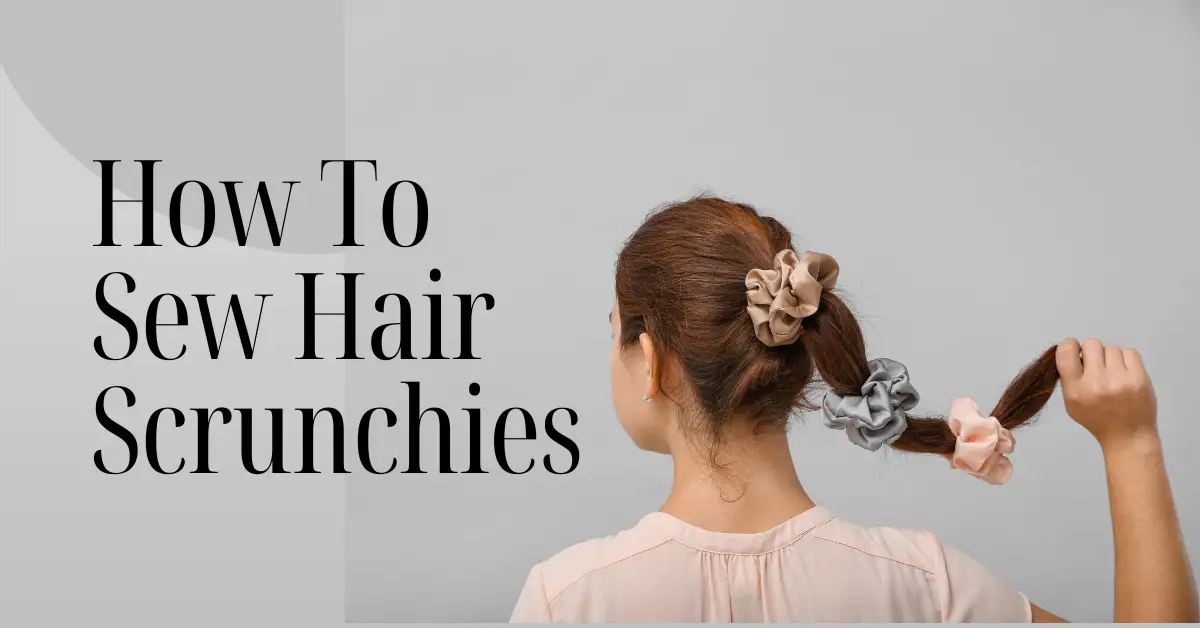
In this article, I’m going to write about how to sew hair scrunchies. First of all, choose the right fabric. I prefer cotton, silk, or velvet because they look beautiful and are easy to sew. Then, you need high-quality elastic and other essential items like thread that matches your fabric, scissors, a regular sewing machine (or a needle for hand sewing), measuring tape, a safety pin, an iron, and an ironing board. Let’s make hair scrunchies!
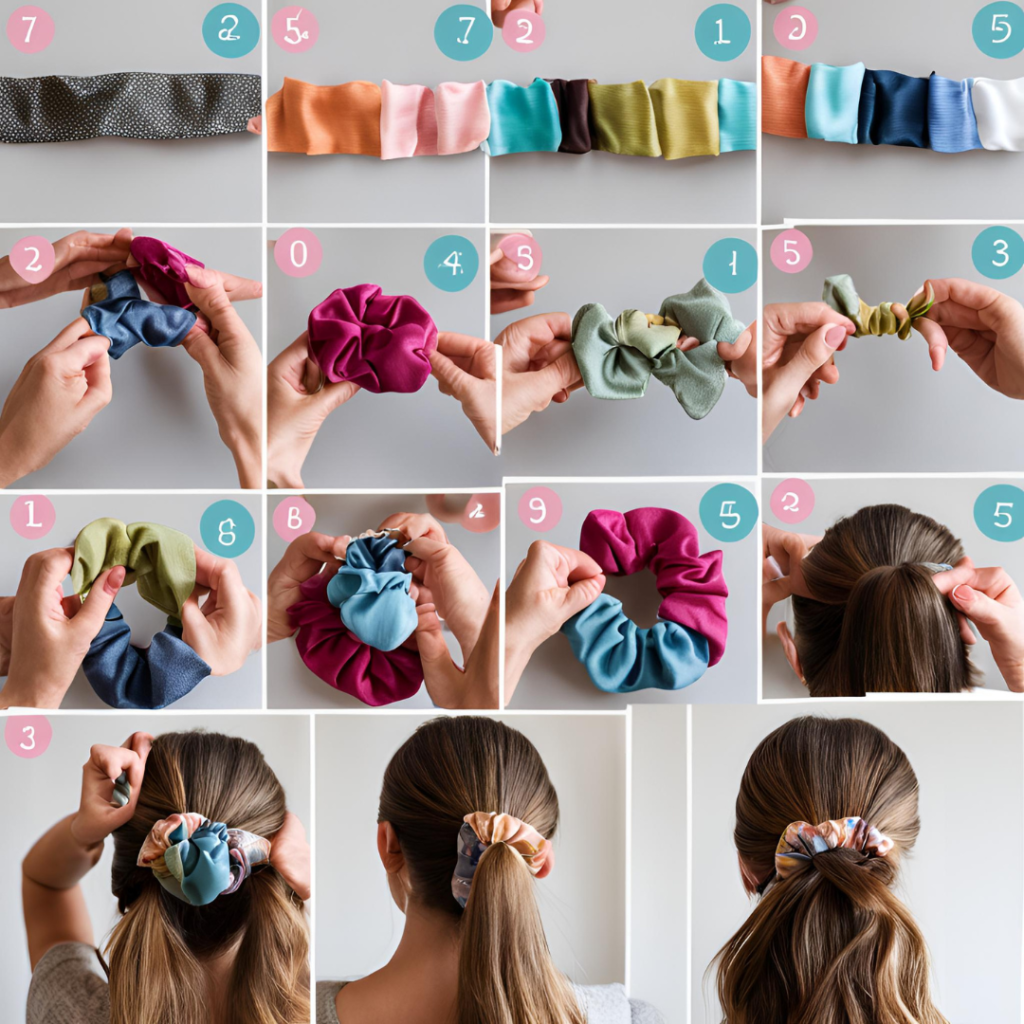
Materials Needed
Creating your own hair scrunchies is a fun and easy sewing project. To get started, you need to gather all the necessary materials. This section will help you understand the essential items required to make beautiful hair scrunchies.
Fabric Choices
Choosing the right fabric is crucial for making scrunchies. Here are some popular fabric options:
- Cotton: Soft, easy to sew, and comes in many patterns.
- Satin: Smooth, shiny, and gentle on the hair.
- Velvet: Adds a luxurious touch and is great for winter.
- Jersey Knit: Stretchy and comfortable, perfect for casual use.
Essential Tools
Having the right tools will make your sewing process smooth and enjoyable. Here is a list of essential tools you will need:
| Tool | Purpose |
|---|---|
| Sewing Machine | Speeds up sewing and ensures even stitches. |
| Fabric Scissors | For cutting fabric accurately. |
| Pins and Pin Cushion | Holds fabric pieces together while sewing. |
| Elastic | For the stretchy part of the scrunchie. |
| Measuring Tape | Helps measure fabric and elastic length. |
| Needle and Thread | For hand-sewing and finishing touches. |
Cutting The Fabric
Cutting the fabric is a crucial step in making hair scrunchies. The right measurements and cutting techniques ensure your scrunchies look neat and professional. Let’s dive into the details of measuring and cutting the fabric.
Measuring The Fabric
Start by measuring your fabric. You need a piece that is 22 inches long and 4 inches wide. Use a ruler or measuring tape for accuracy. Mark the measurements with a fabric pen or chalk. This helps in cutting straight lines.
| Measurement | Dimensions |
|---|---|
| Length | 22 inches |
| Width | 4 inches |
Cutting Techniques
Now, it’s time to cut the fabric. Use sharp fabric scissors for clean edges. Follow these steps:
- Place the fabric on a flat surface.
- Align the ruler with the marked lines.
- Cut along the marks carefully.
For a perfect cut, keep the fabric taut. This prevents wrinkles and uneven cuts. If using a rotary cutter, use a cutting mat to protect surfaces. A rotary cutter can make the process faster and more precise.
Finally, check the cut piece. Ensure the edges are straight and smooth. This makes sewing easier and results in a better-looking scrunchie.
Sewing The Scrunchie
Now that you have cut your fabric and prepared your elastic, it’s time to sew your scrunchie. This part involves stitching the edges and forming a tube. Follow these steps to create a perfect scrunchie.
Stitching The Edges
First, fold the fabric in half lengthwise with the right sides facing each other. Pin the edges to keep them aligned. Use a sewing machine or hand stitch to sew along the raw edge. Remember to leave a 2-inch gap for turning the fabric right side out.
| Steps | Details |
|---|---|
| Fold Fabric | Fold lengthwise, right sides together |
| Pin Edges | Pin to keep aligned |
| Sew Edges | Leave a 2-inch gap |
Forming The Tube
Next, turn the fabric right side out through the gap you left. The fabric will now form a tube. Press the seams with an iron for a neat finish.
- Turn fabric right side out
- Press seams with an iron
Once the tube is formed, insert the elastic through the tube using a safety pin. Overlap the ends of the elastic and sew them together securely.
- Insert elastic with a safety pin
- Overlap ends
- Sew ends together
Finally, close the gap in the fabric by folding in the raw edges and stitching them together. Your scrunchie is now ready to wear!
Inserting The Elastic
Once your fabric tube is ready, the next step is inserting the elastic. This step is crucial to ensure your scrunchie gathers properly and stays in place. Follow these simple steps to make sure your scrunchie is perfect.
Choosing The Right Elastic
Picking the right elastic is important for a good scrunchie. You need an elastic that is both stretchy and durable.
- Width: Choose an elastic that is 1/4 to 1/2 inch wide.
- Length: Cut a piece of elastic about 8 to 10 inches long.
- Type: Use braided or knit elastic for best results.
Threading The Elastic
Now, you need to thread the elastic through the fabric tube. Here’s how:
- Attach a safety pin to one end of the elastic.
- Insert the safety pin into the fabric tube opening.
- Push the safety pin through the tube, gathering the fabric as you go.
- Once the pin comes out the other end, hold both ends of the elastic.
- Remove the safety pin and tie the elastic ends together securely.
Make sure the knot is tight to keep the elastic from slipping. Your scrunchie is now ready for the final steps!
Closing The Scrunchie
Now that you have sewn your scrunchie, it’s time to close it. This final step ensures your scrunchie looks neat and professional. Follow these easy steps to complete your project.
Sewing The Ends Together
First, take the two open ends of your scrunchie. Align them carefully. Ensure that the fabric edges match up.
Next, use a needle and thread or a sewing machine to stitch the ends. Sew a straight line across the ends. Make sure the stitches are tight and secure.
Turn the scrunchie right side out. This hides the seam inside. Your scrunchie should now form a continuous loop.
Final Touches
Inspect your scrunchie for any loose threads. Trim them off with scissors. Check that the seam is secure and the fabric is smooth.
If you want to add a decorative touch, now is the time. You can sew on a small bow or some beads. Make sure these additions are secure.
Finally, give your scrunchie a gentle stretch. This ensures the elastic is evenly distributed inside. Your scrunchie is now ready to use!
Here is a quick summary of the steps:
- Align the open ends of the scrunchie.
- Sew the ends together tightly.
- Turn the scrunchie right side out.
- Trim any loose threads.
- Add any final decorative touches.
- Stretch the scrunchie to distribute the elastic.
Decorative Options
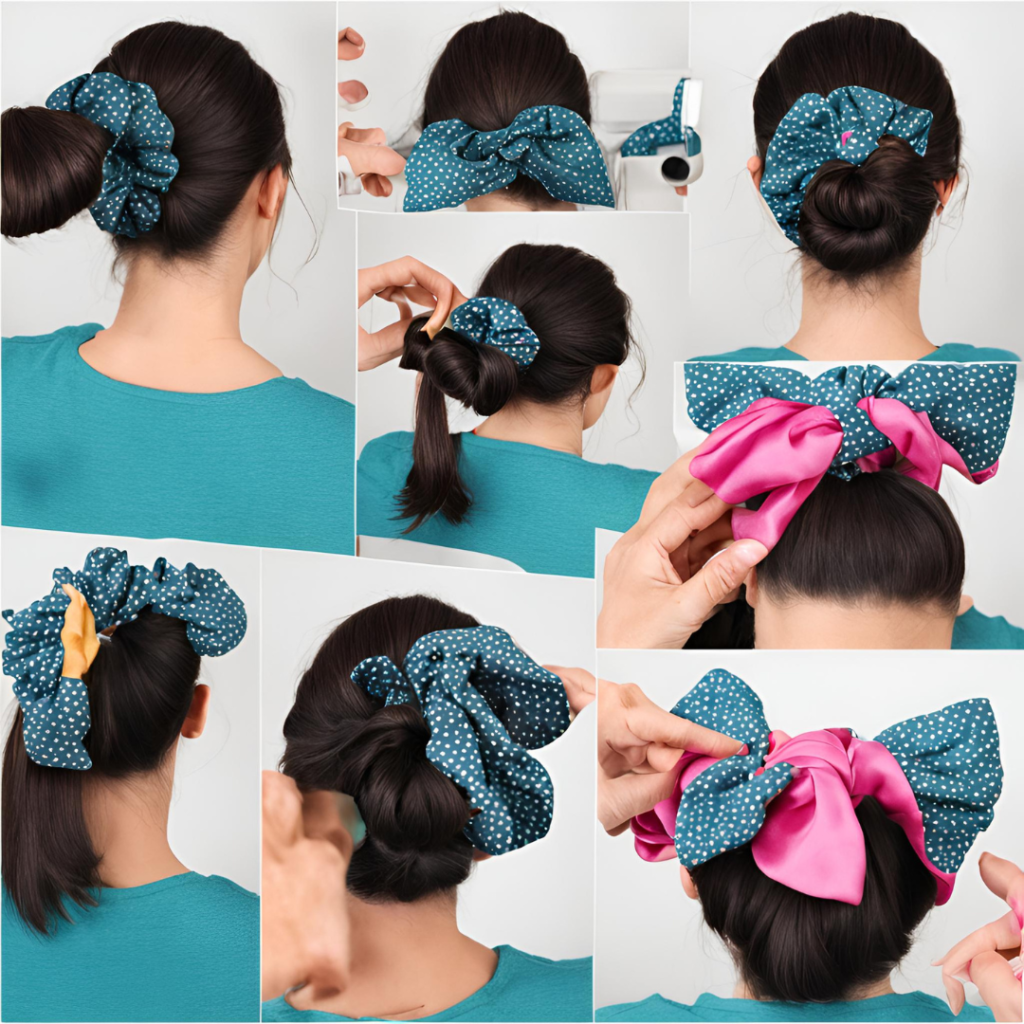
Customizing your hair scrunchies makes them unique and fun. There are many ways to add your personal touch. Below are some easy-to-follow ideas to decorate your scrunchies.
Adding Bows Or Ribbons
Adding bows or ribbons can make your scrunchies stand out. Here are the steps to add them:
- Cut a piece of ribbon or fabric about 6 inches long.
- Tie the ribbon around the scrunchie in a bow shape.
- Adjust the bow to make sure it’s even and secure.
Pro Tip: Choose ribbons that match or contrast with the scrunchie fabric for an eye-catching effect.
Are scrunchies easy to sew?
Yes, scrunchies are easy to sew, making them a beginner-friendly project. They require minimal materials like fabric scraps, elastic, and basic sewing tools. The process involves sewing a fabric tube, threading elastic through it, and closing the opening, which can be done with a sewing machine or by hand. Even no-sew methods using fabric glue are available for those without sewing tools.
What is the difference between a scrunchie and hair tie?
Many people think that a scrunchie and a hair tie are the same. In fact, I also thought this when my daughter was a child. But no, there are some differences between this two. Here is the differences.
| Feature | Scrunchie | Hair Tie |
|---|
| Material | Fabric-covered elastic (e.g., satin, velvet) | Plain elastic or rubber, sometimes fabric-wrapped |
| Appearance | Bulky, decorative, available in various patterns/colors | Minimalistic, slim, often single-color |
| Hair Damage | Less damaging due to fabric cushioning; reduces breakage | Can pull or break hair with tight grip, especially with frequent use |
| Grip Strength | Moderate; can slip in fine or smooth hair | Stronger hold, suitable for securing thick or slippery hair |
| Durability | Fabric can wear out or fray over time | More durable, less prone to material fatigue |
| Comfort | Gentle on hair and scalp | May cause tension or discomfort with prolonged wear |
| Uses | Casual wear, styling accessory | Everyday use, workouts, and secure hairstyles |
What is the best length for a scrunchie?
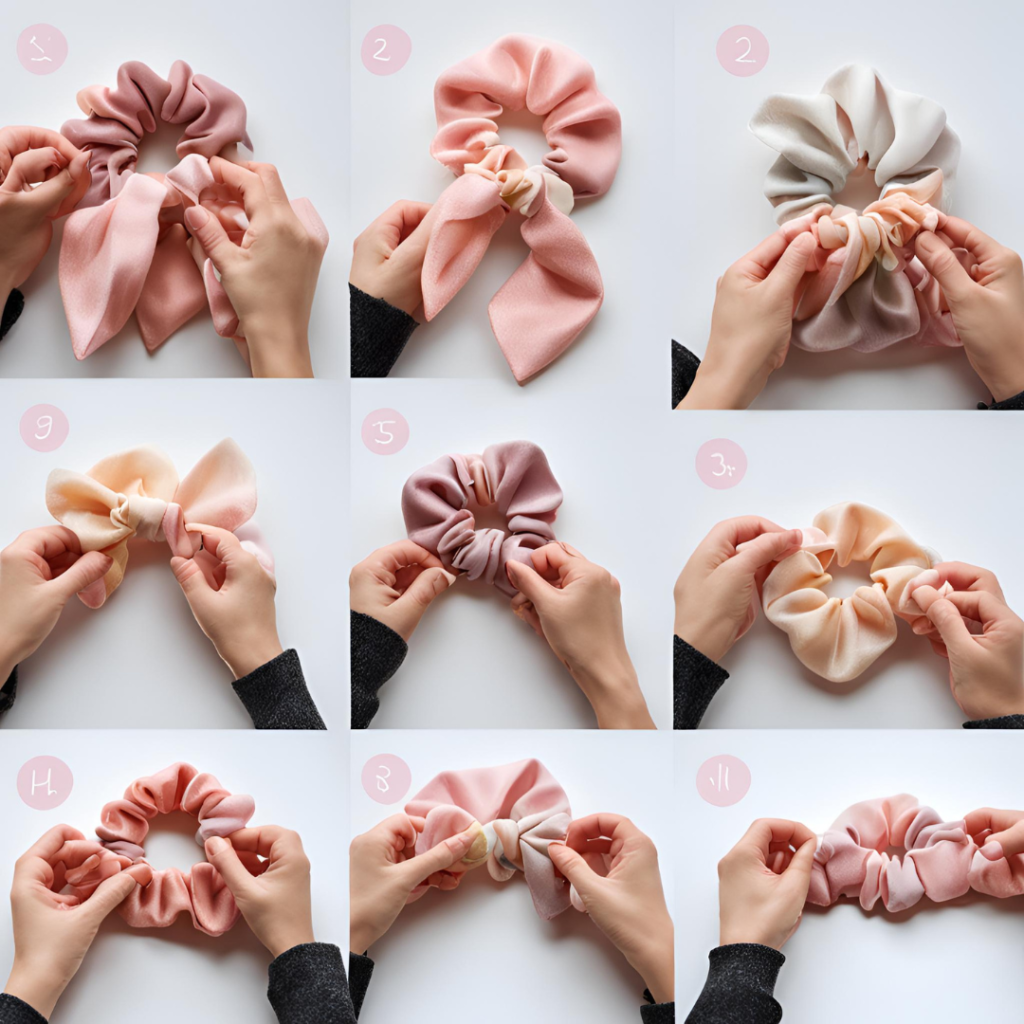
The best length for a scrunchie depends on its intended size. For a standard scrunchie, a fabric piece of about 4 inches wide by 20 inches long is commonly used. Larger scrunchies may require fabric lengths up to 28 inches, while smaller, minimalist designs can use around 18 inches in length. Elastic is typically cut to 8–9 inches, depending on how stretchy and snug you want the scrunchie to feel.
What makes a good scrunchie?
A good scrunchie is comfortable to wear and have a attractive design. Here are the key factors:
- Material: Use soft, durable fabrics like cotton, silk, or satin. Silk and satin reduce hair breakage and are gentle on hair, making them ideal for everyday use.
- Elastic: The elastic should be of high quality, with an ideal width of 1/4″ or 1/8″. It must be secure enough to hold hair without being overly tight, ensuring both comfort and functionality.
- Size: Scrunchies should be appropriately sized for the intended use. Larger ones are great for thick hair or bold styles, while smaller scrunchies work well for finer hair or subtle looks.
- Construction: A well-made scrunchie should have reinforced seams and securely attached elastic to withstand regular use without coming apart.
- Design: Vibrant patterns or simple, elegant colors enhance the appeal while complementing different styles.
Can you use fat quarters for scrunchies?
Yes, you can use fat quarters to make scrunchies. Fat quarters, which are 18″ x 21″ pieces of fabric, are an ideal size for crafting scrunchies, as each one typically requires about 3.5″ x 20″ of fabric. Fat quarters also offer a variety of colors and patterns, making them a great choice for creating unique scrunchies. They work well with cotton, velvet, or other stable fabrics that aren’t overly stretchy or slippery.
Can Beginners Sew Hair Scrunchies?
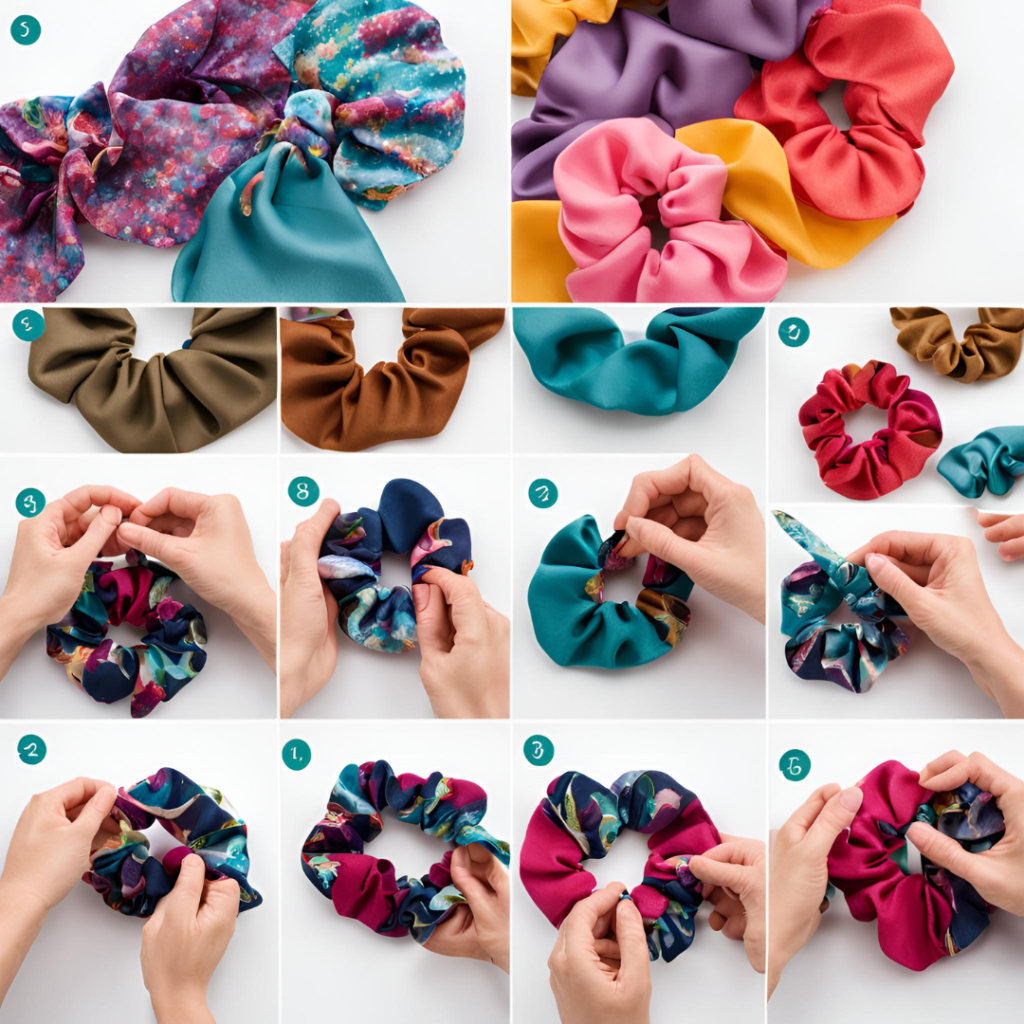
Yes, beginners can sew hair scrunchies. It’s a simple and affordable sewing project that requires basic materials such as fabric, elastic, and a needle or sewing machine. Scrunchies involve straightforward steps: cutting fabric, sewing a tube, inserting elastic, and stitching the ends together. You can even make them without sewing by using fabric glue. The process is easy to follow, making it an excellent starting point for anyone new to sewing.
Conclusion
So as you can see how easy it is to make hair scrunchies, give it a try and let me know if you have any problems! Enjoy the process of choosing your fabric and putting it all together.

Hi, I’m Safura. What are you sewing today? If you have any questions or need help with anything related to sewing, please feel free to ask. I’m always here to assist you with sewing-related issues.

