
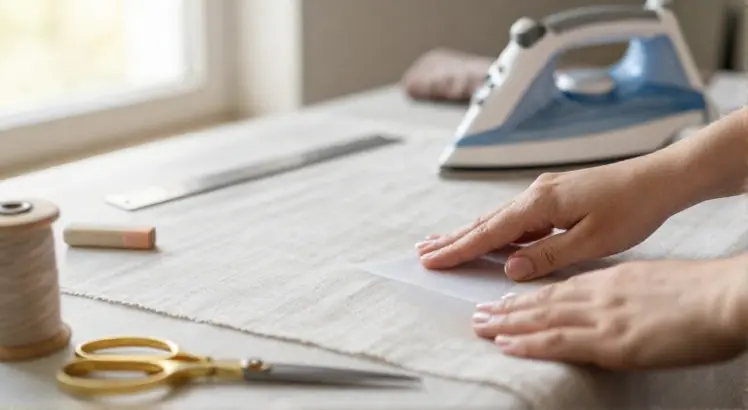
Fabric stabilizer is the secret ingredient that turns ordinary stitching into flawless results. It prevents puckering, shifting, and stretching, giving your fabric the support it needs. Without it, lightweight or stretchy materials can become a nightmare to sew. Once you learn how to use it, your embroidery and garment projects will look polished and professional.
Different fabrics demand different levels of support, from sheer chiffons to dense denim. The right stabilizer keeps every stitch crisp and even, whether you are hand embroidering or running a machine. This guide breaks down each type and shows you exactly how to apply them. Let’s turn that wobbly stitching into work you are proud to show off.
What Is Fabric Stabilizer and Why Every Sewist Needs It
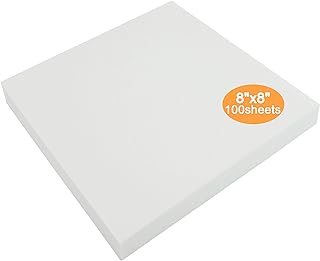
New brothread Tear Away Embroidery Stabilizer 8″x8″ – 100 Precut Sheets
Check PriceFabric stabilizer is a temporary or permanent backing material that gives fabric extra structure during stitching. It acts like a second layer that holds fibers steady so the needle does not push them out of place. You will find it indispensable when working with knits, loosely woven textiles, or dense embroidery designs. For a deeper dive, read what is fabric stabilizer and how it works.
Without stabilizer, fine details can sink into the fabric or distort under thread tension. It gives you control over your stitch quality and prevents costly ruined projects. Think of it as an essential tool, right up there with a good pair of scissors. Once you experience the difference, you will never skip this step again.
The Ultimate Guide to Stabilizer Types
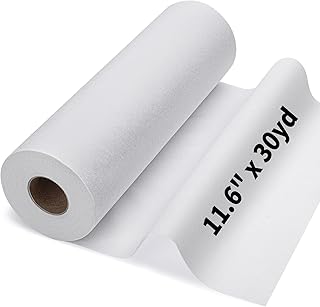
11.6″x30yd Medium Weight Fusible Interfacing for Sewing Iron on Interfacing
Check PriceStabilizers come in several families, each designed for specific tasks. Tear away types rip off easily after stitching, leaving minimal trace. Cut away stabilizers remain attached for lasting support, perfect for garments that will be washed often.
Wash away and water soluble options dissolve in water, making them invisible on sheer fabrics or free standing lace. Heat away versions disappear with an iron, while sticky peel and stick stabilizers hold the fabric securely inside a hoop. Fusible interfacing adds permanent body to collars and buttonholes.
Foam stabilizers are niche heroes for three dimensional crafts like bag making. Choosing the correct type is the first step toward professional results. For even more guidance, explore Thesprucecrafts comprehensive stabilizer guide to see these materials in action.
Tear Away vs. Cut Away: Which One Wins for Your Project?
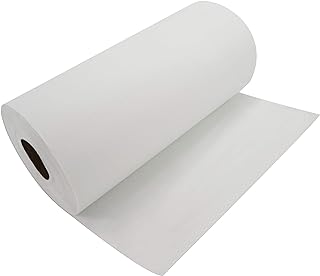
New brothread Tear Away Embroidery Stabilizer 12″ x 50 Yd Roll
Check PriceThe battle between tear away and cut away comes down to how much permanent support your fabric needs. Tear away is ideal for stable woven materials where you want a clean finish without leftover residue. You simply remove the excess backing with your fingers after stitching.
Cut away stabilizer stays in place forever, providing continuous reinforcement through countless laundry cycles. It is the safest bet for stretchy knits, activewear, and any project subjected to significant movement. Without that permanent layer, dense embroidery can distort and lose its shape over time.
If you are still unsure, ask yourself whether the garment will be worn and washed frequently. Stick with cut away for wearables and tear away for decorative wall hangings. This simple rule will save you from disappointing finishes down the road.
How to Use Tear Away Stabilizer for Flawless Embroidery
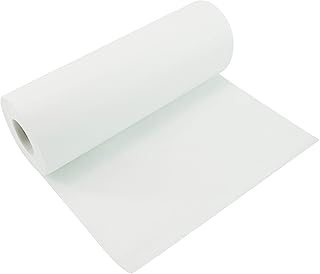
New brothread Tear Away Embroidery Stabilizer 10″ x 25 Yd Roll
Check PriceStart by hooping a piece of tear away stabilizer along with your fabric so both layers are drum tight. For dense designs, you can float an extra sheet underneath the hoop and secure it with temporary adhesive. This double layer technique prevents puckering on thick embroidery.
Once the machine finishes stitching, carefully tear the excess stabilizer away from the design. Work slowly, supporting the stitches with your fingers to avoid pulling them loose. Tear away from the center outward for the cleanest result.
If small fibers remain trapped under dense thread, use a wooden pick or the edge of a fine scissors to nudge them out. Never yank too hard, or you risk distorting the embroidery. The key is patience and a gentle touch to preserve your hard work.
Water Soluble Stabilizer: Perfect for Free Standing Lace and Sheer Fabrics
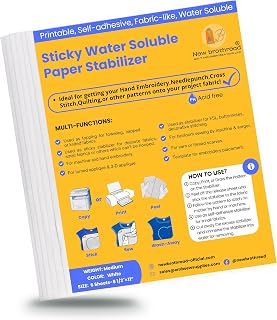
New brothread 6PCS 8.5″x11″ Sticky Water Soluble Embroidery Stabilizer
Check PriceWater soluble stabilizer looks like a thin plastic film that dissolves completely in water. It is a dream for creating free standing lace, as you can rinse away every trace of the backing. Use it on sheer organza or tuille when you cannot tolerate any visible stabilizer residue.
Hoop the film directly and stitch your design, then place the finished piece in a bowl of warm water. Within minutes, the stabilizer vanishes and leaves only your threadwork behind. Pat the piece dry with a lint free towel and reshape it while damp.
Avoid using water soluble stabilizer in high humidity environments because it can become gummy. Store it in a sealed plastic bag to keep it crisp. For detailed instructions on handling embroidery materials correctly, check this guide on how to use embroidery stabilizer.
Wash Away Stabilizer: How to Get Zero Trace Embroidery
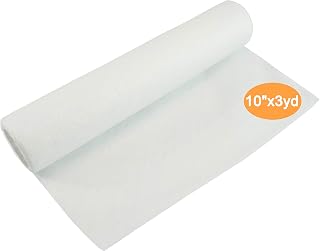
New brothread 10″ x 3 Yd Roll Wash Away Embroidery Stabilizer
Check PriceWash away stabilizer resembles soft, fibrous paper that disintegrates in water. Unlike the filmy water soluble type, this one has a paper like texture that tears easily before laundering. It is exceptionally kind to delicate skin friendly projects like baby garments.
After stitching, trim the bulk of the stabilizer close to the design lines. Then toss the item into a gentle wash cycle or soak it in water. The remaining fibers will dissolve without vigorous rubbing, leaving zero stiffness behind.
This product is excellent for heirloom sewing and shadow work embroidery on linen. Just make sure your thread is colorfast before you submerge it. Testing on a scrap first will prevent unwanted dye bleeding disasters later.
Sticky Stabilizers: The Secret to Hoopless Embroidery
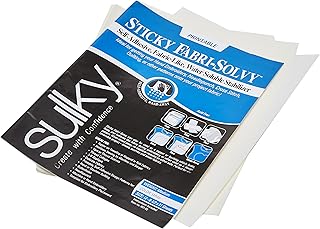
Sulky Sticky Fabri-Solvy Stabilizer 8.5″X11″ 12/Pkg
Check PriceSticky stabilizers have a tacky surface that grips your fabric without hooping, making them perfect for small items like collars or cuffs. You hoop the sticky sheet paper side up, score the release paper, and peel it away to expose the adhesive.
Press your garment onto the sticky surface and smooth out any air bubbles. The stabilizer holds the fabric securely while the machine embroiders. This method eliminates hoop marks on velvet, plush fabrics, and delicate silks.
After stitching, the stabilizer tears or washes away cleanly. Be sure to clean your needle regularly because the adhesive can build up residue. A small alcohol wipe will keep everything running smoothly without gummy interruptions.
Cut Away Stabilizer: Unmatched Stability for Stretchy Knits
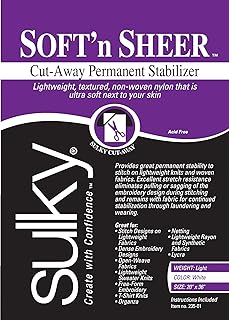
Sulky Of America 235-01 Cut Away Soft N Sheer Stabilizer, 20″ by 1 yd, White
Check PriceCut away stabilizer is the workhorse of the embroidery world, staying with the fabric for life. It provides a permanent scaffold that prevents stitching from popping or sinking into the fabric. This makes it essential for t shirts, onesies, and anything with significant stretch.
When hooping, include the cut away backing behind the fabric and run the design. After the machine stops, do not tear it. Use sharp scissors to trim the excess stabilizer close to the embroidery, leaving a soft edge that will not irritate the skin.
Some sewists prefer a mesh cut away that remains flexible even on lightweight knits. The soft sheer variety feels almost invisible against the skin. Once you try cut away on a stretchy project, you will understand why professionals rarely work without it.
Foam Stabilizer: Adding Structure to Bags and Home Décor
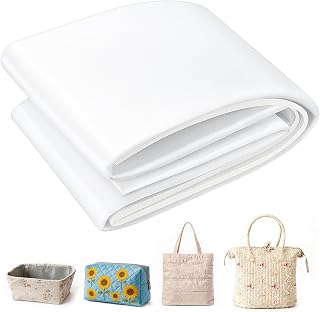
Soft Stable Foam Stabilizer, Falikoco Foam Stabilizer for Sewing, Double Side Fabric Batting, 36×58 Inch Non-Fusible Washable Insert, Lightweight for Bags, Purses, Quilting & Handmade Projects
Check PriceFoam stabilizer, also called soft stable, adds a plush dimensional body to bags, purses, and quilted creations. It is not a temporary aid but a permanent interlining that creates structure and cushion. Sewing with foam gives your handmade accessories a high end boutique feel.
Insert the foam between the outer fabric and lining, then quilt or topstitch through all layers. The needle glides through easily because the foam is low density and flexible. This stabilizer is washable and retains its loft even after repeated use.
Use it for laptop sleeves, market totes, or structured bucket hats. The soft body provides protection without adding heavy bulk. Cut the foam fractionally smaller than your seam allowance to avoid thickness in the seam itself.
Precut Sheets vs. Rolls: Which Stabilizer Format Fits Your Workflow?
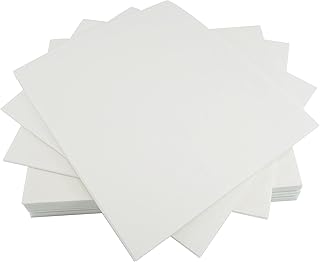
New brothread Cut Away Embroidery Stabilizer 8″x8″ – 100 Precut Sheets
Check PricePrecut sheets like 8 inch by 8 inch squares are a massive time saver for hooping small designs. They eliminate the need for measuring and cutting, letting you jump straight into embroidery. This format is especially handy for tear away and wash away stabilizers used on patches or monograms.
Rolls give you the freedom to cut custom sizes for large hoops or continuous border designs. A 50 yard roll might seem intimidating, but it is more economical in the long run. You simply unroll what you need when working on oversized quilting blocks.
Having both in your stash covers every scenario. Use sheets for quick daily projects and rolls for ambitious free motion work. The convenience of precut can seriously boost your productivity on a busy sewing day.
Smart Storage Tips for Your Stabilizer Stash
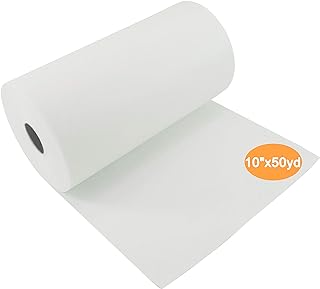
New brothread Cut Away Embroidery Stabilizer 10″ x 50 Yd Roll
Check PriceStabilizers without proper storage can degrade or become a crumpled mess. Keep rolls upright in a dedicated bin or hang them on a wall mounted rod to prevent crushing. Precut sheets stay flat inside a document envelope or a scrapbooking paper organizer.
Water soluble and stick on varieties are humidity sensitive. Seal them in a zippered pouch with a silica gel packet to ward off moisture. Label each container with the type and weight because many stabilizers look identical at a glance.
Never store stabilizers directly on a sunny windowsill. UV exposure can break down adhesives and make tear away brittle. A cool, dark closet is the ideal home for your embroidery support team.
Peel and Stick Tear Away: A Beginner Friendly Solution
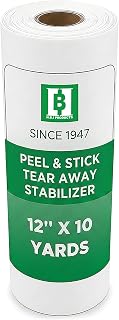
HBI Peel & Stick Tear Away Embroidery Stabilizer Roll, 12 in x 10 yd
Check PricePeel and stick tear away combines the convenience of adhesive backing with the easy removal of tear away. You simply stick the stabilizer to the wrong side of your fabric before hooping. This prevents slipping during setup and is a lifesaver for beginners.
Once the stitching is complete, the stabilizer tears away neatly without a fight. The adhesive is light enough that it will not leave a sticky residue on most fabrics. It works beautifully for single layer cotton projects like tea towels.
When using peel and stick, avoid hooping too aggressively or you might stretch the tacky surface. A gentle firmness is enough to keep everything aligned. This stabilizer is an affordable way to build confidence while learning machine embroidery.
Fusible Interfacing: The Stabilizer You Didn’t Know You Needed
PLANTIONAL 11.6″x30yd Light Weight Non-Woven Fusible Interfacing for Sewing
Check PriceFusible interfacing is a permanent stabilizer that you bond to fabric with a hot iron. It adds crispness to collars, cuffs, and facings, turning limp fabric into tailored perfection. Once fused, it becomes one with the cloth and will not shift during wear.
To apply, place the bumpy adhesive side against the wrong side of your fabric. Cover with a pressing cloth and hold the iron firmly for about ten seconds without sliding. Allow it to cool completely before moving the piece, or the bond may weaken.
Choose a lightweight interfacing for delicate blouses and a medium weight for structured shirts. Always preshrink the interfacing if you plan to wash the garment later. This hidden hero is the backbone of professional quality garment sewing and a must know tool for any sewist.
Frequently Asked Questions About Fabric Stabilizer
Can I use the same stabilizer for all fabrics? No, a single stabilizer cannot serve every purpose well. Stable wovens do fine with tear away, while stretchy knits demand permanent cut away support.
Is fabric stabilizer the same as interfacing? They are related but not identical. Stabilizers are often temporary and removed after stitching, while interfacing is fused or sewn in permanently to add structure.
Does heavy stabilizer make embroidery stiff? It can, but choosing the correct weight prevents an uncomfortable boardy feel. Soft sheer cut away and wash away options leave the fabric drape intact while still supporting the design.
How do I choose between tear away and wash away? Pick tear away if you want a quick, dry removal without laundry. Go with wash away when you need absolutely zero trace of backing on sheers, lace, or any item viewed from both sides.
Can I layer two different stabilizers? Absolutely, layering is a professional trick for dense designs. Use a cut away on the bottom for longevity and a tear away or wash away on top to get crisp stitch definition and easier removal.
