
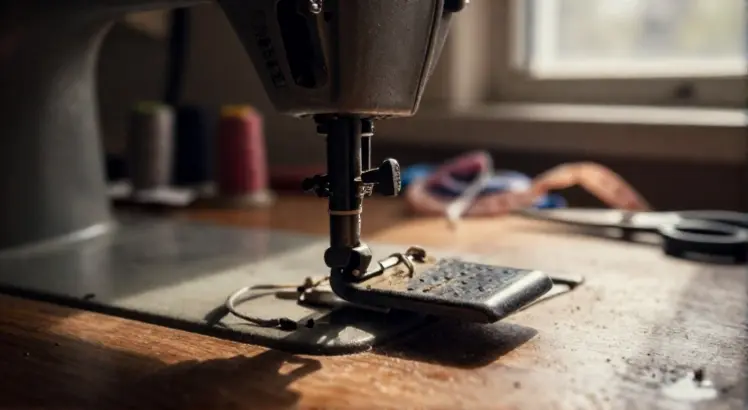
You are ready to hem a pair of jeans or stitch a quilt block. You press the foot control and nothing happens. Or maybe the machine takes off like a race car without any control. Sewing machine pedal problems can bring your creative flow to a screeching halt. The good news is that most pedal issues are straightforward to diagnose and fix without sending the machine out for expensive repairs. This guide walks you through the most common foot pedal failures, how to spot them, and exactly what to do next.
How a Sewing Machine Foot Pedal Works
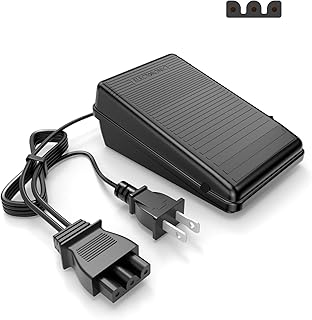
POANES Foot Pedal for Singer 4452/4432/4423
Check PriceBefore diving into repairs, it helps to understand what is inside the pedal. Older machines use a mechanical carbon pile rheostat. Pressing the pedal compresses graphite discs, which lowers electrical resistance and sends more power to the motor. These pedals tend to get hot and are sensitive to dust and humidity. Modern electronic pedals use a potentiometer or a hall effect sensor and a small circuit board. They deliver smoother speed control and generate less heat, but they can still fail because of broken wires, bad contacts, or component burnout. Knowing which type you have shapes the troubleshooting approach.
Symptoms of Sewing Machine Pedal Problems
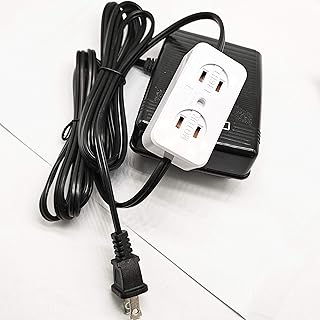
HONEYSEW Universal FC143 Foot Pedal
Check Price- Machine does not start when pedal is pressed
- Motor runs only at full speed regardless of how gently you press
- Sewing speed is jerky or inconsistent
- Pedal feels stuck, crunchy, or does not return to the off position
- Burning smell or visible cord damage
- Machine starts without touching the pedal
Troubleshooting the Most Common Foot Pedal Issues
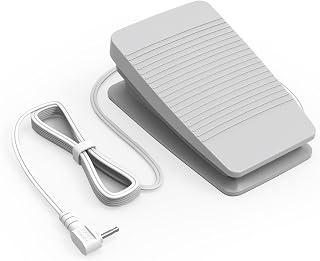
Foot Pedal for Brother SE600 & CS6000i
Check Price1. No Power to the Sewing Machine
When you press the pedal and the machine stays silent, the cause is often simpler than a broken part. Start with the obvious checks before opening any casing. Unplug the machine and pedal connections, then inspect every inch of the cord. Look for cuts, kinks, or exposed copper wire, especially where the cord enters the pedal body and the machine plug.
Next, confirm the wall outlet works by plugging in a lamp. Then firmly reseat all connections: the cord from the wall to the pedal, and the cord from the pedal to the machine. Loose plugs are one of the most frequent culprits and cost nothing to fix.
If the cords look fine but there is still no response, the internal carbon pile (in a rheostat-style pedal) may be worn out. Carbon discs degrade over decades, especially in humid environments. In electronic pedals, a failed triac or capacitor on the circuit board can stop all power flow. At this stage, a multimeter test on the pedal output terminals will confirm whether voltage is passing through when pressed. If no voltage leaves the pedal, replacement or internal repair is needed.
2. Machine Runs Uncontrollably Fast
A runaway pedal that ignores how much pressure you apply usually signals a short circuit or failed component inside the control. In mechanical rheostats, the carbon wafers can fuse together, keeping the circuit in a high-power state. In electronic pedals, a shorted switching device bypasses the speed regulation entirely.
Unplug the pedal immediately when this happens. Remove the bottom cover and look for stray metal debris, melted solder, or a small spring that has come loose. Sometimes a single strand of wire bridges two contacts. A gentle cleaning with compressed air and a soft brush can remove the short. If the board is visibly scorched or the potentiometer shaft spins continuously without hitting a stop, the pedal should be retired.
3. Jerky or Inconsistent Speed Control
A pedal that makes the motor stutter, hesitate, or surge unevenly often points to dirty internal contacts. Carbon dust builds up inside rheostat pedals and prevents smooth resistance changes. For electronic pedals, oxidation on the potentiometer contacts causes dropouts at certain pedal positions.
Unplug the unit, open the housing, and gently clean the potentiometer or carbon stack with isopropyl alcohol and a lint-free cloth. For a rheostat pedal, you may carefully separate the carbon discs and wipe each one. Take a photo before you dismantle anything so reassembly is painless. After cleaning, let all parts dry fully before testing. This simple maintenance restores smooth speed control in many older pedals.
4. Pedal Sticks and Does Not Return to Rest
If the pedal stays partially depressed after you lift your foot, the problem is mechanical rather than electrical. Hinges can bind, the return spring can weaken or become dislodged, and debris can wedge into the gap between the pedal base and cover.
Inspect the hinge pin and spring. A drop of lightweight machine oil on the hinge point often frees a stiff pedal. Avoid getting oil inside where it can attract dust onto electrical contacts. If the spring is broken, source a spring of similar size from a hardware store or salvage one from an old pedal. When a piece of plastic housing is cracked and causing misalignment, a strong epoxy can close the gap temporarily, but a new pedal is the safer long-term fix.
5. Burning Smell or Overheating
A hot pedal with a distinct electrical burning odor is a red flag. Carbon pile rheostats naturally run warm during long sewing sessions, but a sharp acrid smell indicates arcing or a component overheating. Unplug the pedal at once and let it cool. Sniff near the cord entry points; a smell concentrated there points to damaged wiring inside the strain relief. A smell from the circuit board means a capacitor or resistor has failed.
Stop using the pedal until you have replaced the damaged cord or the whole foot control. Running a pedal with compromised wiring is a fire hazard. For a deeper dive, you can refer to a detailed foot pedal troubleshooting guide that walks through component-level testing with a multimeter.
When to Repair Versus Replace Your Sewing Machine Pedal
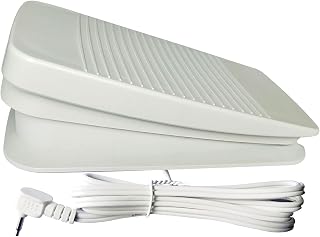
FC‑322 Pedal for Brother Babylock Simplicity
Check PriceThe decision often comes down to cost, safety, and availability. If you are handy with a soldering iron and the pedal has a simple broken wire or a dirty pot, repair is cheap and satisfying. Many older mechanical pedals can be revived simply by cleaning and adjusting the carbon pile. However, if the circuit board is fried, the plastic casing is crumbling, or the pedal has a history of erratic operation, replacement is the smarter choice. Most universal electronic pedals cost between $20 and $40 and plug directly into common machines.
When you decide to replace, make sure the new pedal matches your machine’s brand, connector type, and power rating. Using a mismatched electronic pedal can damage the motor. You can explore our recommendations for the best sewing machine foot pedal to find a reliable model that fits your setup. If foot control is uncomfortable for any reason, there are also alternative ways to control your machine. Our article on sewing machine foot pedal alternatives covers knee levers, start-stop buttons, and speed-control sliders that can change the way you sew.
Safety Tips for Working on a Sewing Machine Pedal
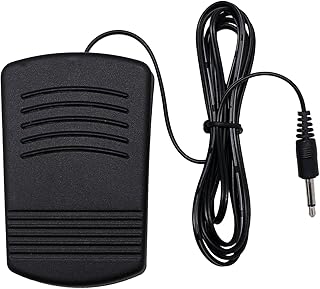
YEQIN Mini Sewing Machine Foot Pedal
Check Price- Always unplug the pedal from the wall outlet and the machine before opening.
- Discharge any capacitors by holding down the pedal (while unplugged, with no power) for a few seconds; an electronic pedal may store residual charge.
- Work on a non-conductive, clutter-free surface.
- Take clear photos at every disassembly step so wires and springs go back exactly where they belong.
- Replace damaged cords only with components rated for the same voltage and amperage; never bypass the built-in fuse or thermal cutoff.
Frequently Asked Questions About Sewing Machine Pedal Problems
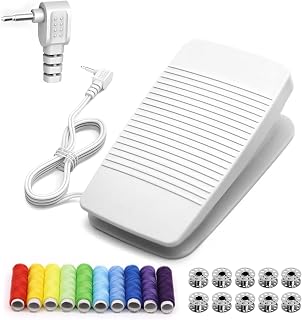
Brother FC‑322 Replacement Pedal
Check PriceWhy does my sewing machine run slowly even with the pedal pressed all the way down?
Slow maximum speed can be caused by a worn carbon pile in old pedals that no longer reaches low resistance, or by a dirty potentiometer in electronic pedals. It may also be a sign that the motor itself needs cleaning and lubrication. Test the pedal with a multimeter to see if the full voltage is reaching the machine before assuming the pedal is at fault.
Can I use a generic foot pedal with my Singer machine?
Many modern Singer machines accept universal electronic pedals with the correct three-prong connector and power rating. However, older Singer models with a strange two-prong or proprietary plug need a brand-specific pedal. Always check the voltage, wattage, and plug shape before buying. Information is available in our dedicated guide to the Singer sewing machine foot pedal.
Is it safe to open a sewing machine pedal myself?
Yes, as long as the pedal is disconnected from all power sources and you take basic precautions. Many repairs, like cleaning carbon discs or tightening a loose screw, are low-risk. If you smell burning or see deep scorch marks on the circuit board, it is safer to replace the entire pedal than to attempt a board-level repair without electronics experience.
How do I know if the problem is the pedal or the sewing machine motor?
Swap in a known working pedal if you have access to one. Alternatively, with the machine unplugged from the wall, use a multimeter set to continuity or resistance mode to test the pedal output. If the pedal delivers smooth varying resistance or voltage when pressed, the motor or wiring inside the machine is the more likely culprit.
Keep Your Sewing in Control
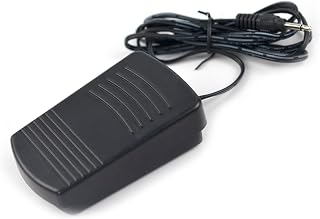
Household Momentary Foot Pedal
Check PriceSewing machine pedal problems rarely mean the end of the machine. Most issues boil down to a bad connection, dirty contacts, a broken cord, or a stuck mechanism. A few careful checks and a willingness to look inside the pedal will save you money and keep you stitching. When repairs aren’t practical, a high-quality replacement pedal or an alternative control method gets you back in the driver’s seat gently and safely. Keep your work area clean, treat cords gently, and listen to what your pedal tells you through its behavior. With the right care, your foot control will respond smoothly and reliably for years of sewing enjoyment.
