Have you ever been shopping for a sewing machine and stumbled upon the terms overlocker vs serger, wondering if they are two different devices? You’re not alone. This confusion is very common among beginners and even experienced sewists when comparing machines online or in fabric stores.
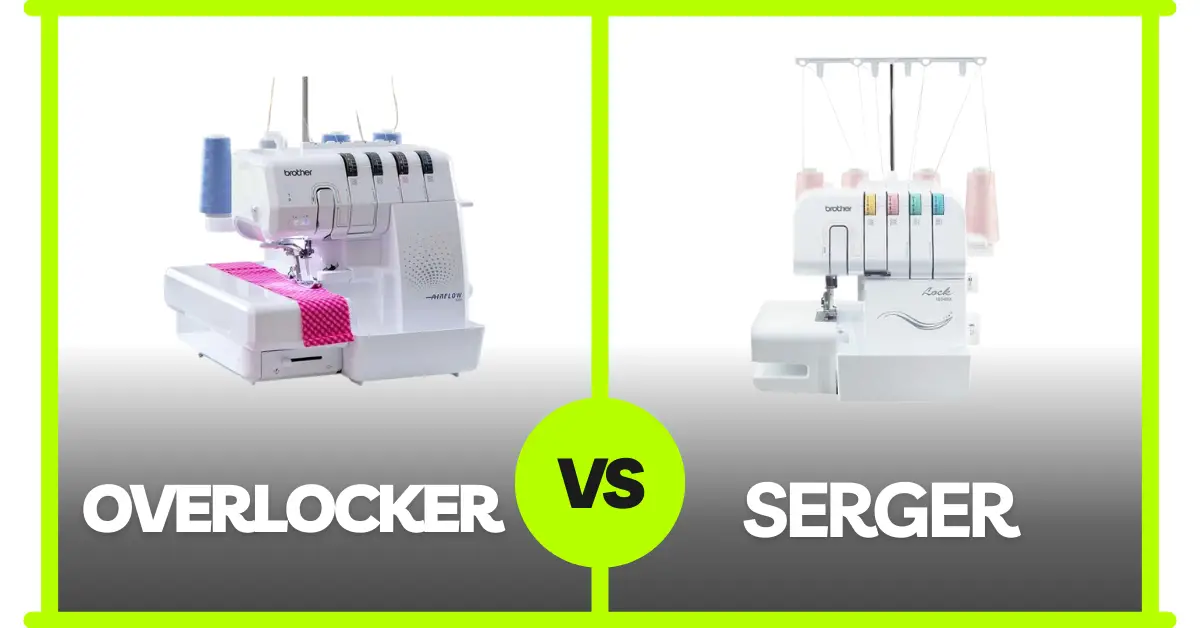
Here’s the truth: an overlocker and a serger are the same machine — they just have different names depending on where you live. In North America, it’s called a serger, while in the UK, Europe, and Australia, it’s known as an overlocker.
🔥 Quick Picks: Best Overlocker & Serger Machines
If you don’t have time to read the full guide, here are our top recommended machines to get started right away:


🧵 Best Overlocker Machines
1. Brother 3034DWT Overlocker (~$300)
A beginner-friendly overlocker with color-coded threading, differential feed, and a free arm for cuffs and sleeves. Compact, easy to use, and reliable.
- ✅ Pros: Easy threading, durable, budget-friendly
- ❌ Cons: Not great for very thick fabrics
2. Juki MO-654DE Overlocker (~$350)
Fast, strong, and versatile, this machine handles both knits and wovens beautifully. Perfect for intermediate to advanced sewists.
- ✅ Pros: Professional finishes, sturdy build
- ❌ Cons: Slightly louder than other models
3. Singer Professional 14T968DC Overlocker (~$500)
A 2-3-4-5 thread overlocker with wide stitch options for rolled hems, cover hems, and decorative finishes.
- ✅ Pros: Versatile stitches, professional results
- ❌ Cons: Steeper learning curve for beginners
🧵 Best Serger Machines
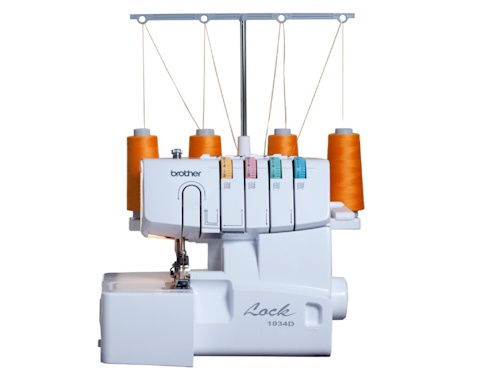
1. Brother 1034D Serger (~$250)
The most popular entry-level serger. Affordable, reliable, and perfect for beginners learning serger basics.
- ✅ Pros: Budget-friendly, simple threading, reliable seams
- ❌ Cons: Limited features, struggles with heavy fabrics
2. Janome 8002D Serger (~$300)
Lightweight and compact, this serger offers smooth stitching, differential feed, and easy tension control.
- ✅ Pros: Quiet, beginner-friendly, compact size
- ❌ Cons: Fewer advanced stitch options
3. Juki MO-2000QVP Serger (~$1,000)
A premium serger featuring air-threading technology and automatic tension adjustment. Designed for advanced sewists.
- ✅ Pros: Air threading, professional finish, powerful motor
- ❌ Cons: Expensive for beginners
For managing fabrics while using these machines, an adjustable embroidery hoop stand can make stitching easier and more accurate.
What Is an Overlocker (Serger)?
An overlocker, or serger, is a specialized sewing machine designed to:
- Trim raw fabric edges
- Sew seams with multiple threads (usually 3 or 4)
- Create strong, stretchable stitches perfect for knits
- Finish seams neatly in one single step
Unlike a regular sewing machine, an overlocker/serger combines cutting, sewing, and finishing simultaneously. This makes it a must-have for anyone who wants professional-looking garments.
Overlocker vs Serger: Regional Naming Differences
- North America: The term serger is widely used.
- UK, Europe, and Australia: The same machine is called an overlocker.
So when you see “serger” in American tutorials or “overlocker” in British sewing forums, remember: they’re talking about the same machine.
Key Features & Capabilities
Here are the main things a serger/overlocker can do:
- Trim & finish edges neatly in one pass
- Create stretchable seams (ideal for knitwear)
- Prevent puckering on lightweight fabrics using differential feed
- Work at high speeds to save time
- Add decorative finishes like rolled hems, flatlock seams, and lettuce edges
This combination of speed and quality makes the overlocker a game-changer for both beginners and professionals.
Common Misconceptions
Many sewists hesitate to use a serger because of a few myths:
- “Threading is too hard” → Modern machines now have color-coded threading guides and even air-threading systems.
- “They’re only for knits” → Sergers work beautifully on both knits and wovens.
- “They replace sewing machines” → Not true. They complement your sewing machine by finishing seams professionally.
Essential Mechanisms Explained
Threading Systems
Threading follows a specific order: upper looper → lower looper → right needle → left needle.
Tips:
- Use the tie-off method to change threads quickly.
- Keep presser foot lifted while threading.
- Leave long thread tails to prevent unraveling.
Differential Feed Technology
Controls fabric movement using two sets of feed dogs.
- Setting 2.0 prevents stretched seams in knits.
- Setting 0.7 avoids puckering in lightweight fabrics.
Knife System
Sergers use upper and lower blades to cut fabric as they sew. If edges look frayed or uneven, it’s usually time to replace the blades rather than sharpen them.
Choosing the Right Serger/Overlocker
Entry-Level Machines
- Brother 1034D (~$250) → Great for beginners, though it may struggle with heavy fabrics.
Mid-Range Options
- Juki MO654DE (~$350) → Stronger build, faster stitching, reliable for frequent use.
Professional & Industrial
- Juki MO-6816S (~$2,000) → Designed for high-volume production and heavy-duty fabrics.
Features to Consider
- Air threading (for easy setup)
- Differential feed adjustment
- Knife retractability
- Automatic tension control
- Strong motor & build quality
Maintenance & Care Tips
Keeping your serger in good condition ensures long-lasting performance:
- Clean after every project (they produce more lint than regular sewing machines)
- Deep clean every 3–4 months
- Oil every 15–20 sewing hours (use only manufacturer-recommended oil)
- Annual professional servicing is recommended
Don’t forget comfort — a best sewing chair for back pain can make long serging or overlocking sessions much easier.
Overlocker vs Serger: Quick Comparison Table
| Aspect | Details |
|---|---|
| Regional Names | Serger (North America) / Overlocker (Europe, Australia) |
| Core Functions | Trims, sews, and finishes in one step |
| Best For | Knits, wovens, rolled hems, flatlock, lettuce edges |
| Threading System | Color-coded guides / air-threading in premium models |
| Key Features | Differential feed, knife system, tension control |
| Maintenance | Clean after use, oil regularly, annual servicing |
FAQ: Overlocker vs Serger
1. What is the difference between an overlocker and a serger?
There is no difference — they’re the same machine, just different names in different regions.
2. Do I need both a sewing machine and a serger?
Yes. A sewing machine handles construction, zippers, and buttonholes, while a serger is best for seam finishing and stretch fabrics.
3. Can a serger sew without cutting the fabric?
Yes, many models let you disengage the knife if you want to skip trimming.
4. Which is better for beginners: overlocker or serger?
They are the same machine. For beginners, an entry-level model like the Brother 1034D is a great choice.
5. Can I use an overlocker on woven fabrics?
Absolutely. Sergers/overlockers work on both woven and knit fabrics.
Final Verdict: Should You Get an Overlocker/Serger?
Whether you call it an overlocker or a serger, it’s one of the most valuable tools you can add to your sewing space. It won’t replace your regular sewing machine, but it will give your projects a professional, durable finish and save hours of work.
👉 If you’re serious about sewing clothes or home décor, investing in a serger/overlocker will take your sewing to the next level.

Hi, I’m Safura. What are you sewing today? If you have any questions or need help with anything related to sewing, please feel free to ask. I’m always here to assist you with sewing-related issues.

