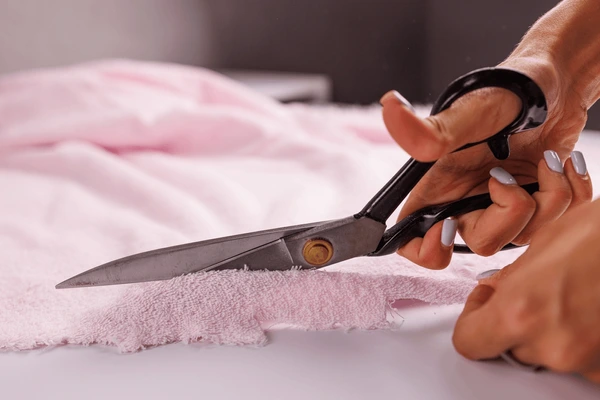
Mastering how to cut fabric with scissors is one of the first, most foundational skills every sewist needs to learn. Whether you’re working on a simple drawstring bag or a tailored wool coat, uneven, jagged, or off-grain cuts can ruin hours of hard work, so getting this step right is non-negotiable for quality finished projects. Many beginners rush through cutting to get to the sewing machine, but professional dressmakers will tell you that 30% of a project’s success depends on accurate, careful cutting.
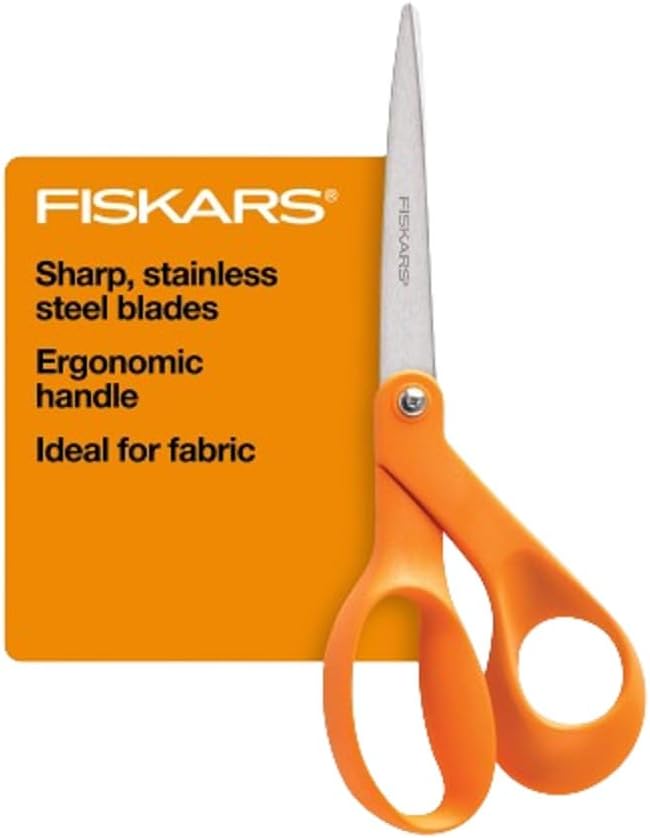
1Fiskars 8″ Original Orange‑Handled Stainless Steel Scissors
Classic, all‑purpose scissors with precision‑ground stainless steel blades and an ergonomic orange handle. Ideal for fabric, paper, and craft projects, delivering smooth, clean cuts to the tip.
Check Price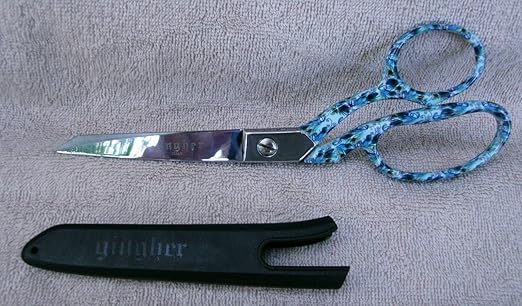
2Gingher 8″ Dressmaker’s Fabric Scissors (Alicia)
Premium forged dressmaker’s shears with long, knife‑edge blades that cut multiple fabric layers cleanly. The bent handle keeps fabric flat on the table, perfect for tailoring and dressmaking.
Check Price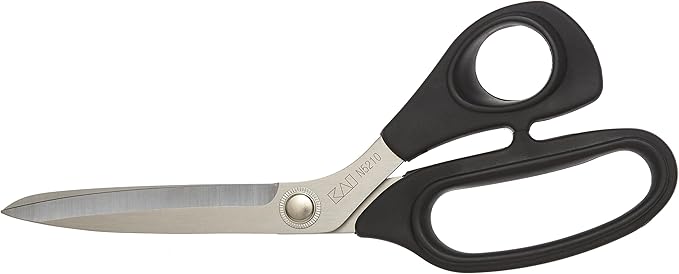
3Kai 5210 8″ Dressmaking Shears
Professional dressmaking shears with hardened stainless steel blades and soft ergonomic handles. Designed to cut smoothly through multiple layers, including denim and heavier fabrics, with minimal hand fatigue.
Check Price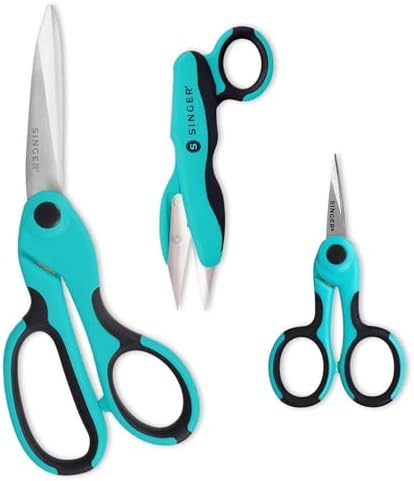
4SINGER ProSeries Sewing Scissors Bundle (3‑Piece Set)
Value bundle with 8.5″ heavy‑duty fabric shears, 4.5″ nano‑tip detail scissors, and 5″ thread snips. Tempered stainless blades and comfort‑grip handles cover everything from cutting yardage to precise trimming.
Check Price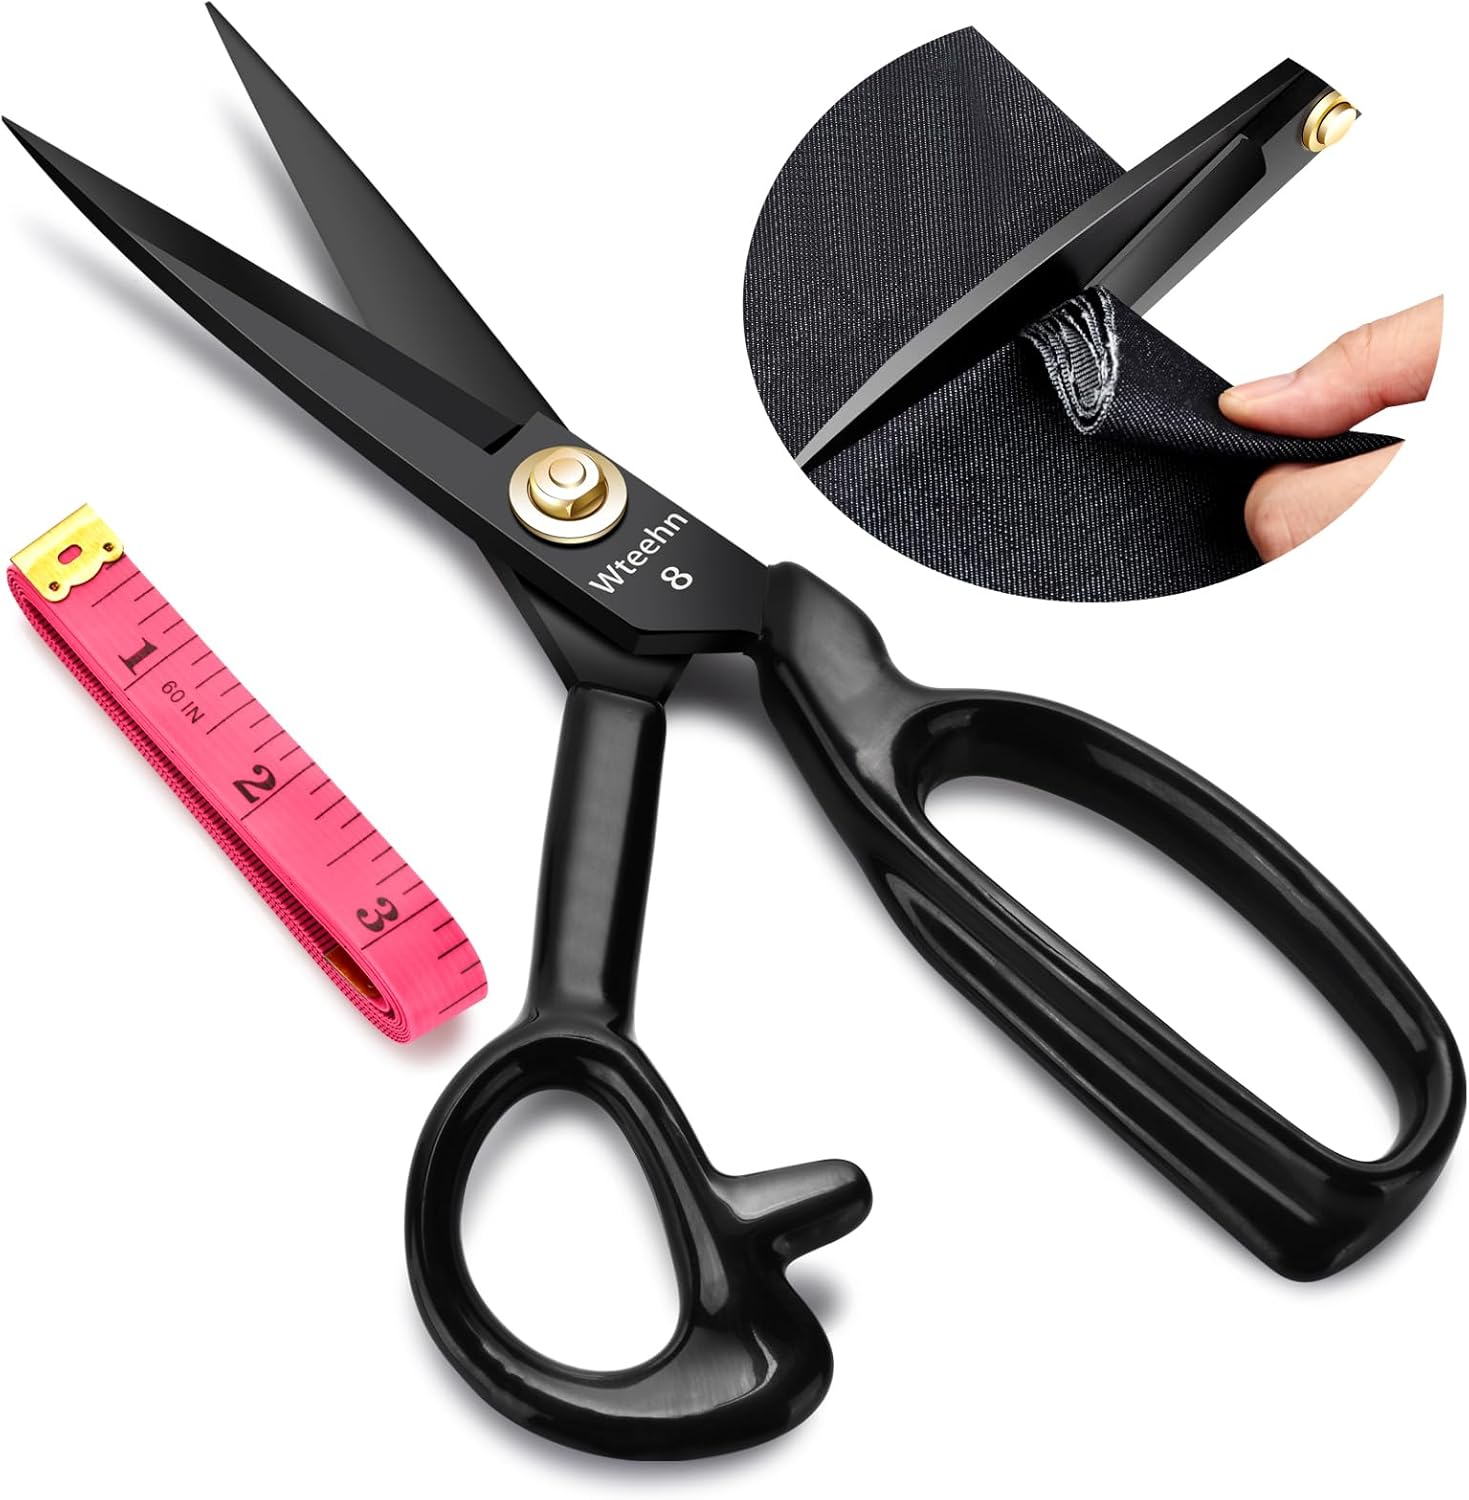
5Wteehn 8″ Professional Fabric Scissors
Ultra‑sharp heavy‑duty sewing shears made from galvanized manganese steel, hand‑forged for durability. The adjustable pivot and ergonomic handle give you precise, powerful cuts through thick fabric and leather.
Check Price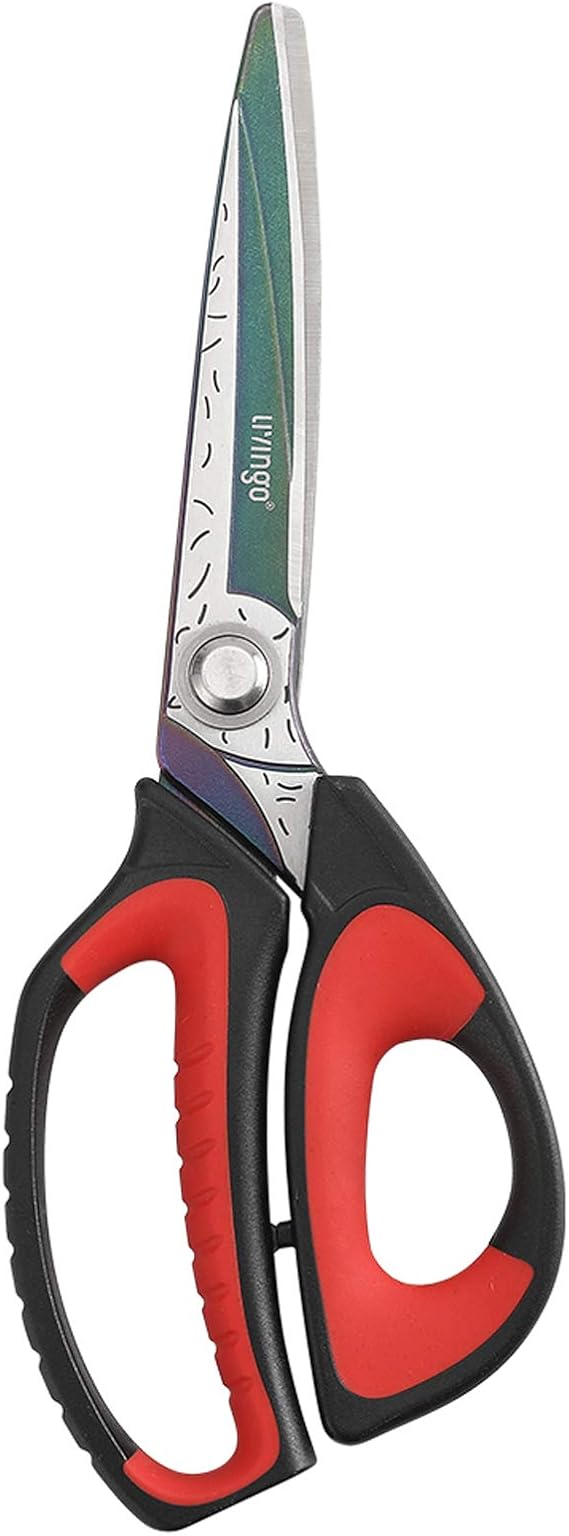
6LIVINGO 10″ Multipurpose Heavy Duty Scissors
Full‑length titanium‑coated stainless blades built for strength and long‑lasting sharpness. Excellent for fabric, upholstery, cardboard, and DIY materials, with ergonomic rings for a secure, comfortable grip.
Check Price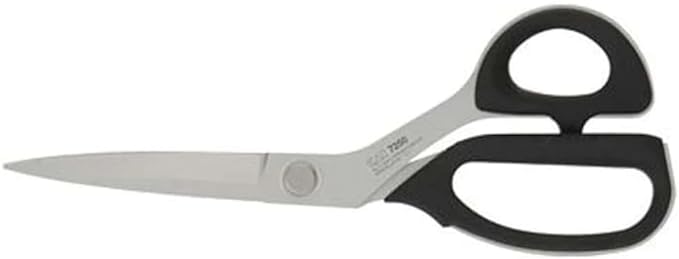
7Kai 7250 10″ Professional Tailoring Shears
High‑carbon, hardened stainless‑steel shears designed for demanding tailoring work. The 10″ blades slice cleanly through thick, difficult fabrics and multiple layers, making them a favorite of serious sewists.
Check Price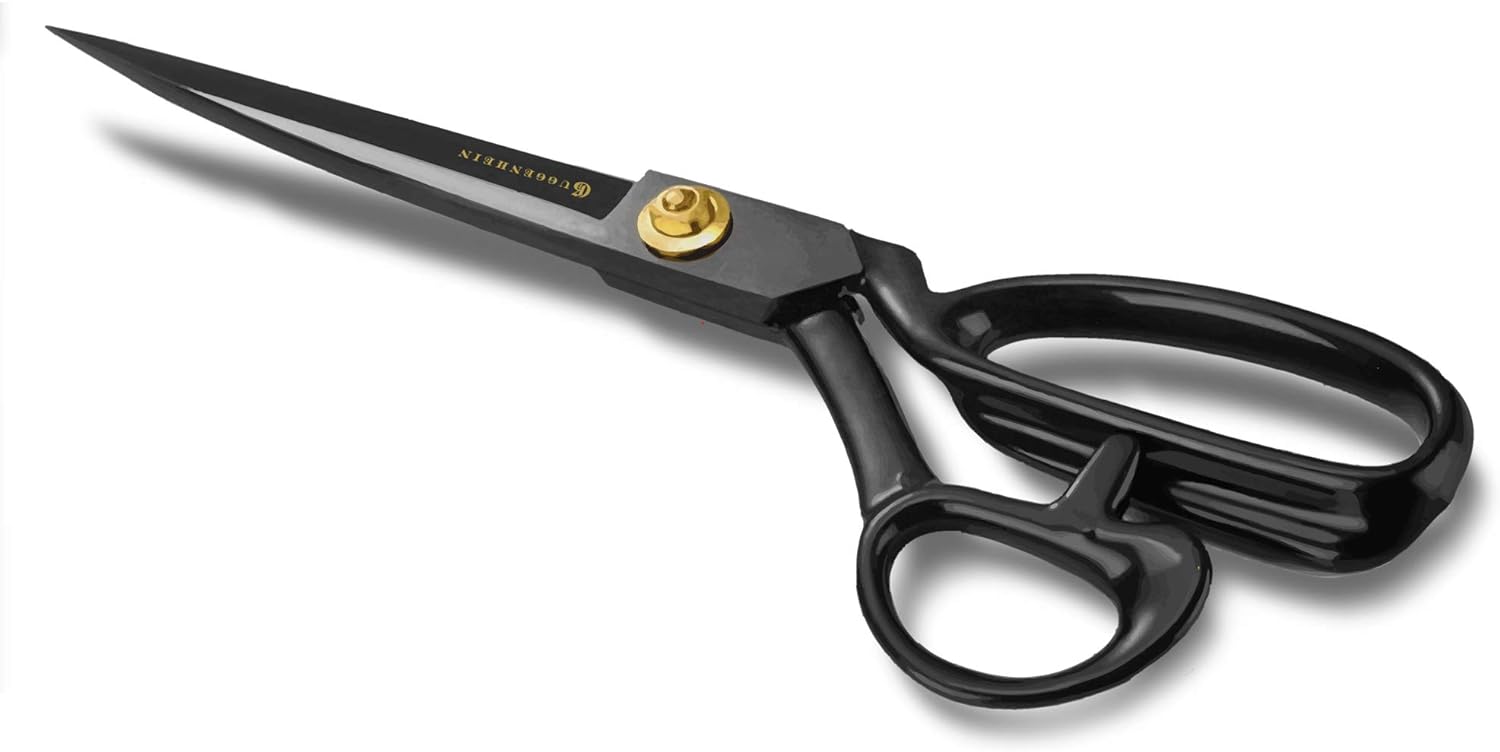
8Guggenhein IX 9″ Professional Tailor Shears
High‑carbon steel tailor shears engineered for clean, accurate cuts on all fabrics. Ergonomic handles and a tri‑sharpened edge give tailors, quilters, and serious hobbyists smooth, controlled cutting.
Check Price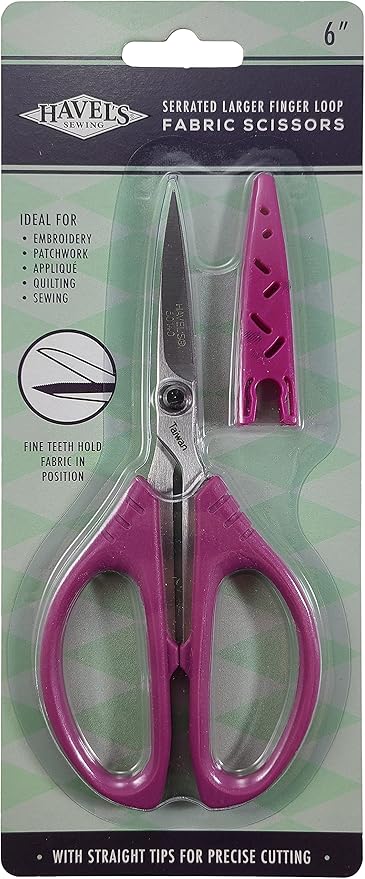
9Havel’s 6″ Serrated Large Finger Loop Fabric Scissors
Micro‑serrated blades hold fabric firmly for controlled, even cuts, while the enlarged finger loops add comfort. Excellent for applique, fine detail work, and accurate trimming on quilting and sewing projects.
Check Price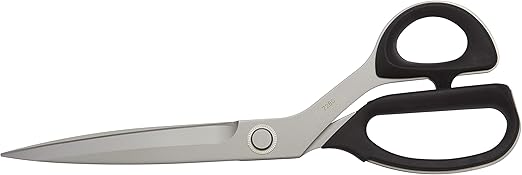
10Kai 7280 11″ Professional Tailoring Shears
Long 11″ professional shears made from high‑carbon hardened stainless steel, ideal for very thick or multiple fabric layers. Built for power and precision in tailoring, upholstery, and heavy sewing work.
Check PriceWhy Proper Fabric Cutting Matters
You might wonder why cutting gets so much attention when the sewing is the part that holds the project together. The truth is, even the most precise stitching can’t fix a badly cut piece of fabric. In my 12 years of professional sewing and teaching beginner classes, I’ve seen more projects fail at the cutting stage than at the sewing stage. Here’s exactly what’s at stake when you skip careful cutting:
- Poor fit: If you cut pattern pieces even 1/8 inch off the marked line, garments will twist, pull, or gape in all the wrong places. This is especially noticeable in structured pieces like blazers or fitted dresses.
- Wasted materials: Expensive natural fibers like silk, wool, or linen are not cheap, and one wrong cut can render an entire yard of fabric unusable. Pre-washing and careful cutting protects your investment.
- Seam puckering: Cutting off the grainline (the lengthwise threads that run parallel to the selvage edge) means the fabric will stretch unevenly as you sew, leading to puckered seams that no amount of pressing can fix.
- Extra work later: Trying to trim uneven seam allowances or fix twisted hems after sewing takes twice as long as cutting correctly the first time. It also adds unnecessary bulk to your project.
Gather the Right Tools Before You Cut
LIVINGO Premium Tailor Scissors
Check PriceYou wouldn’t try to paint a mural with a 1-inch brush, and you shouldn’t try to cut fabric with dull, inappropriate scissors. Using the right tools cuts down on mistakes and makes the process far less frustrating. Here’s what you need in your cutting kit:
Fabric Shears (Non-Negotiable)
Regular household scissors are designed for paper, cardboard, and tape, not woven or knit fabric. Fabric shears (also called dressmaking shears) have a bent handle that keeps the blades flat against your cutting surface, so you don’t lift the fabric as you cut. They also have longer, sharper blades that glide through fabric without snagging. Never use your fabric shears to cut paper, as even one cut through printer paper will dull the blades enough to snag delicate fabrics. If you’re shopping for new shears, check out our guide to top-rated sewing scissors for cutting fabric to find options that fit your budget and hand size.
Supporting Tools
Beyond shears, you’ll need a few other items to cut accurately:
- Fabric marking tools: You need to transfer pattern lines, notches, and grainlines to your fabric before cutting. Avoid regular pen or marker, which can bleed through fabric. Instead, use tailor’s chalk, water-soluble marking pens, or tested fabric markers for sewing that wash out completely after project completion.
- Self-healing cutting mat: Even if you’re using scissors, a large self-healing mat protects your table from scratches and provides a slight grip to keep fabric from sliding.
- Clear acrylic ruler: A 18×24 inch ruler helps you align grainlines and check that pattern pieces are straight before cutting.
- Pattern weights or pins: Use rust-proof glass head pins or heavy pattern weights to hold pattern pieces in place without shifting. Pattern weights are better for delicate fabrics like silk or chiffon that snag easily.
- Pressing iron: Always press your fabric smooth before cutting. Wrinkles can make you cut uneven lines, and pressing also helps set the grainline.

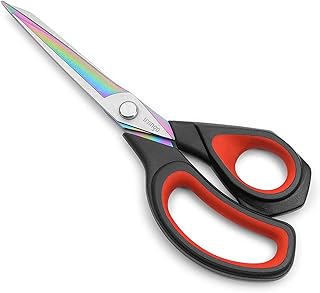
LIVINGO 8″ Professional Tailor Scissors
Check PricePrep Your Fabric Correctly
Skipping fabric prep is the #1 mistake beginners make. Fabric from the store is often coated in sizing (a starch-like finish) that washes out, and most fabrics shrink when laundered. Here’s the correct prep process, aligned with trusted sewing industry standards:
First, pre-wash and dry your fabric exactly how you plan to launder the finished garment. This removes sizing and pre-shrinks the fabric so your project doesn’t shrink out of shape after its first wash. Once dry, press the fabric flat with a hot iron (adjust the heat setting for your fabric type) to remove all wrinkles.
Lay your fabric out on a large, hard flat surface, folded selvage to selvage (the selvage is the finished, non-fraying edge of the fabric). Match the two selvage edges exactly: if they don’t line up, the fabric is twisted, and you’ll need to shift it until the crosswise grain (threads running from selvage to selvage) is perfectly perpendicular to the lengthwise grain. This ensures your cuts are on-grain, which prevents twisted garments and uneven stretching.
Step-by-Step: How to Cut Fabric With Scissors
Mark Your Pattern Pieces Accurately
Before you pick up your shears, transfer all pattern markings to your fabric. Use your fabric marker to trace the cutting line, notches (small triangles on pattern edges that help align pieces), grainline arrows, and any darts or pleats. Secure the pattern to the fabric with pins (place them inside the cutting line, not on the line) or pattern weights. If using pins, remove them as you cut, never cut over a pin, as this can nick your scissors or bend the pin.
Position Your Scissors Correctly
Fabric shears are designed to be used with the blades flat against your cutting surface. Insert your thumb into the smaller handle loop, and your index and middle fingers into the larger loop. Rest your ring and pinky fingers on the handle for support, but don’t grip too tightly, as this causes hand fatigue. Keep the bottom blade of the scissors flat on the cutting mat or table at all times, so the fabric stays flat as you cut.
Cut Smooth, Continuous Strokes
The biggest mistake new sewists make is chopping at fabric with short, jerky cuts. Instead, open the scissors wide, slide the fabric between the blades, and make one long, smooth cut. Cut just outside the marked line, not on it, to preserve your full seam allowance. Never lift the fabric off the table to cut, as this shifts the grain and leads to uneven edges.
For notches: cut them outward from the seam allowance, not inward. Cutting notches inward removes fabric from the seam allowance, weakening the seam. For curves (like armholes or necklines), take small, 1-inch snips and rotate the fabric as you go, rather than twisting the scissors to match the curve. This keeps the blades flat and the cut smooth.
Handle Delicate and Thick Fabrics
Delicate fabrics like chiffon, silk, or lace require extra care. Use freshly sharpened shears to avoid snagging, and place a layer of tissue paper under the fabric to keep it from sliding. Avoid pulling the fabric taut as you cut, as this stretches the grain and leads to uneven pieces. For thick fabrics like denim, canvas, or wool coating, use heavy-duty shears with serrated blades that grip the fabric as you cut. You may need to cut through one layer at a time for very thick materials, rather than cutting through folded fabric.
Common Mistakes to Avoid
Even experienced sewists slip up sometimes. Here are the most common cutting mistakes and how to fix them:
- Cutting on a soft surface: Never cut fabric on a bed, couch, or carpet. These surfaces give way under the scissors, leading to jagged, uneven cuts. Always use a hard, flat table or self-healing mat.
- Using dull scissors: Dull blades drag on fabric, leaving frayed edges and requiring you to saw at the fabric instead of cutting smoothly. Sharpen your shears every 6-12 months, depending on use.
- Cutting paper with fabric shears: As mentioned earlier, paper dulls scissors instantly. Keep a separate pair of cheap scissors for cutting paper patterns, and label your fabric shears clearly to avoid mix-ups.
- Rushing: Cutting is not a race. Take your time, especially with expensive or delicate fabrics. If you get tired, take a break, as fatigue leads to sloppy cuts.
- Ignoring grainlines: Always align the grainline arrow on your pattern piece parallel to the selvage edge of the fabric. A quick check with your ruler can save you from a twisted finished garment.
Frequently Asked Questions
Can I use regular household scissors to cut fabric?
We don’t recommend it. Household scissors have straight handles, which require you to lift the fabric off the table to cut, leading to uneven edges. They also have shorter, less sharp blades that snag fabric and leave rough edges. If you’re in a pinch, use small, sharp embroidery scissors for tiny cuts, but invest in proper fabric shears for larger projects.
How often should I sharpen my fabric scissors?
For regular home sewists, sharpening once a year is usually sufficient. If you sew daily or cut thick fabrics like denim or canvas, you may need to sharpen every 6 months. Test your scissors by cutting through a piece of scrap fabric: if they drag or leave frayed edges, they need sharpening. Never try to sharpen shears yourself unless you have professional training, as you can ruin the blade alignment.
What’s the difference between fabric shears and pinking shears?
Fabric shears (dressmaking shears) have straight, sharp blades for cutting smooth edges. Pinking shears have zig-zag blades that cut a serrated edge, which helps prevent fabric from fraying. Pinking shears are not a replacement for regular shears: use them only on seam allowances after sewing, or on fabrics that fray heavily, to finish edges without a serger.
How do I cut slippery fabrics like silk without slipping?
Place a layer of thin tissue paper under slippery fabrics before cutting, and use pattern weights instead of pins to hold the pattern in place. Cut slowly with sharp shears, and avoid pulling the fabric taut. You can also lightly spray the fabric with water-soluble stabilizer to add grip, which washes out after cutting.
Is it better to cut fabric with scissors or a rotary cutter?
Both tools have their place. Scissors are better for cutting curves, small pieces, and delicate fabrics, as they give you more control. Rotary cutters are faster for cutting straight lines, multiple layers of fabric, and quilting cotton. Many sewists use both: rotary cutters for large, straight pieces, and scissors for detailed work. For beginners, scissors are easier to learn first, as rotary cutters require a steady hand and a self-healing mat.
Conclusion
Learning how to cut fabric with scissors correctly takes practice, but it’s a skill that will pay off in every sewing project you make. Start by investing in a good pair of fabric shears, prepping your fabric properly, and taking your time with each cut. Practice on scrap fabric first if you’re working with a new material, and don’t be afraid to slow down, especially with expensive or delicate fabrics.
Remember: the few extra minutes you spend cutting accurately will save you hours of frustration later. With the right tools and techniques, you’ll be cuttin